A clean car interior is more than just a matter of appearance. Dust, food crumbs, spilled drinks, oily fingerprints, mud and moisture can gradually build up on seats, carpets, dashboards, door panels and other surfaces. In Pakistan, where dusty roads, high temperatures and seasonal monsoon rain can quickly make a vehicle dirty, regular interior care becomes even more important.
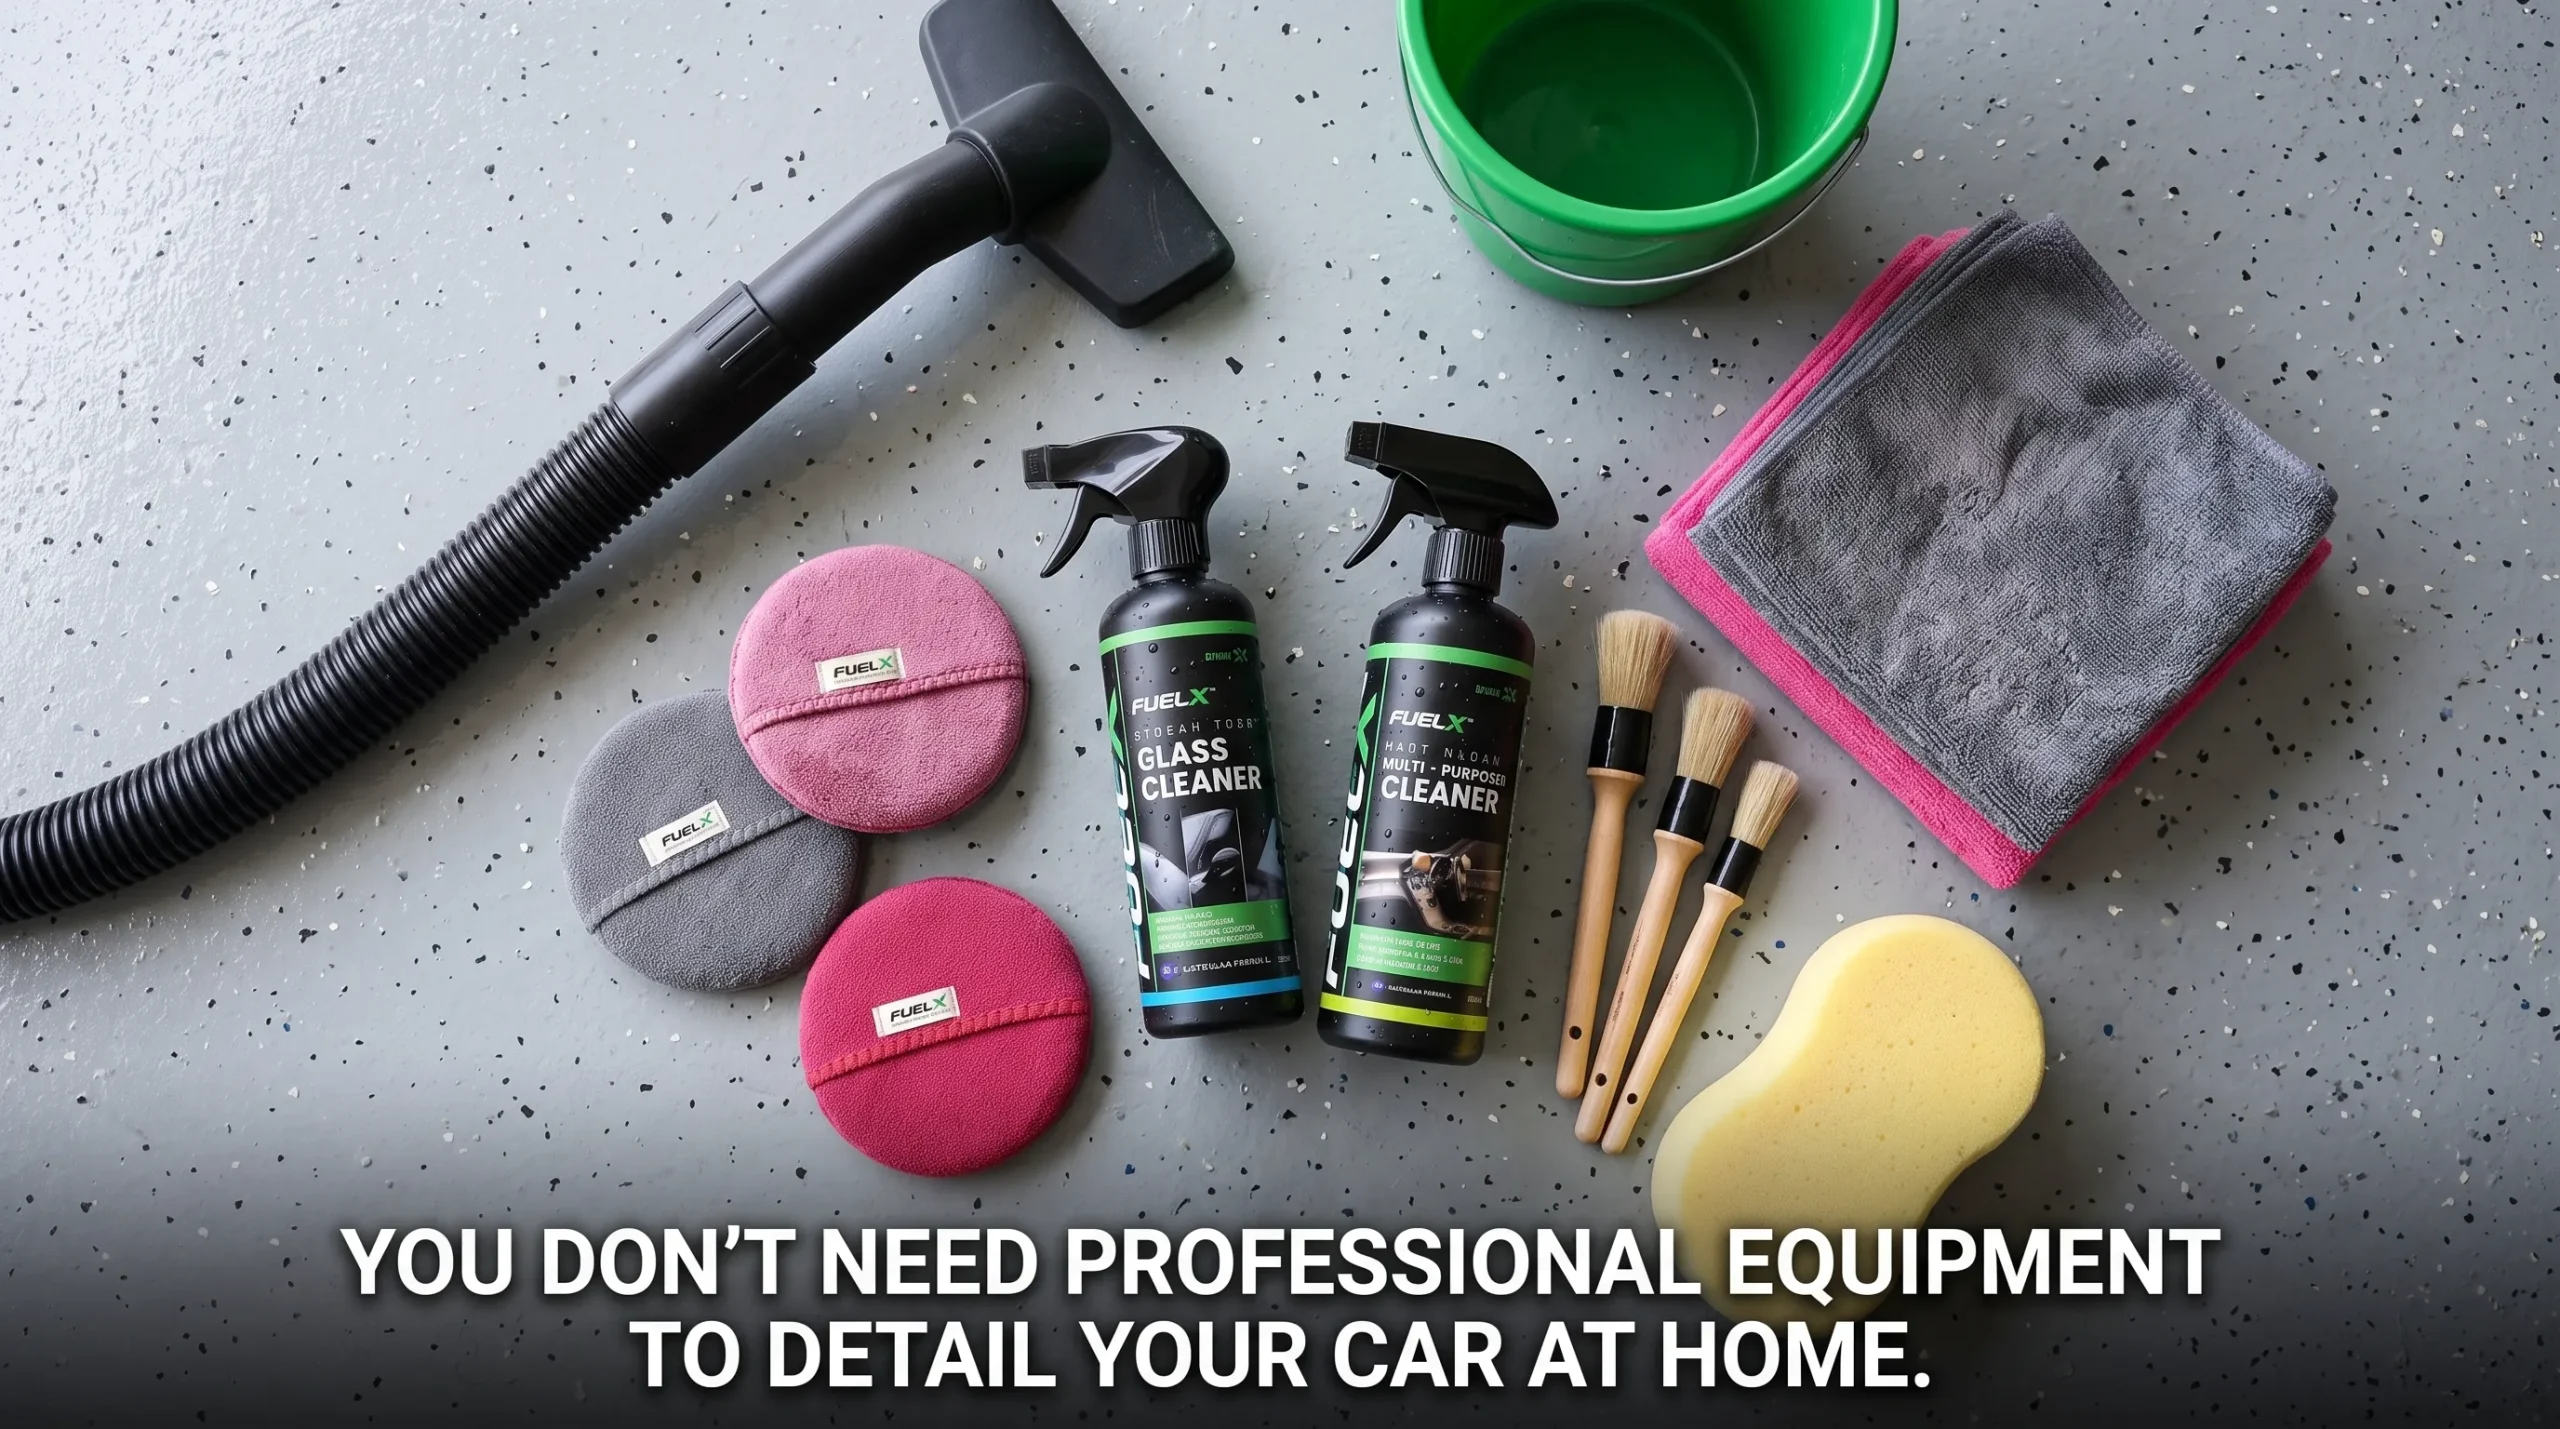
You don’t necessarily need professional detailing equipment to get your car looking and feeling fresh again. With a vacuum cleaner, good-quality microfiber towels, soft brushes and suitable automotive cleaning products, you can perform a thorough car interior detailing at home.
A basic maintenance clean may take around 30–60 minutes, while a more thorough interior detail can take 1–3 hours, depending on the vehicle’s size and condition. The key is not rushing through the process but following the correct order.
This guide explains exactly how to detail your car interior at home, which areas deserve extra attention, what mistakes to avoid and how to keep the interior cleaner for longer.
What Is Car Interior Detailing?
Car interior detailing is a more thorough cleaning process than ordinary interior cleaning. Instead of simply wiping the dashboard and vacuuming the visible floor, detailing focuses on removing dirt from both visible and easily overlooked areas.
For example, dust can collect around seat rails, inside door pockets, between seat cushions, around AC vents and underneath the front seats. These areas may not be obvious when you quickly clean your car, but they contribute to a neglected appearance over time.
A useful way to think about it is:
Regular cleaning = maintaining cleanliness.
Interior detailing = cleaning the areas that regular cleaning usually misses.
A proper detail should leave the interior visibly cleaner while preserving the condition of materials such as plastic, fabric, leather, synthetic leather, rubber and glass.
What You Need for Interior Detailing at Home
You don’t need a garage full of professional equipment. For most home detailing jobs, the following supplies are enough:
Optional equipment includes a wet/dry vacuum, portable air blower or steam cleaner. These can make difficult jobs easier, but they aren’t necessary for normal maintenance.
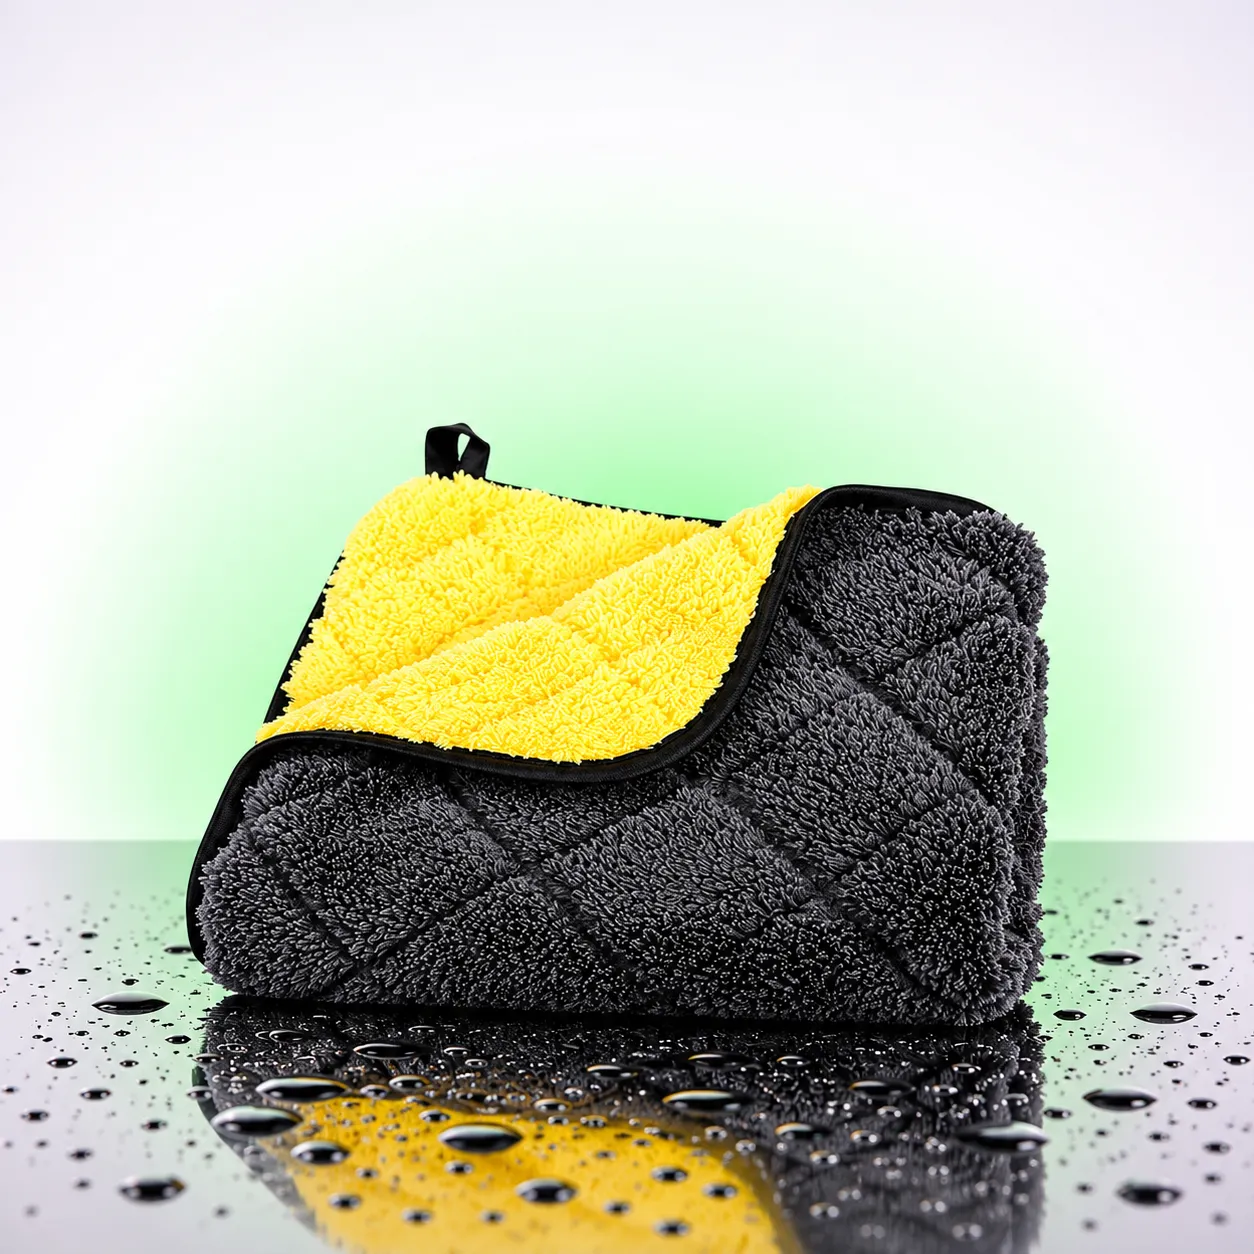
Why microfiber towels matter
A clean microfiber towel is useful because it can pick up dust and residue without requiring aggressive rubbing. More importantly, using several towels helps prevent cross-contamination.
For example, don’t use the same towel for a dirty floor panel and the final wipe on your windshield. Keep separate towels for:
General interior cleaning
Glass
Dirtier lower panels
Final finishing
This small habit can significantly improve the final result.
Step-by-Step Car Interior Detailing at Home
Step 1: Remove Everything From the Car
Before reaching for a cleaner, empty the vehicle.
Remove:
Bottles and wrappers
Food packaging
Personal belongings
Loose accessories
Floor mats
Trash
Items from door pockets
Items from the centre console
If you’re doing a complete interior detail, don’t forget the boot.
Starting with an empty cabin makes the process faster because you won’t repeatedly move objects from one place to another. It also exposes areas that may have accumulated dirt underneath stored items.
Quick tip
Keep a trash bag nearby while removing items. Separate rubbish from belongings that need to go back into the car.
This first step can take only 5–10 minutes, but it makes the rest of the detailing process much easier.
Step 2: Remove and Clean the Floor Mats
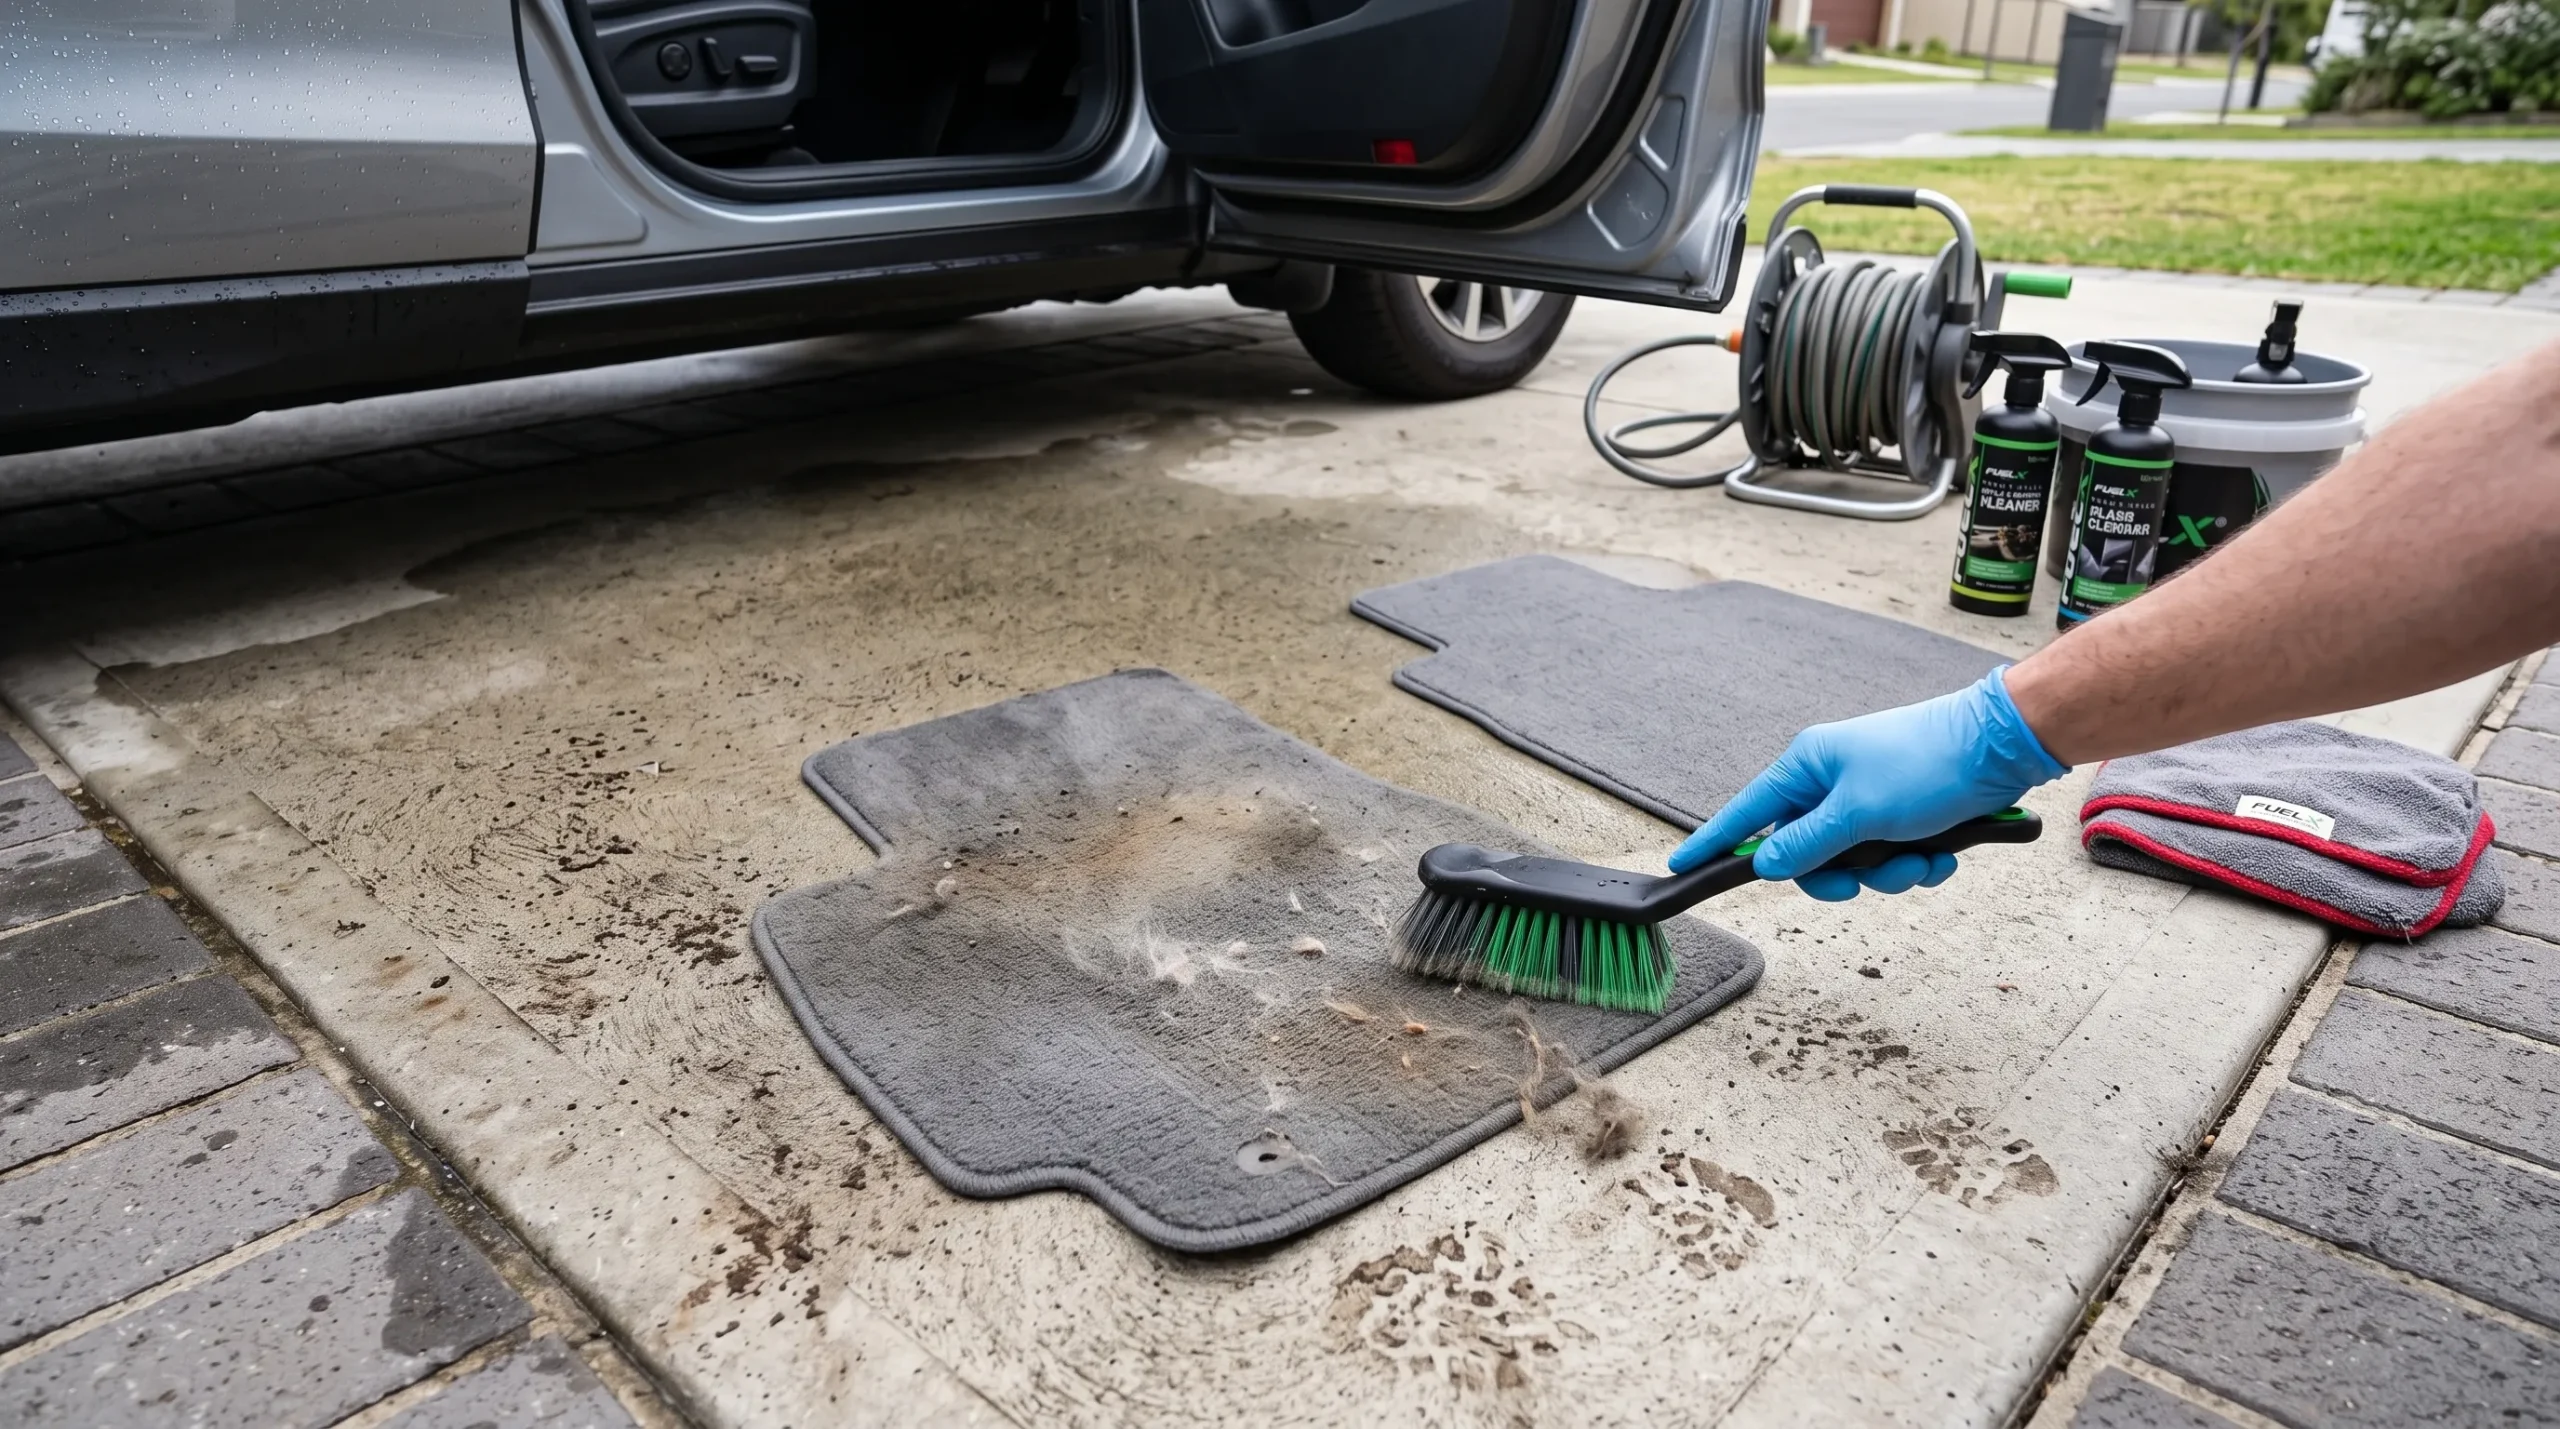
Take all floor mats outside before starting the main interior cleaning.
Shake or brush off loose dirt first. Then vacuum the mats from both sides. If the material is washable, clean it according to the manufacturer’s instructions.
For fabric or carpet mats
Pay particular attention to mud and moisture. During Pakistan’s monsoon season, wet footwear can transfer a surprising amount of moisture and dirt into the vehicle.
Don’t simply wipe a muddy carpet mat and put it back inside. Remove the dirt, clean the mat properly and allow it to dry completely.
For rubber mats
Remove loose dirt first, then wash them if the manufacturer’s recommendations allow it. Dry them before reinstalling.
Never put noticeably wet mats back inside a closed car. Trapped moisture can contribute to musty smells and prolonged dampness.
If your vehicle has recently experienced heavy rain, give the mats and carpet underneath them extra attention.
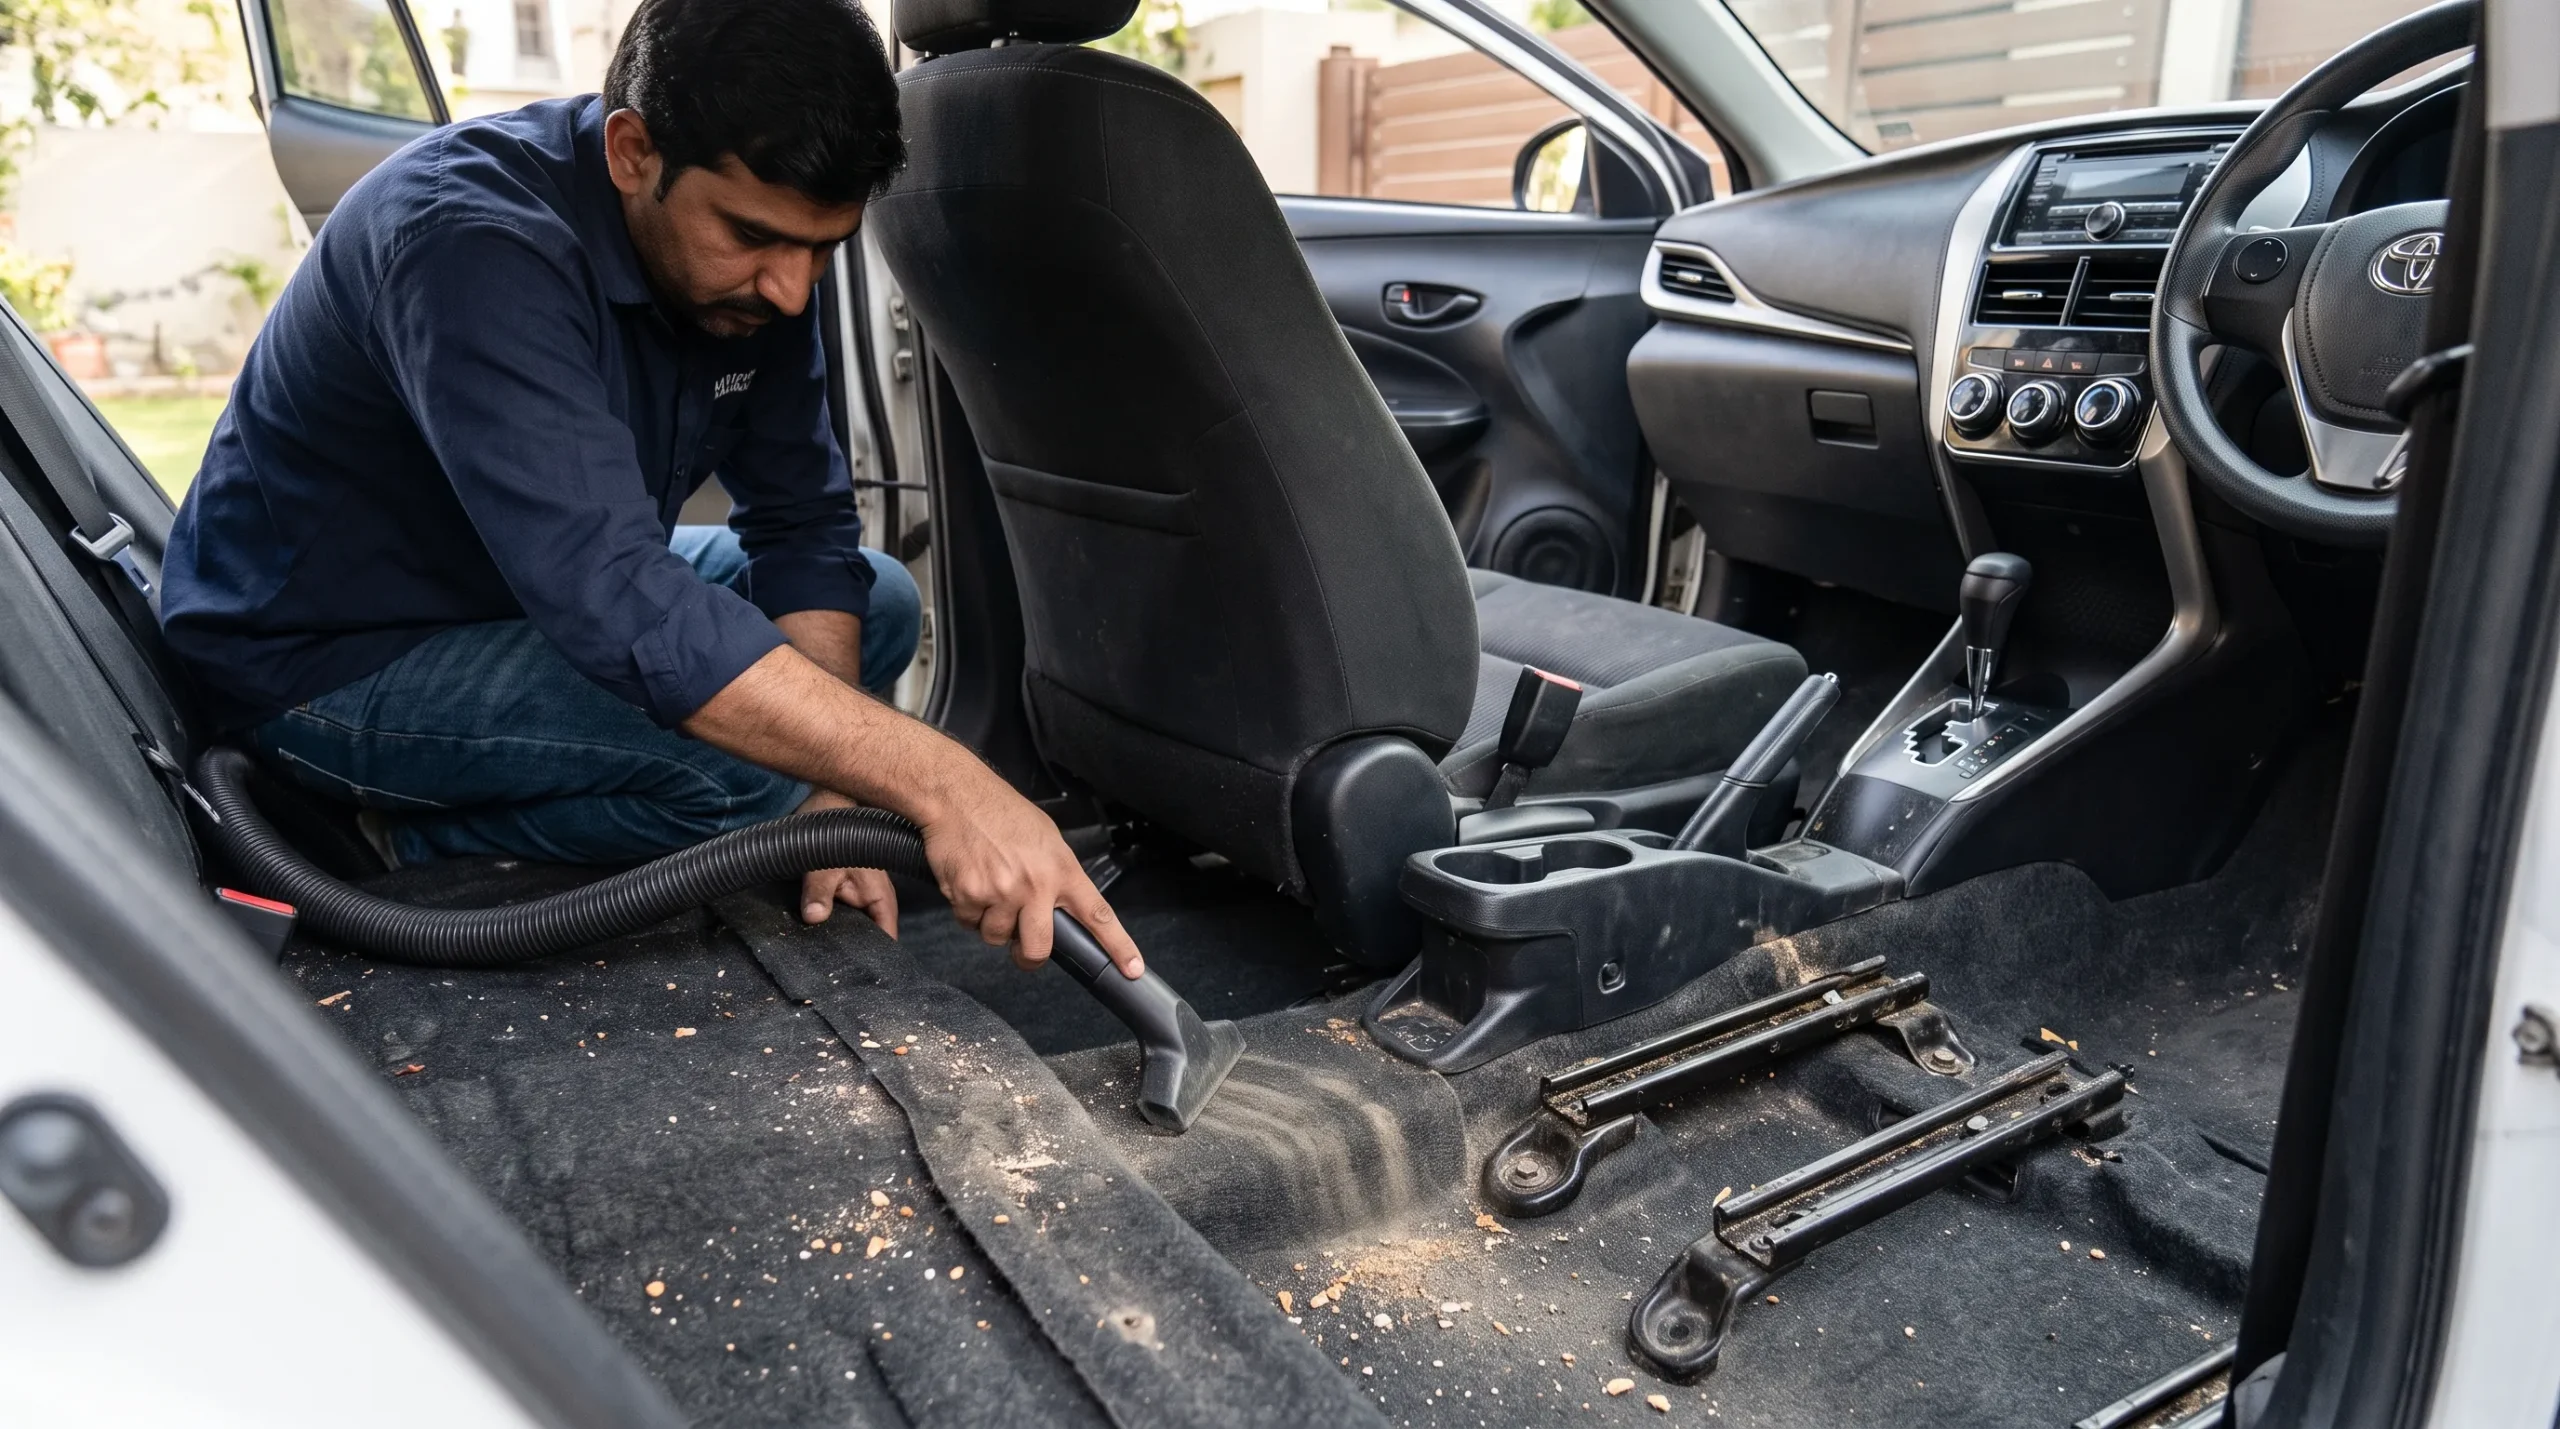
Step 3: Vacuum the Entire Interior
Vacuuming should come before wet cleaning.
If you wipe dusty surfaces first, loose dust and particles can mix with moisture and create dirty residue that is harder to remove.
Work systematically:
Seats
Seat gaps
Carpets
Floor
Under the seats
Seat rails
Centre console
Door pockets
Boot
Don’t just vacuum the centre of the floor. Move the seats forward and backward where possible so you can reach areas that normally remain hidden.
Don’t forget these areas
Under front seats
Between seat cushions
Around seat rails
Cup holders
Door pockets
Pedal surroundings
Centre-console storage
Boot corners
A soft detailing brush can help loosen dust from seams and textured surfaces while the vacuum removes it.
For a moderately dirty family car, the vacuuming stage can easily take 15–30 minutes if you’re doing it properly.
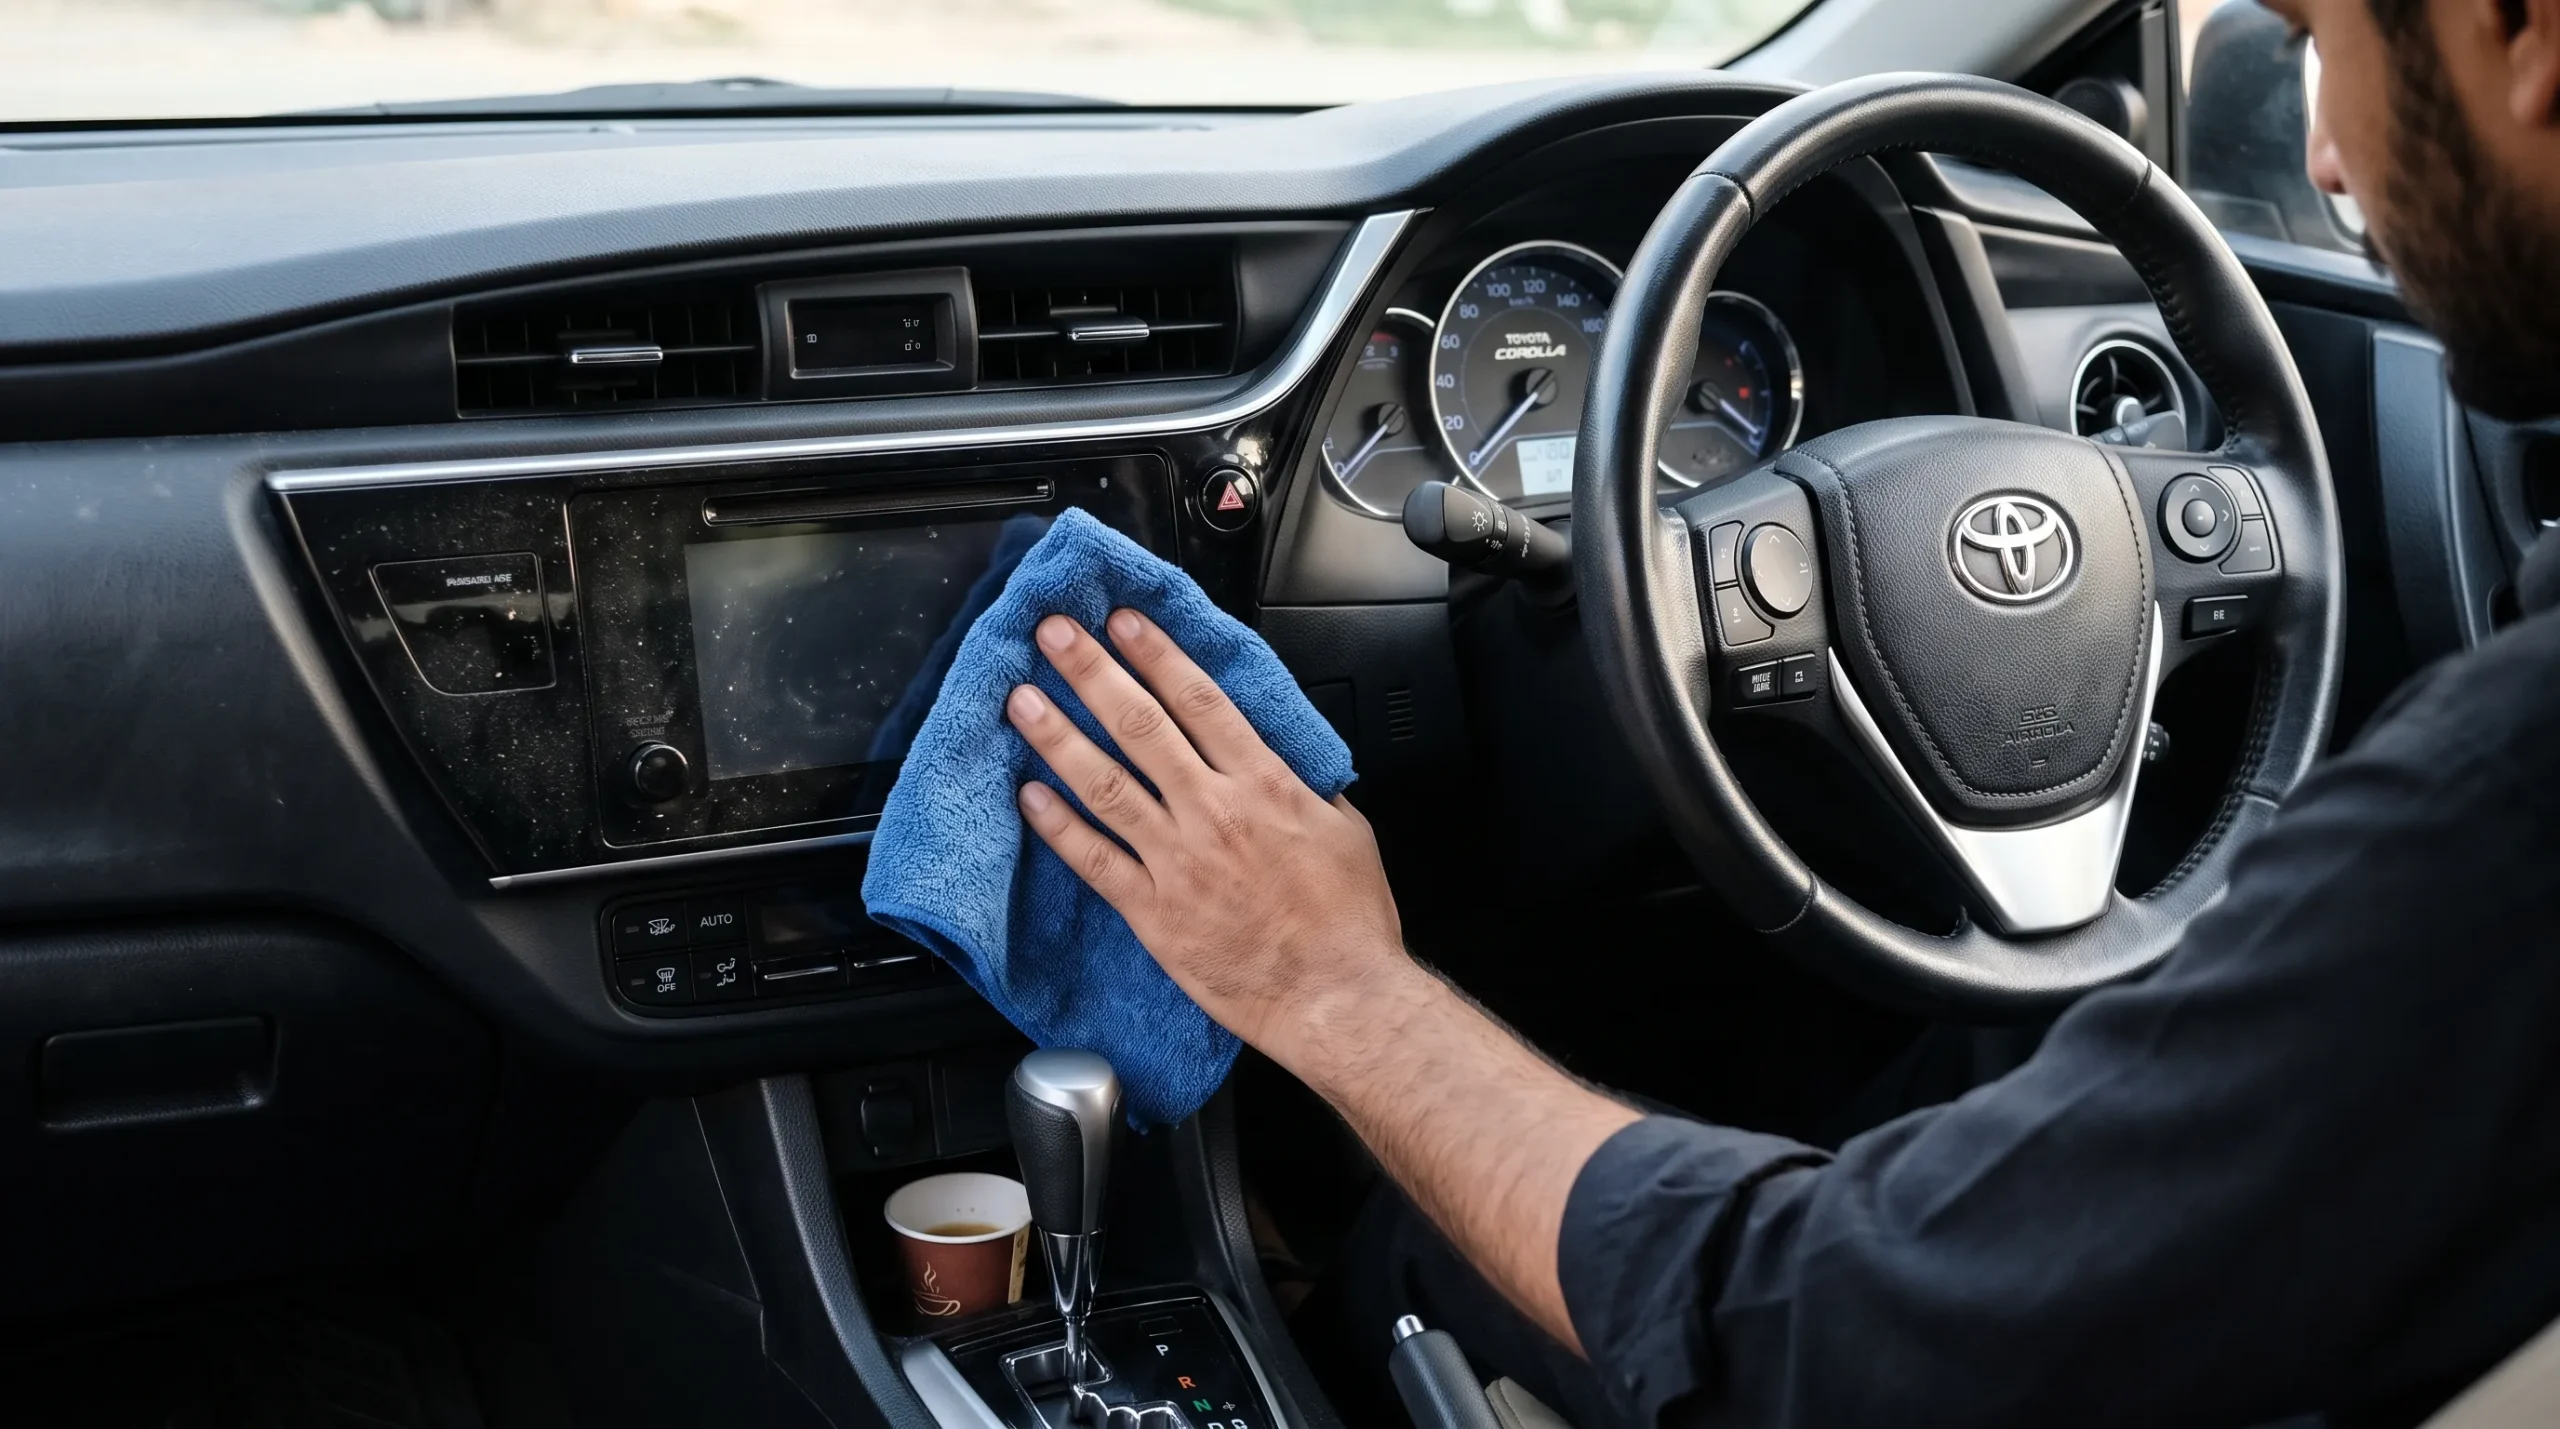
Step 4: Clean the Dashboard and Centre Console
Once loose dust is removed, move to the dashboard and centre console.
Apply an appropriate amount of automotive-safe cleaner to a microfiber towel or follow the product’s recommended application method. Avoid unnecessarily soaking the surface.
Clean one section at a time:
Dashboard
Instrument panel surround
Centre console
Cup holders
Gear selector area
Storage compartments
Buttons and controls
Why you shouldn’t flood the dashboard
Modern dashboards contain electronic controls, displays, switches and other components. Excess liquid can migrate into gaps and openings.
For that reason, controlled application is generally preferable to spraying large amounts of liquid everywhere.
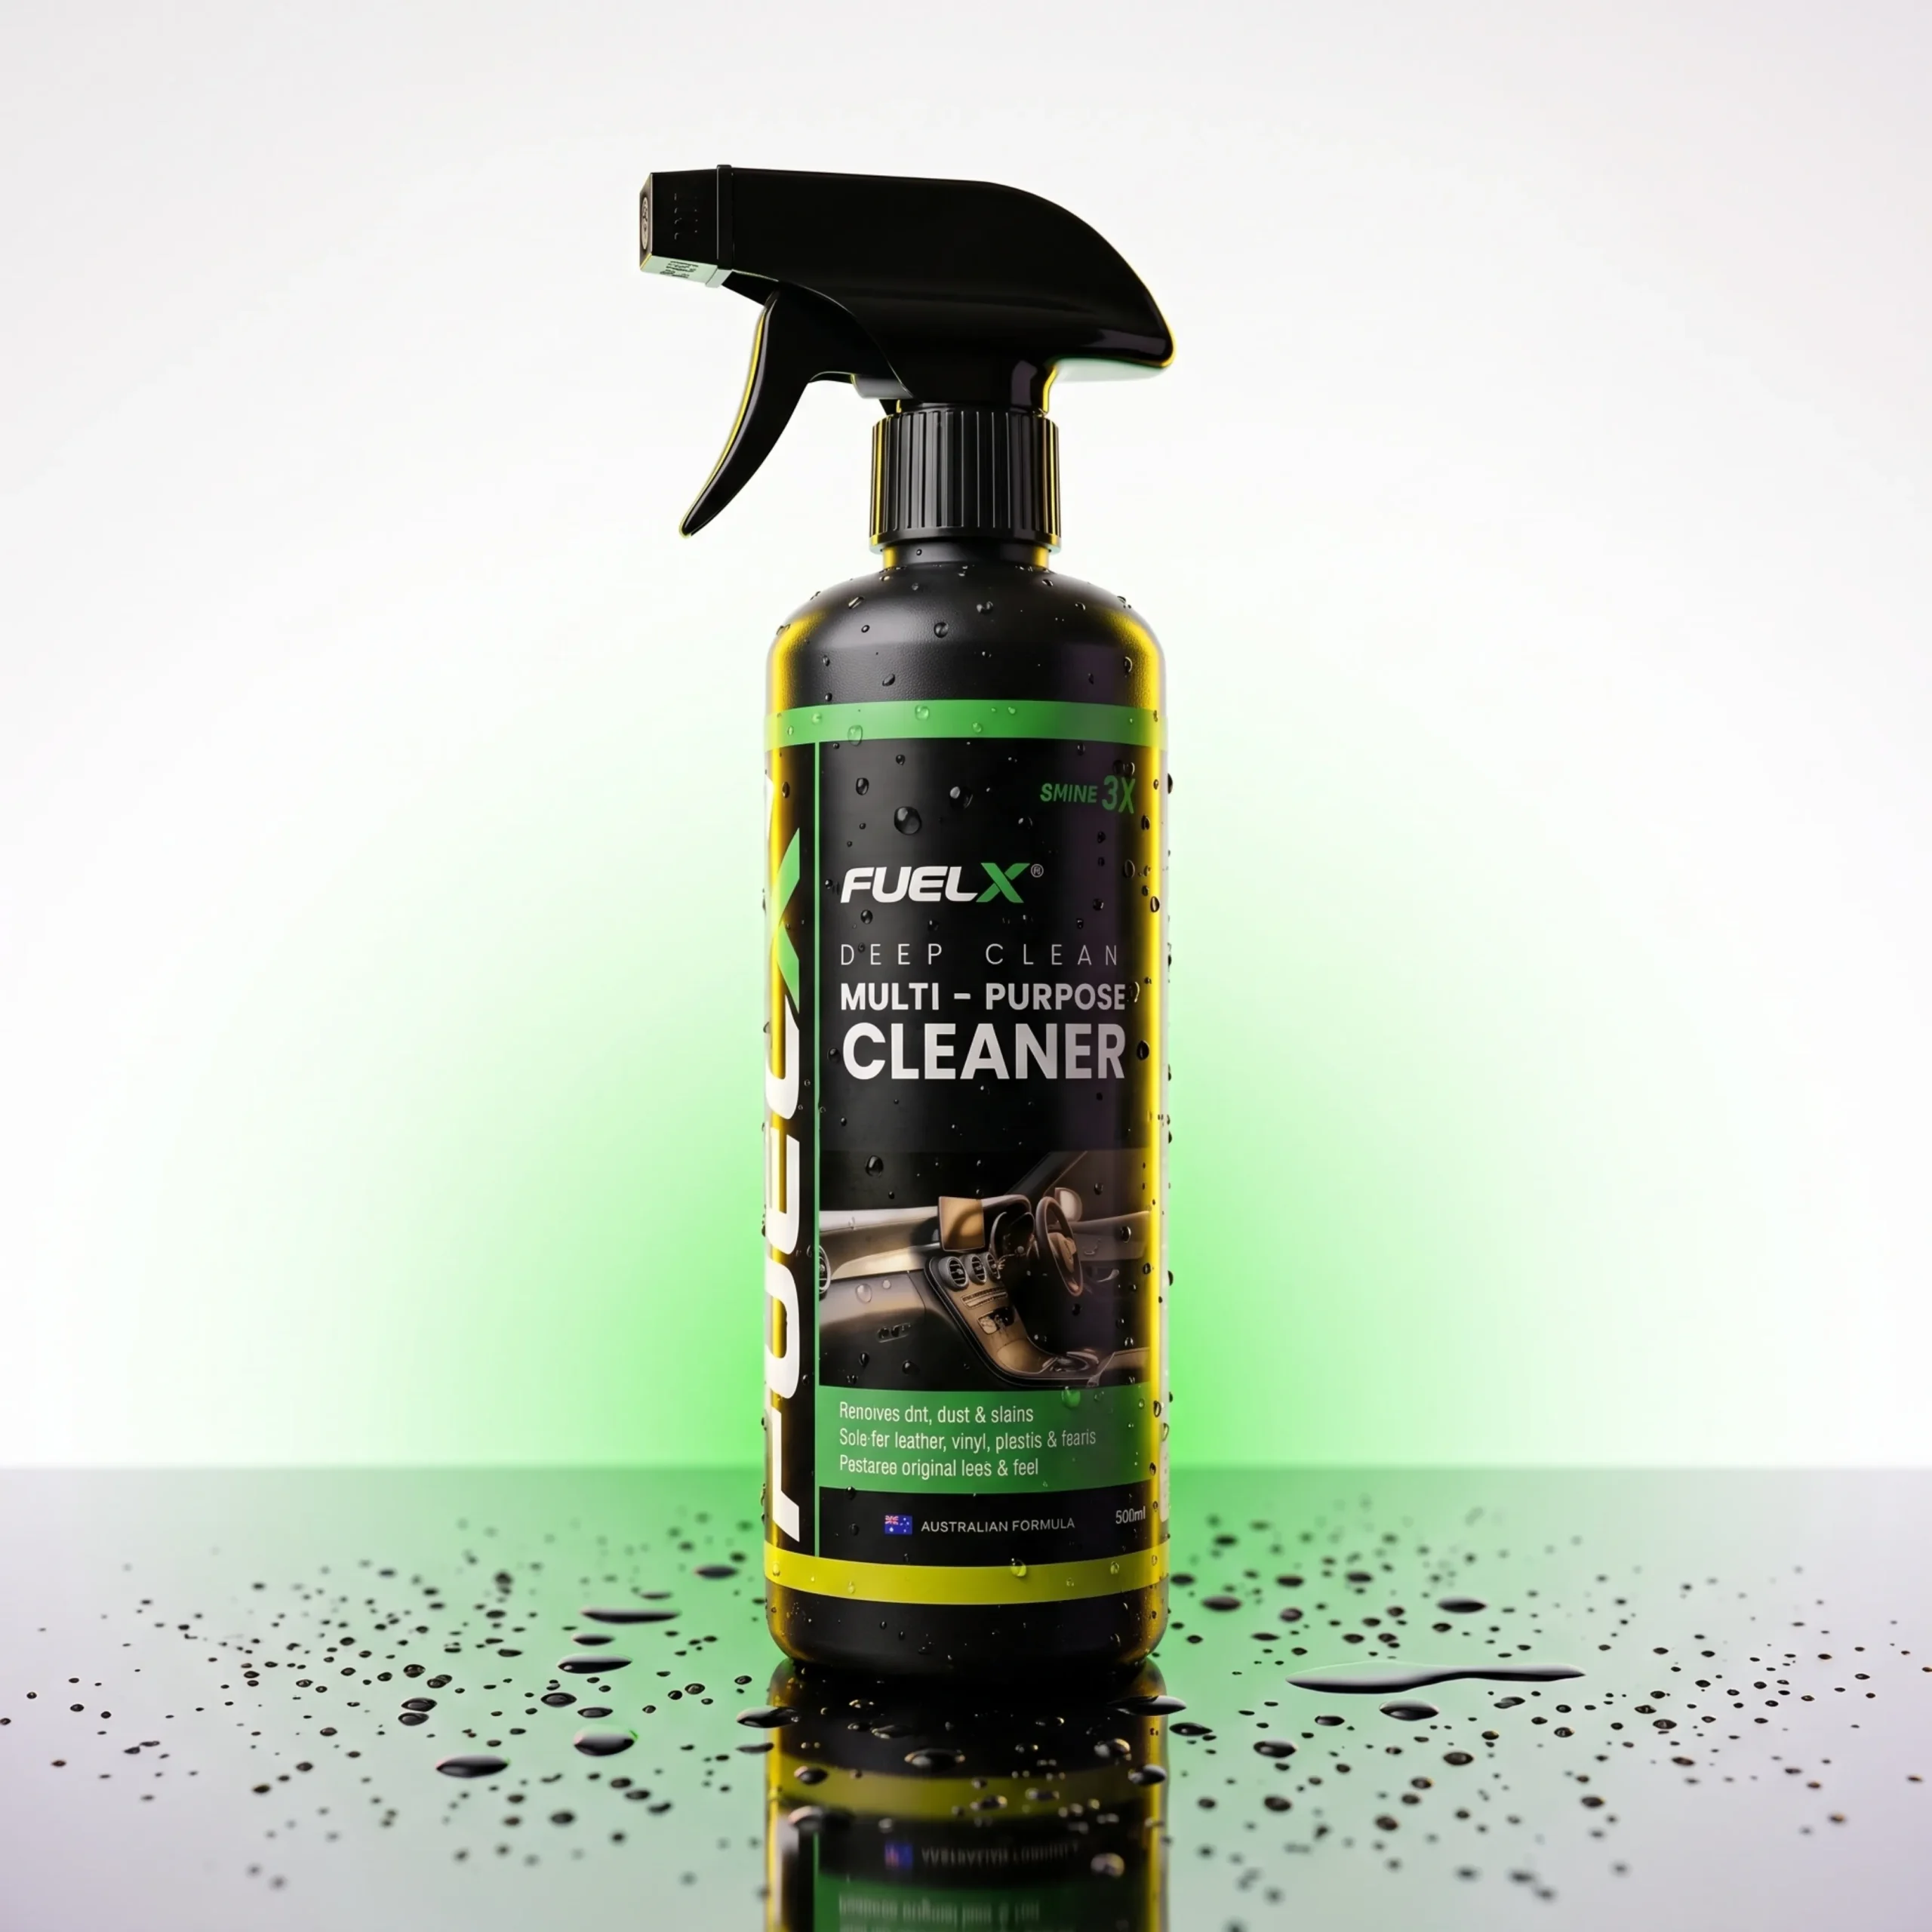
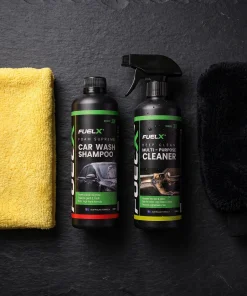
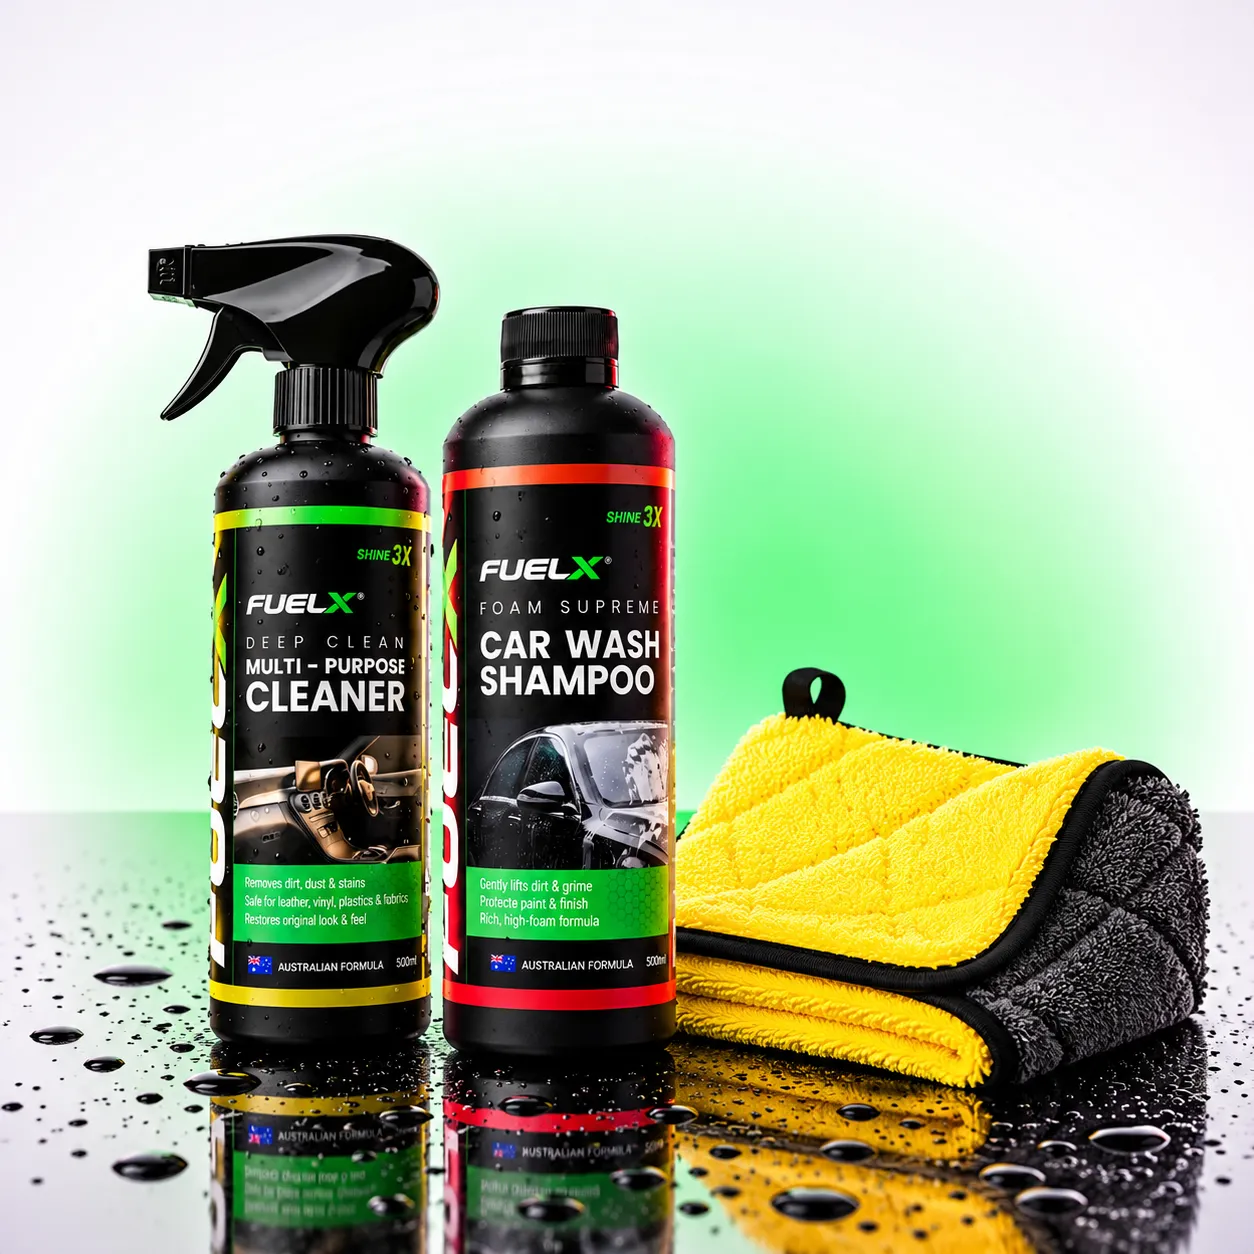
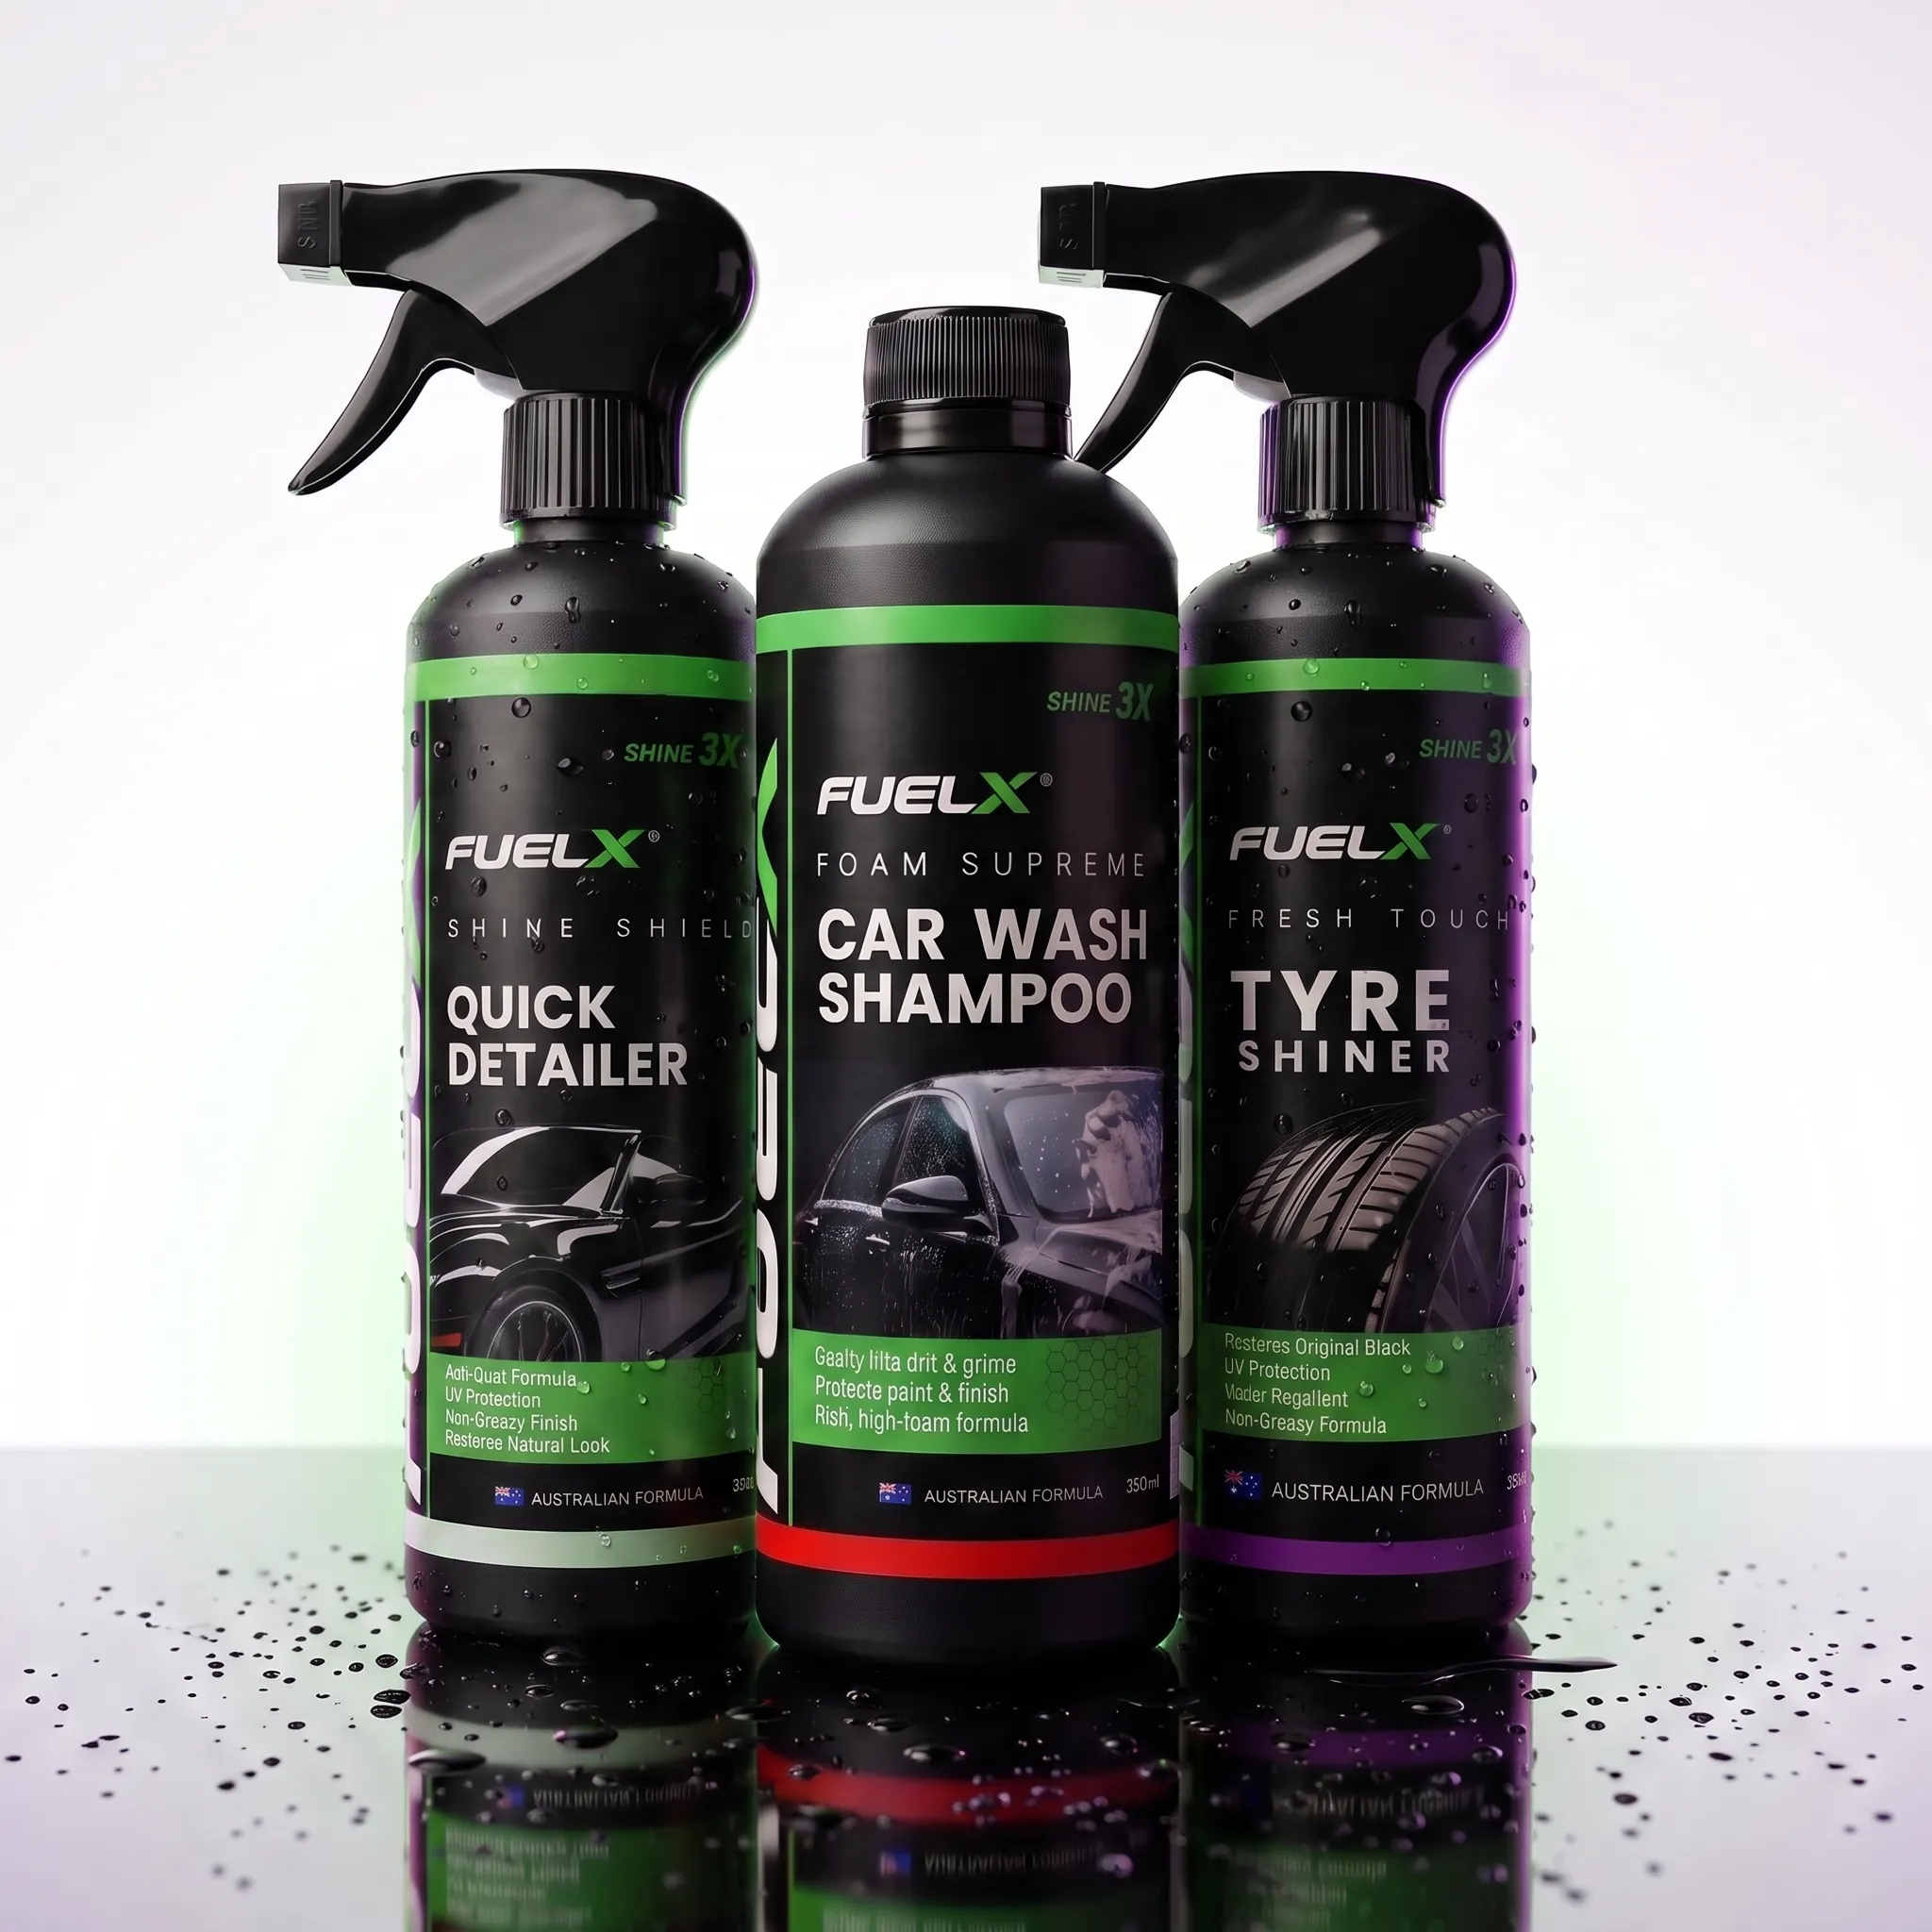
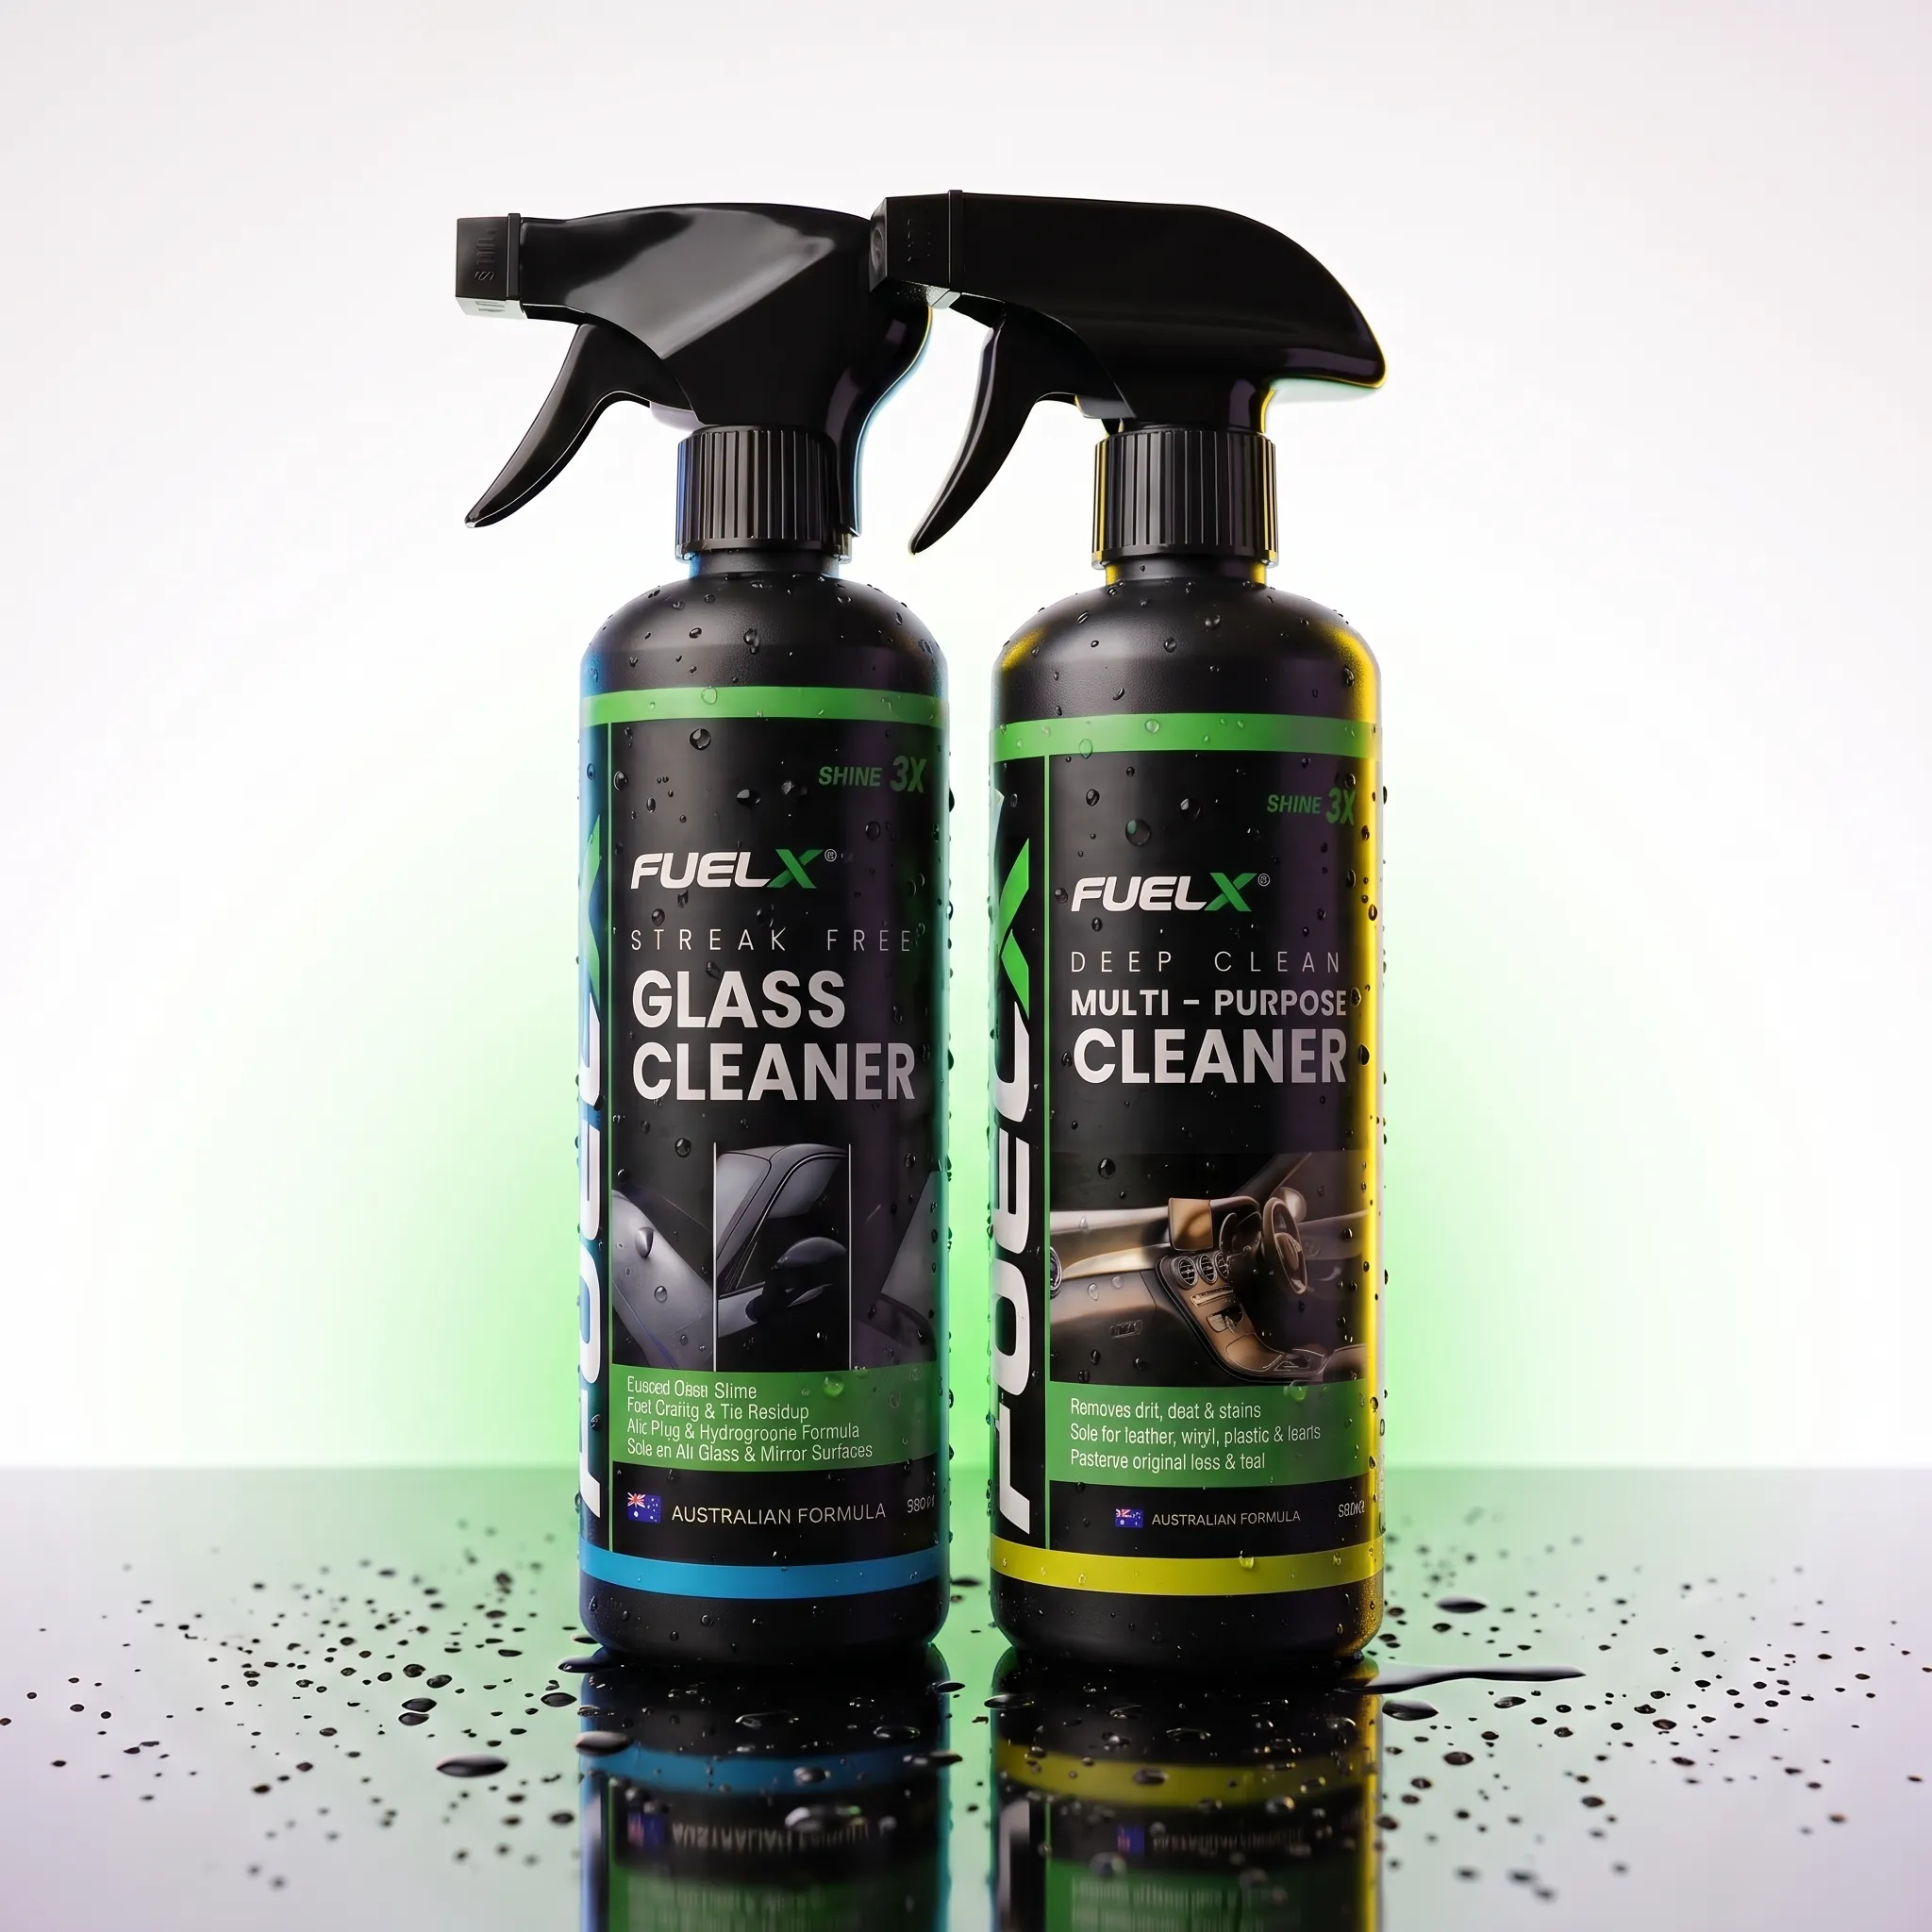
FuelX Multi-Purpose Cleaner can be incorporated into this stage where the product instructions indicate that it is suitable for the particular surface.
A useful technique
Use a slightly damp cleaning towel first, then a separate dry microfiber towel for the final wipe. This helps remove remaining residue and leaves a more uniform finish.
Step 5: Clean the Door Panels and Handles
Door panels are often overlooked even though they receive frequent contact.
Clean:
Interior door handles
Armrests
Window switches
Door pockets
Lower door panels
Textured plastic
Storage areas
The lower sections of doors often collect more dirt because passengers can transfer dust and mud when getting into the vehicle.
Use a soft brush for textured areas and corners, then wipe with a clean microfiber towel.
Don’t aggressively scrub delicate plastic simply because a stain isn’t disappearing immediately. If the surface requires stronger treatment, use a product specifically designed for that material.
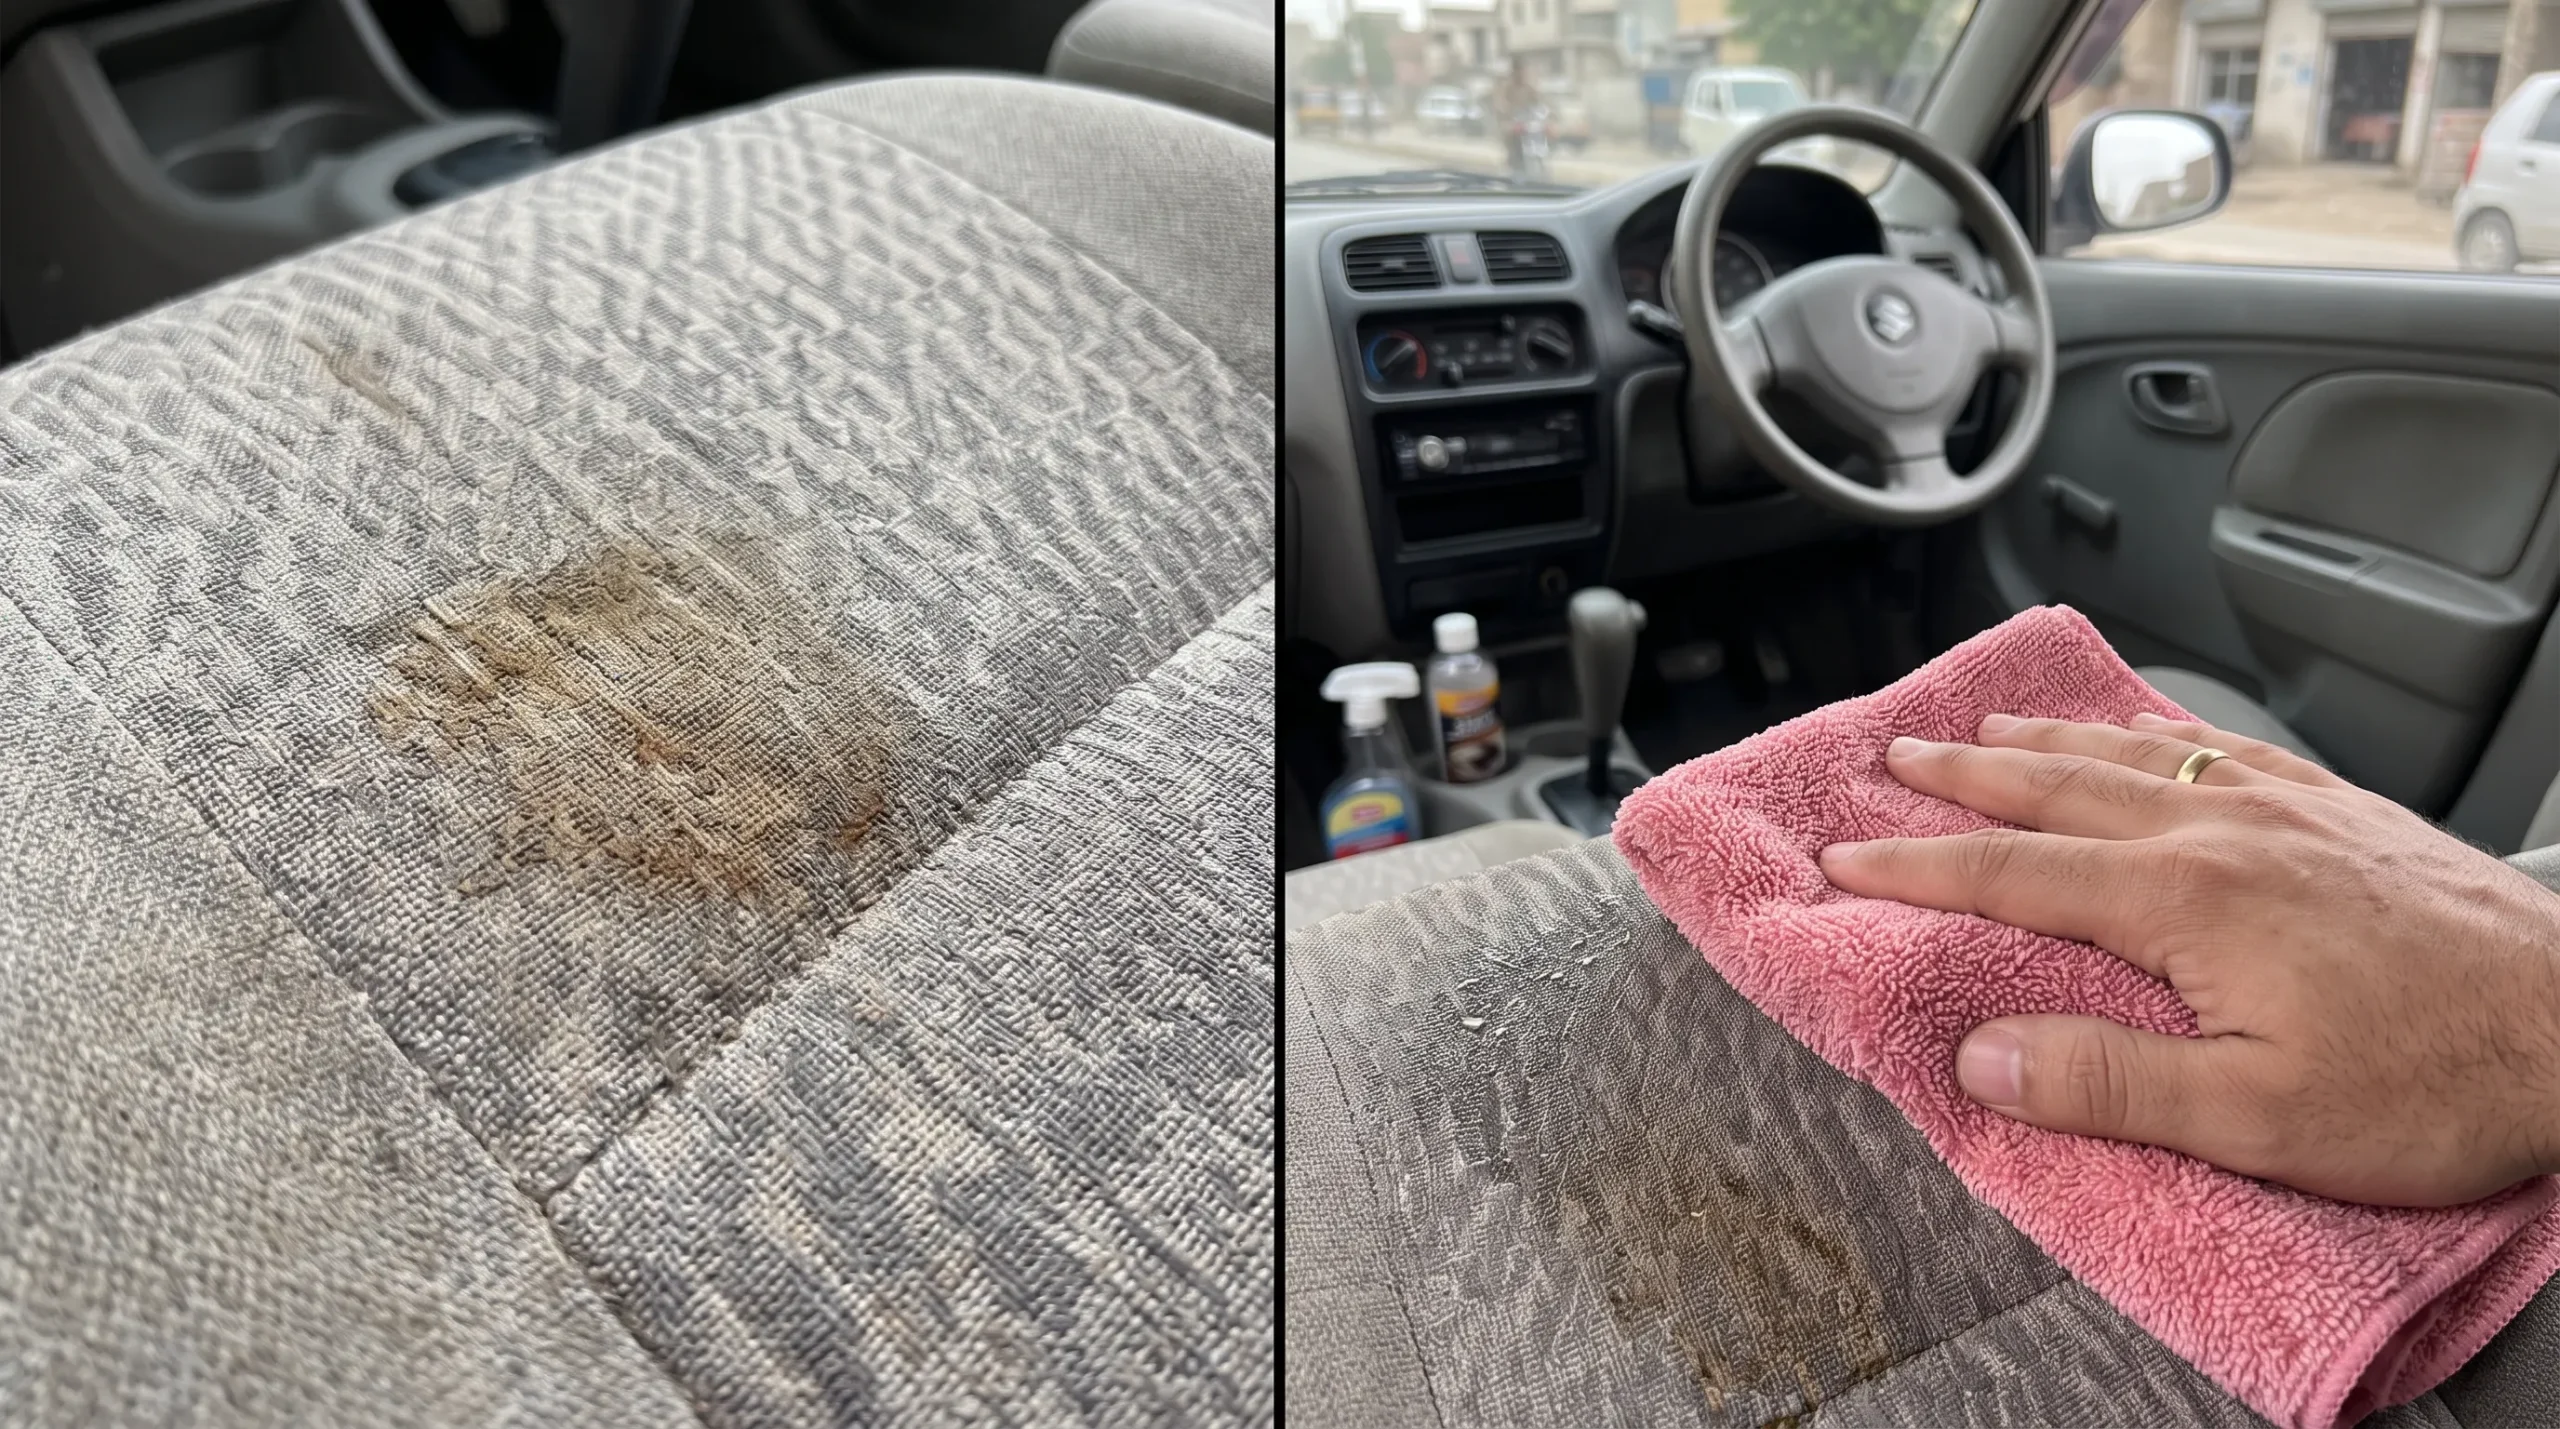
Step 6: Clean the Car Seats
Seat cleaning requires extra care because different materials need different methods.
Fabric seats
Start by vacuuming thoroughly.
For stains, use a suitable upholstery cleaner according to its instructions. Work gradually rather than immediately soaking the entire seat.
Excessive moisture is one of the most common mistakes in DIY upholstery cleaning. A seat that appears clean after wetting may still retain moisture underneath the surface and take considerably longer to dry.
Leather and synthetic leather seats
Remove loose dust first. Then use a cleaner designed for the particular material.
Wipe gently rather than aggressively scrubbing.
Avoid using random household cleaning chemicals on automotive leather or synthetic leather. Some chemicals may affect the finish, texture or appearance.
Important safety step
If you’re using a product for the first time, test it on a small, less visible area before treating the entire seat.
Step 7: Clean the Seat Belts
Seat belts are high-touch surfaces but are frequently ignored during interior cleaning.
Pull the belt out gently and wipe the exposed section using a lightly dampened cloth.
Avoid:
Aggressive scrubbing
Excessive chemicals
Soaking the belt
Saturating the retractor mechanism
Allow the belt to dry properly before allowing it to retract completely.
Step 8: Clean AC Vents and Small Crevices
This is one of the stages that separates basic cleaning from proper detailing.
Dust can accumulate inside:
AC vents
Dashboard seams
Steering-wheel controls
Button gaps
Gear selector surrounds
Small storage compartments
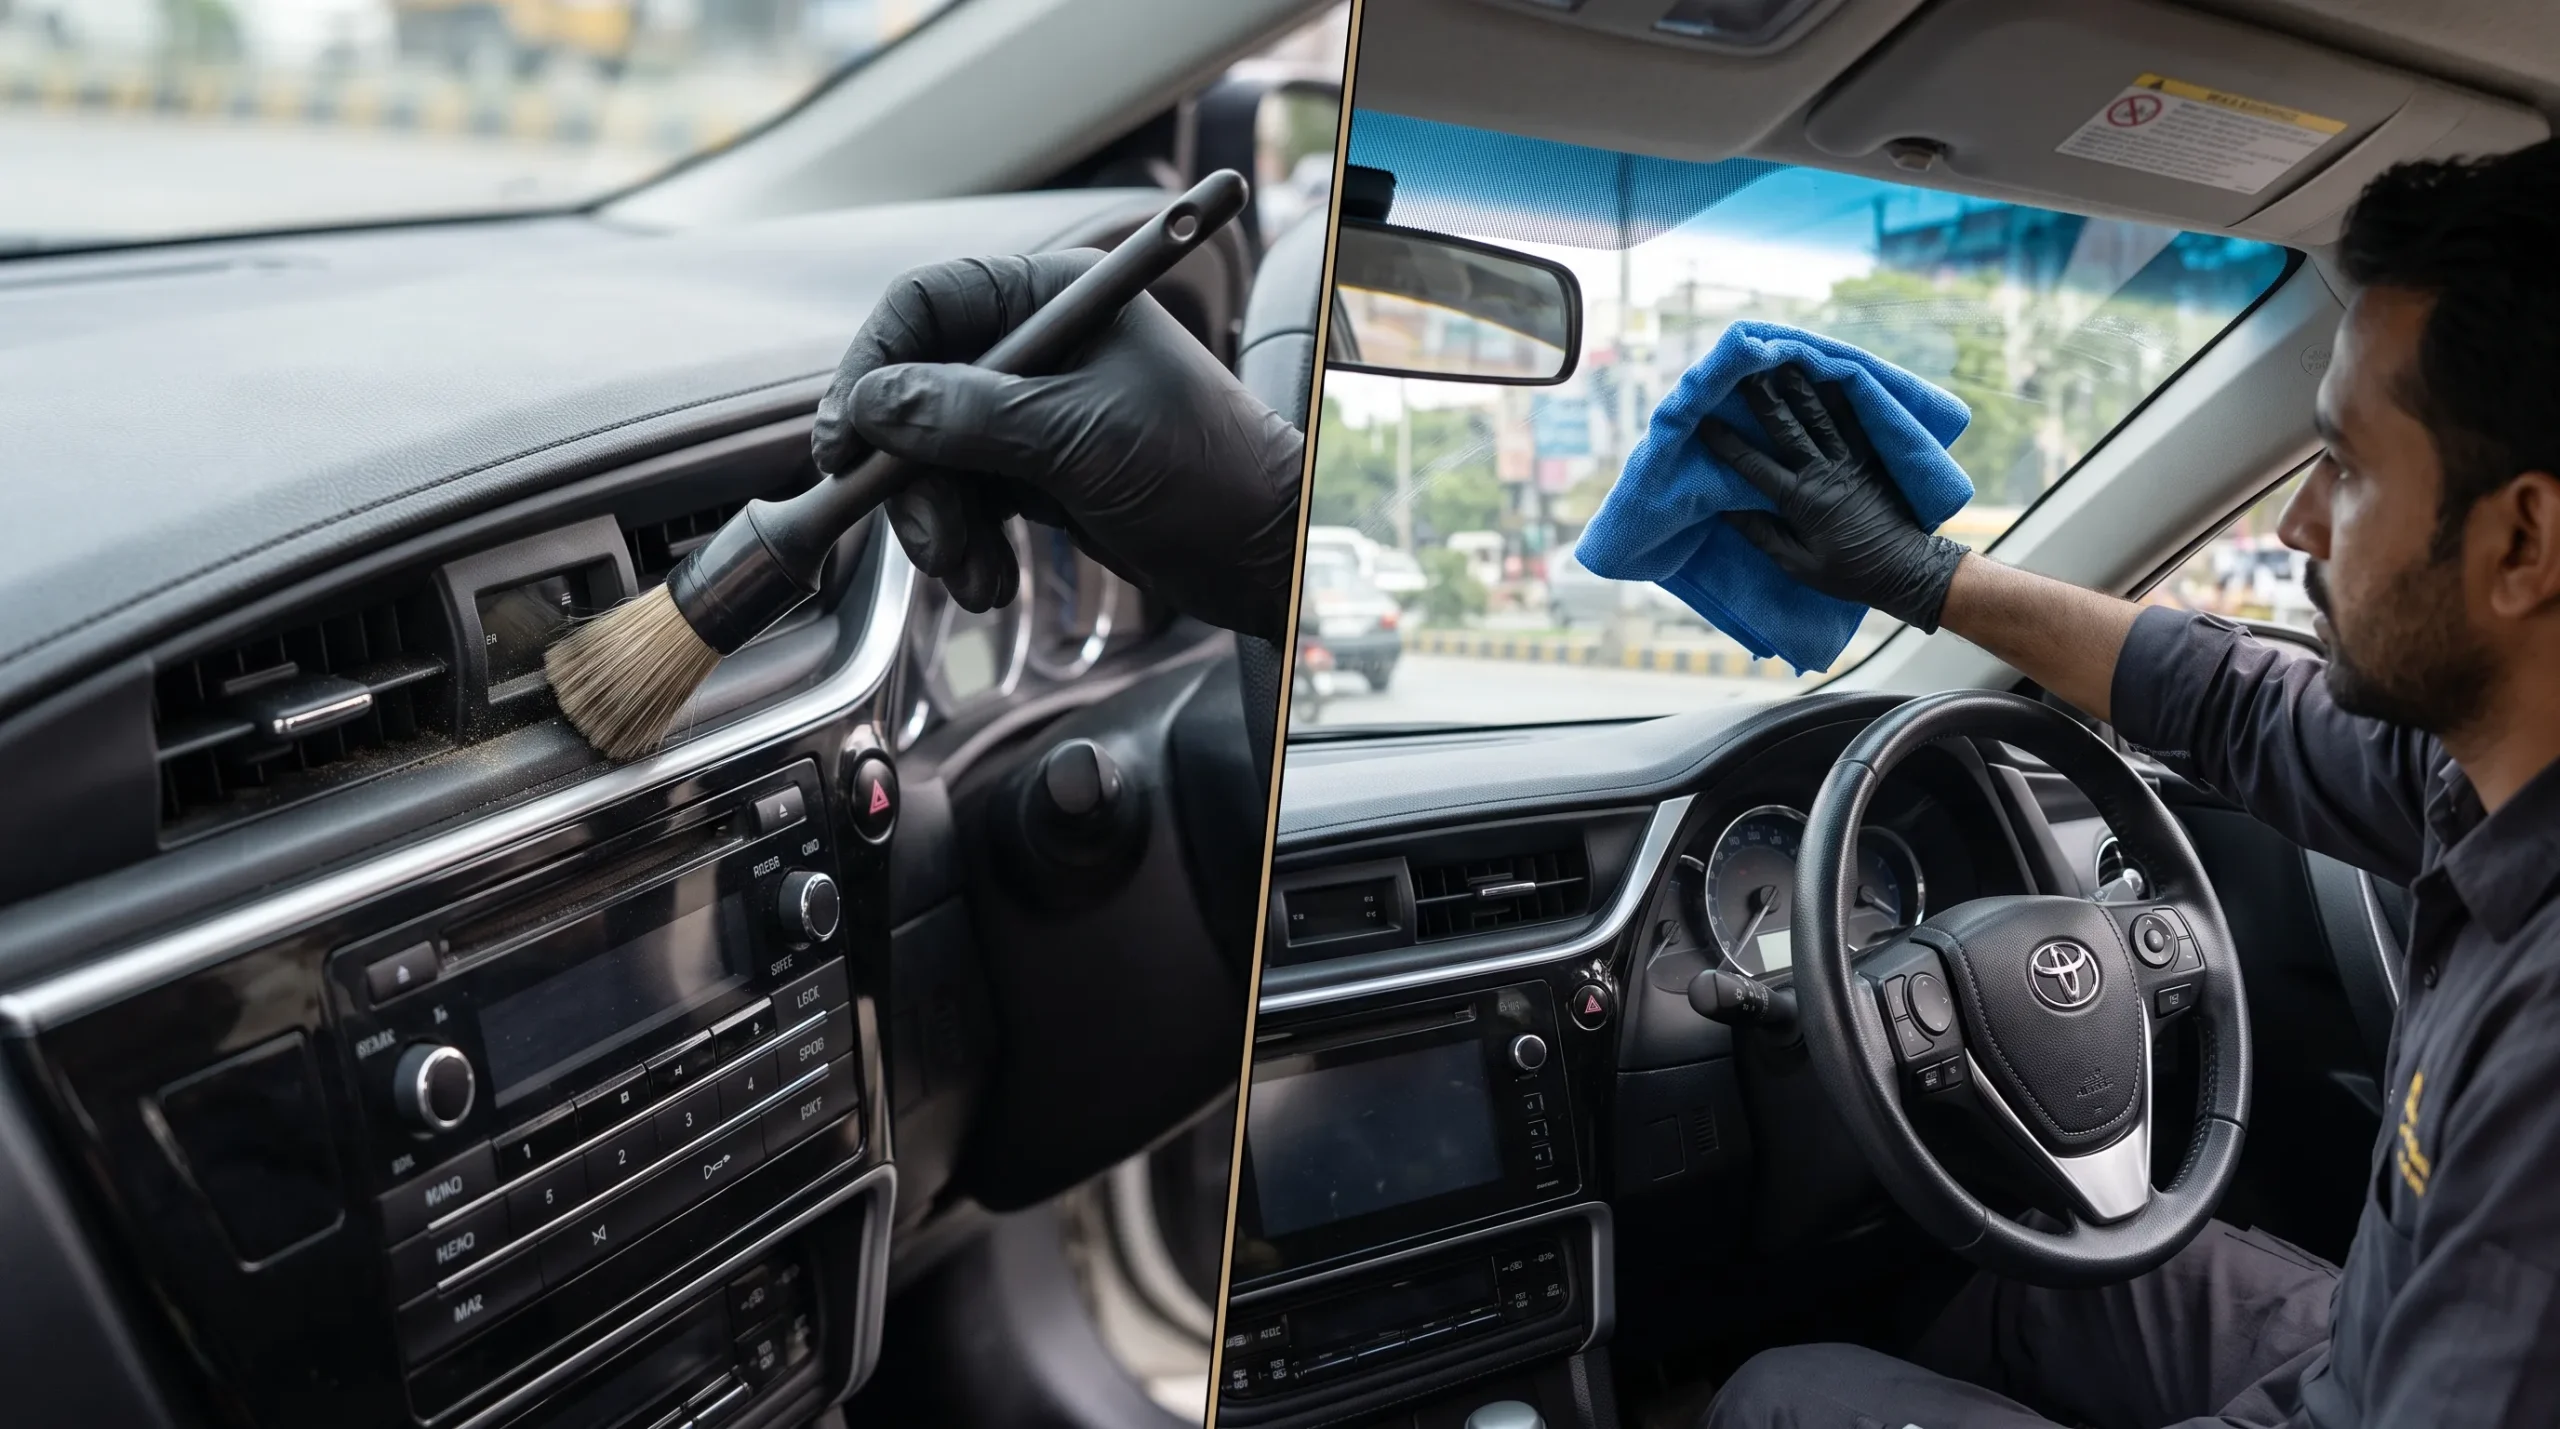
Use a soft detailing brush to loosen dust. Follow with a vacuum to collect the particles.
Don’t force a brush deep into an opening. The objective is to loosen accessible dust without damaging delicate components.
For AC vents, gently move the vent louvers while brushing so you can clean more of the visible surface.
Step 9: Clean the Interior Glass
Clean windows aren’t just about aesthetics. A dirty windshield can create haze and glare, particularly when sunlight or headlights hit the glass at an angle.
Use an automotive glass cleaner with a clean microfiber towel.
After applying the cleaner, use a separate clean microfiber towel for the final wipe.
If your glass keeps streaking
The problem may be:
Too much cleaner
A dirty towel
Excess moisture
Residue on the glass
Using less product and a clean finishing towel often produces a better result.
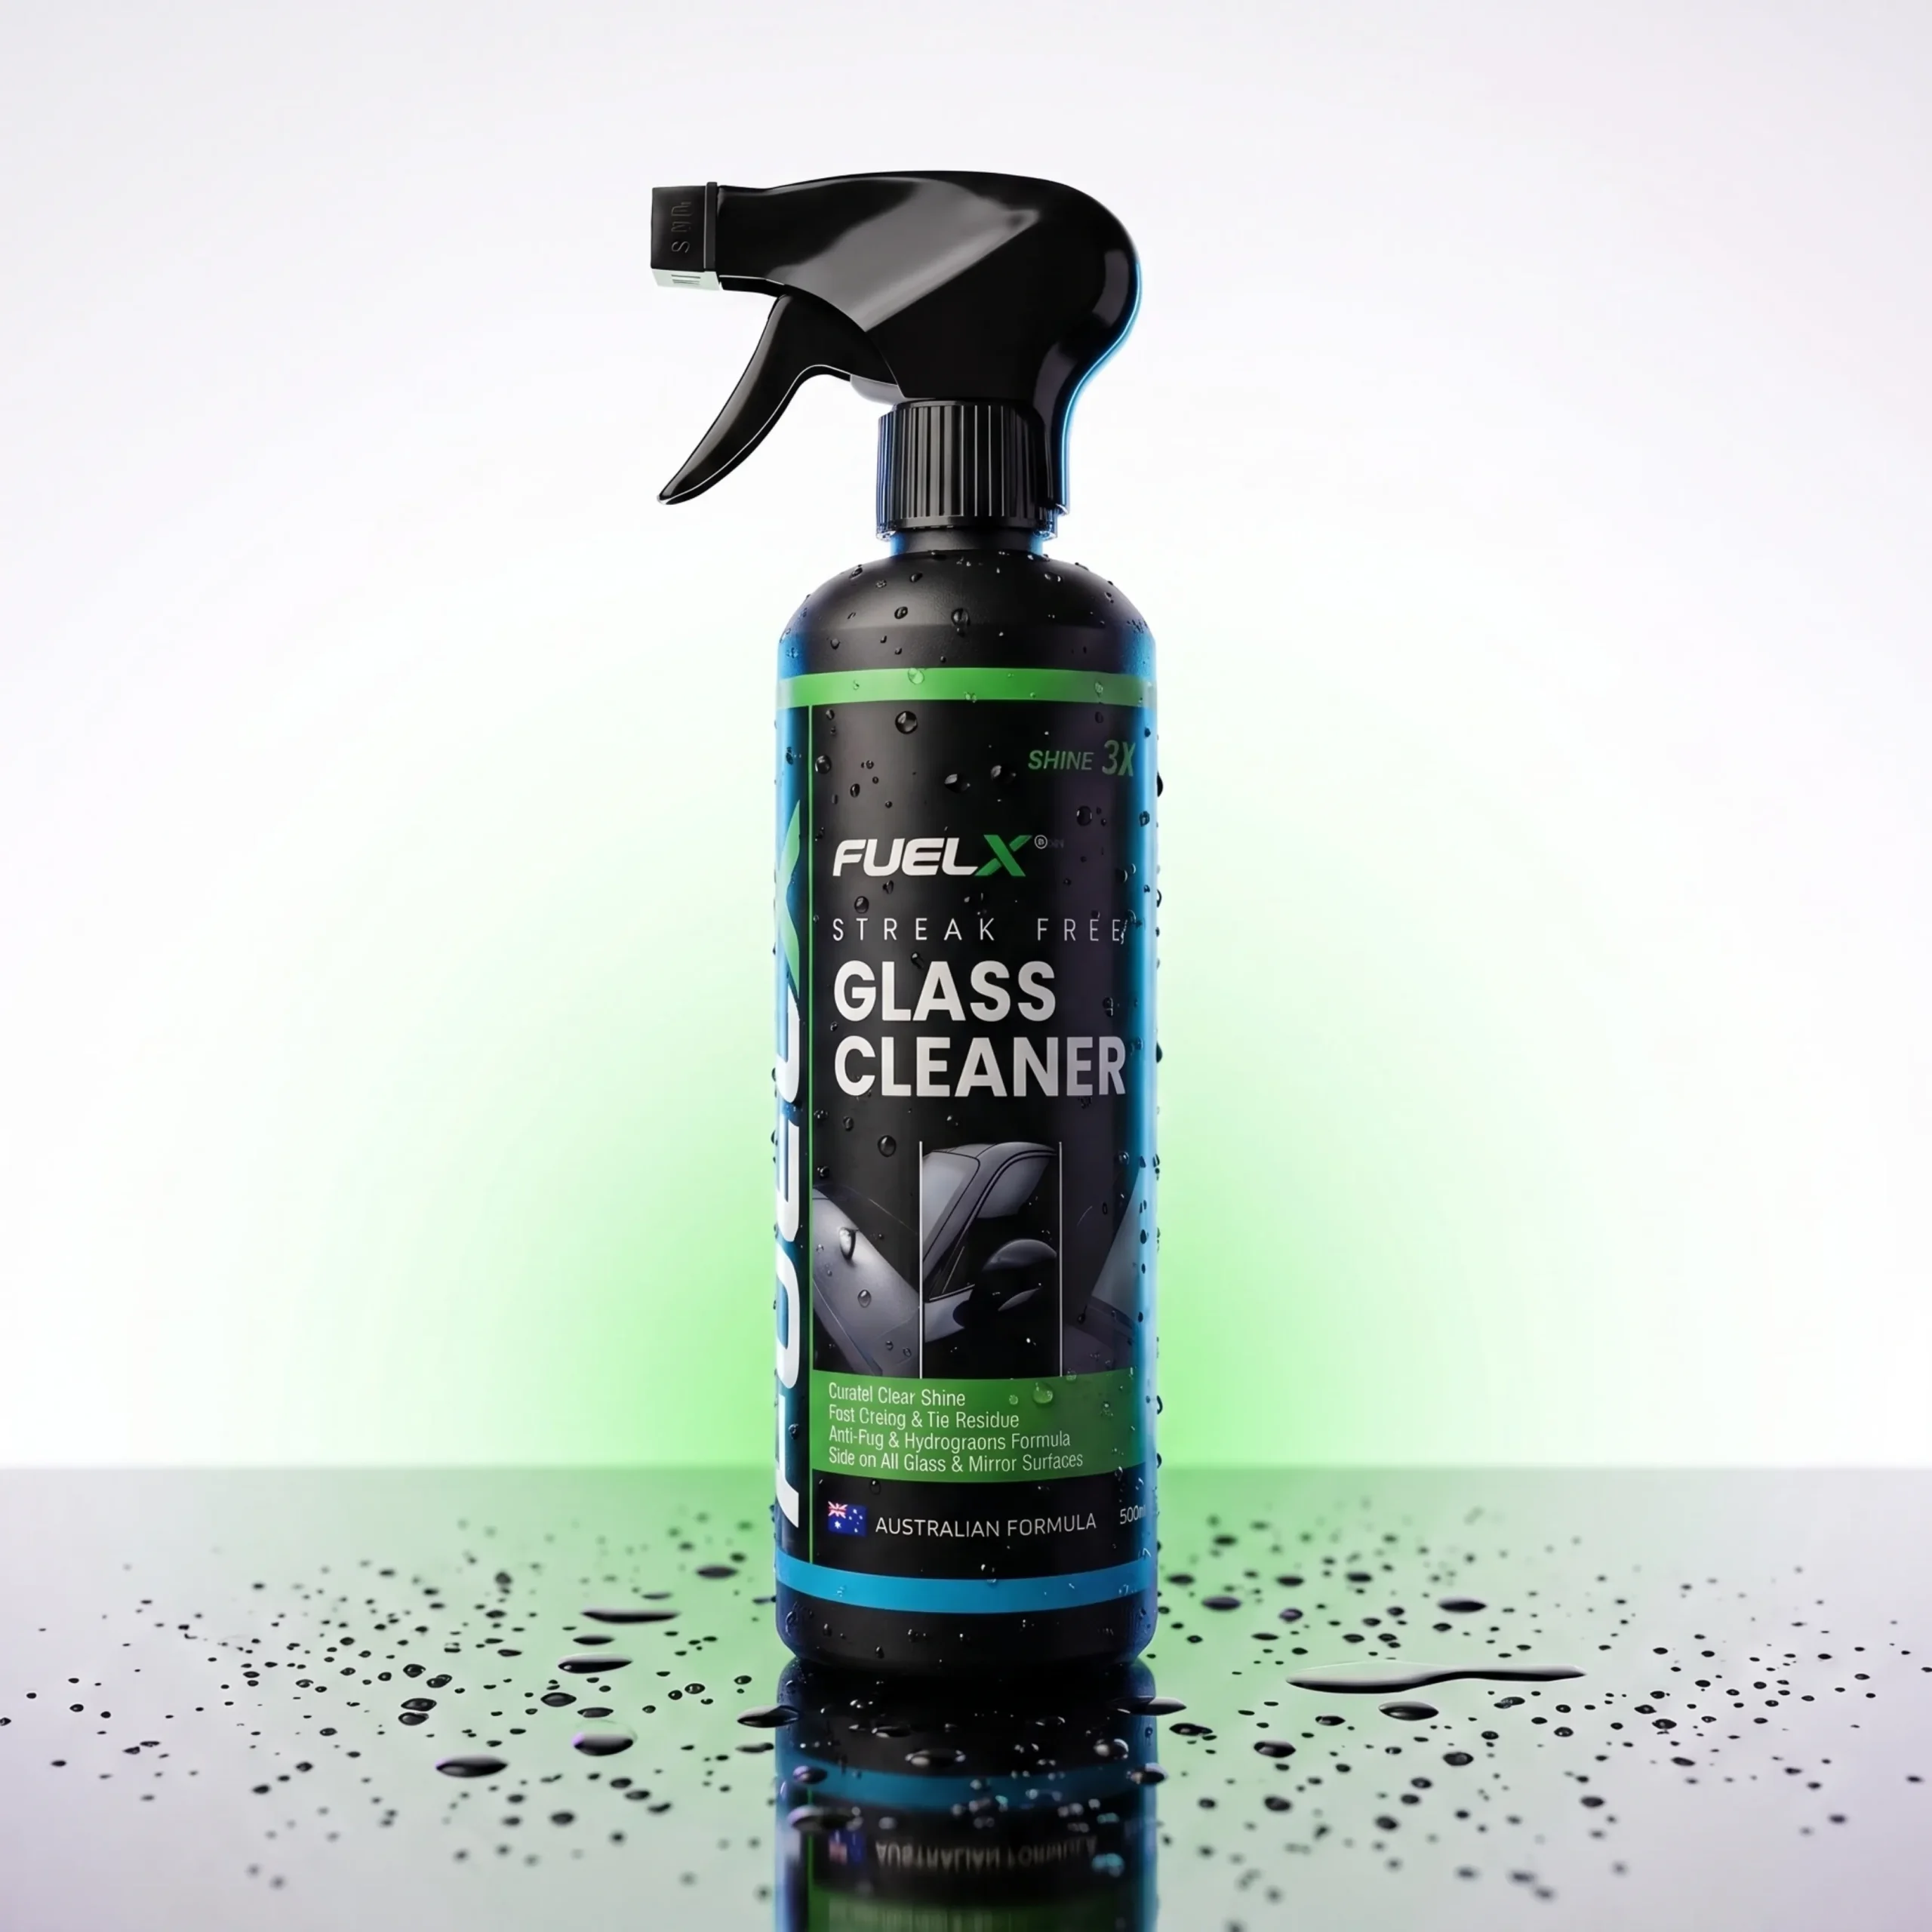
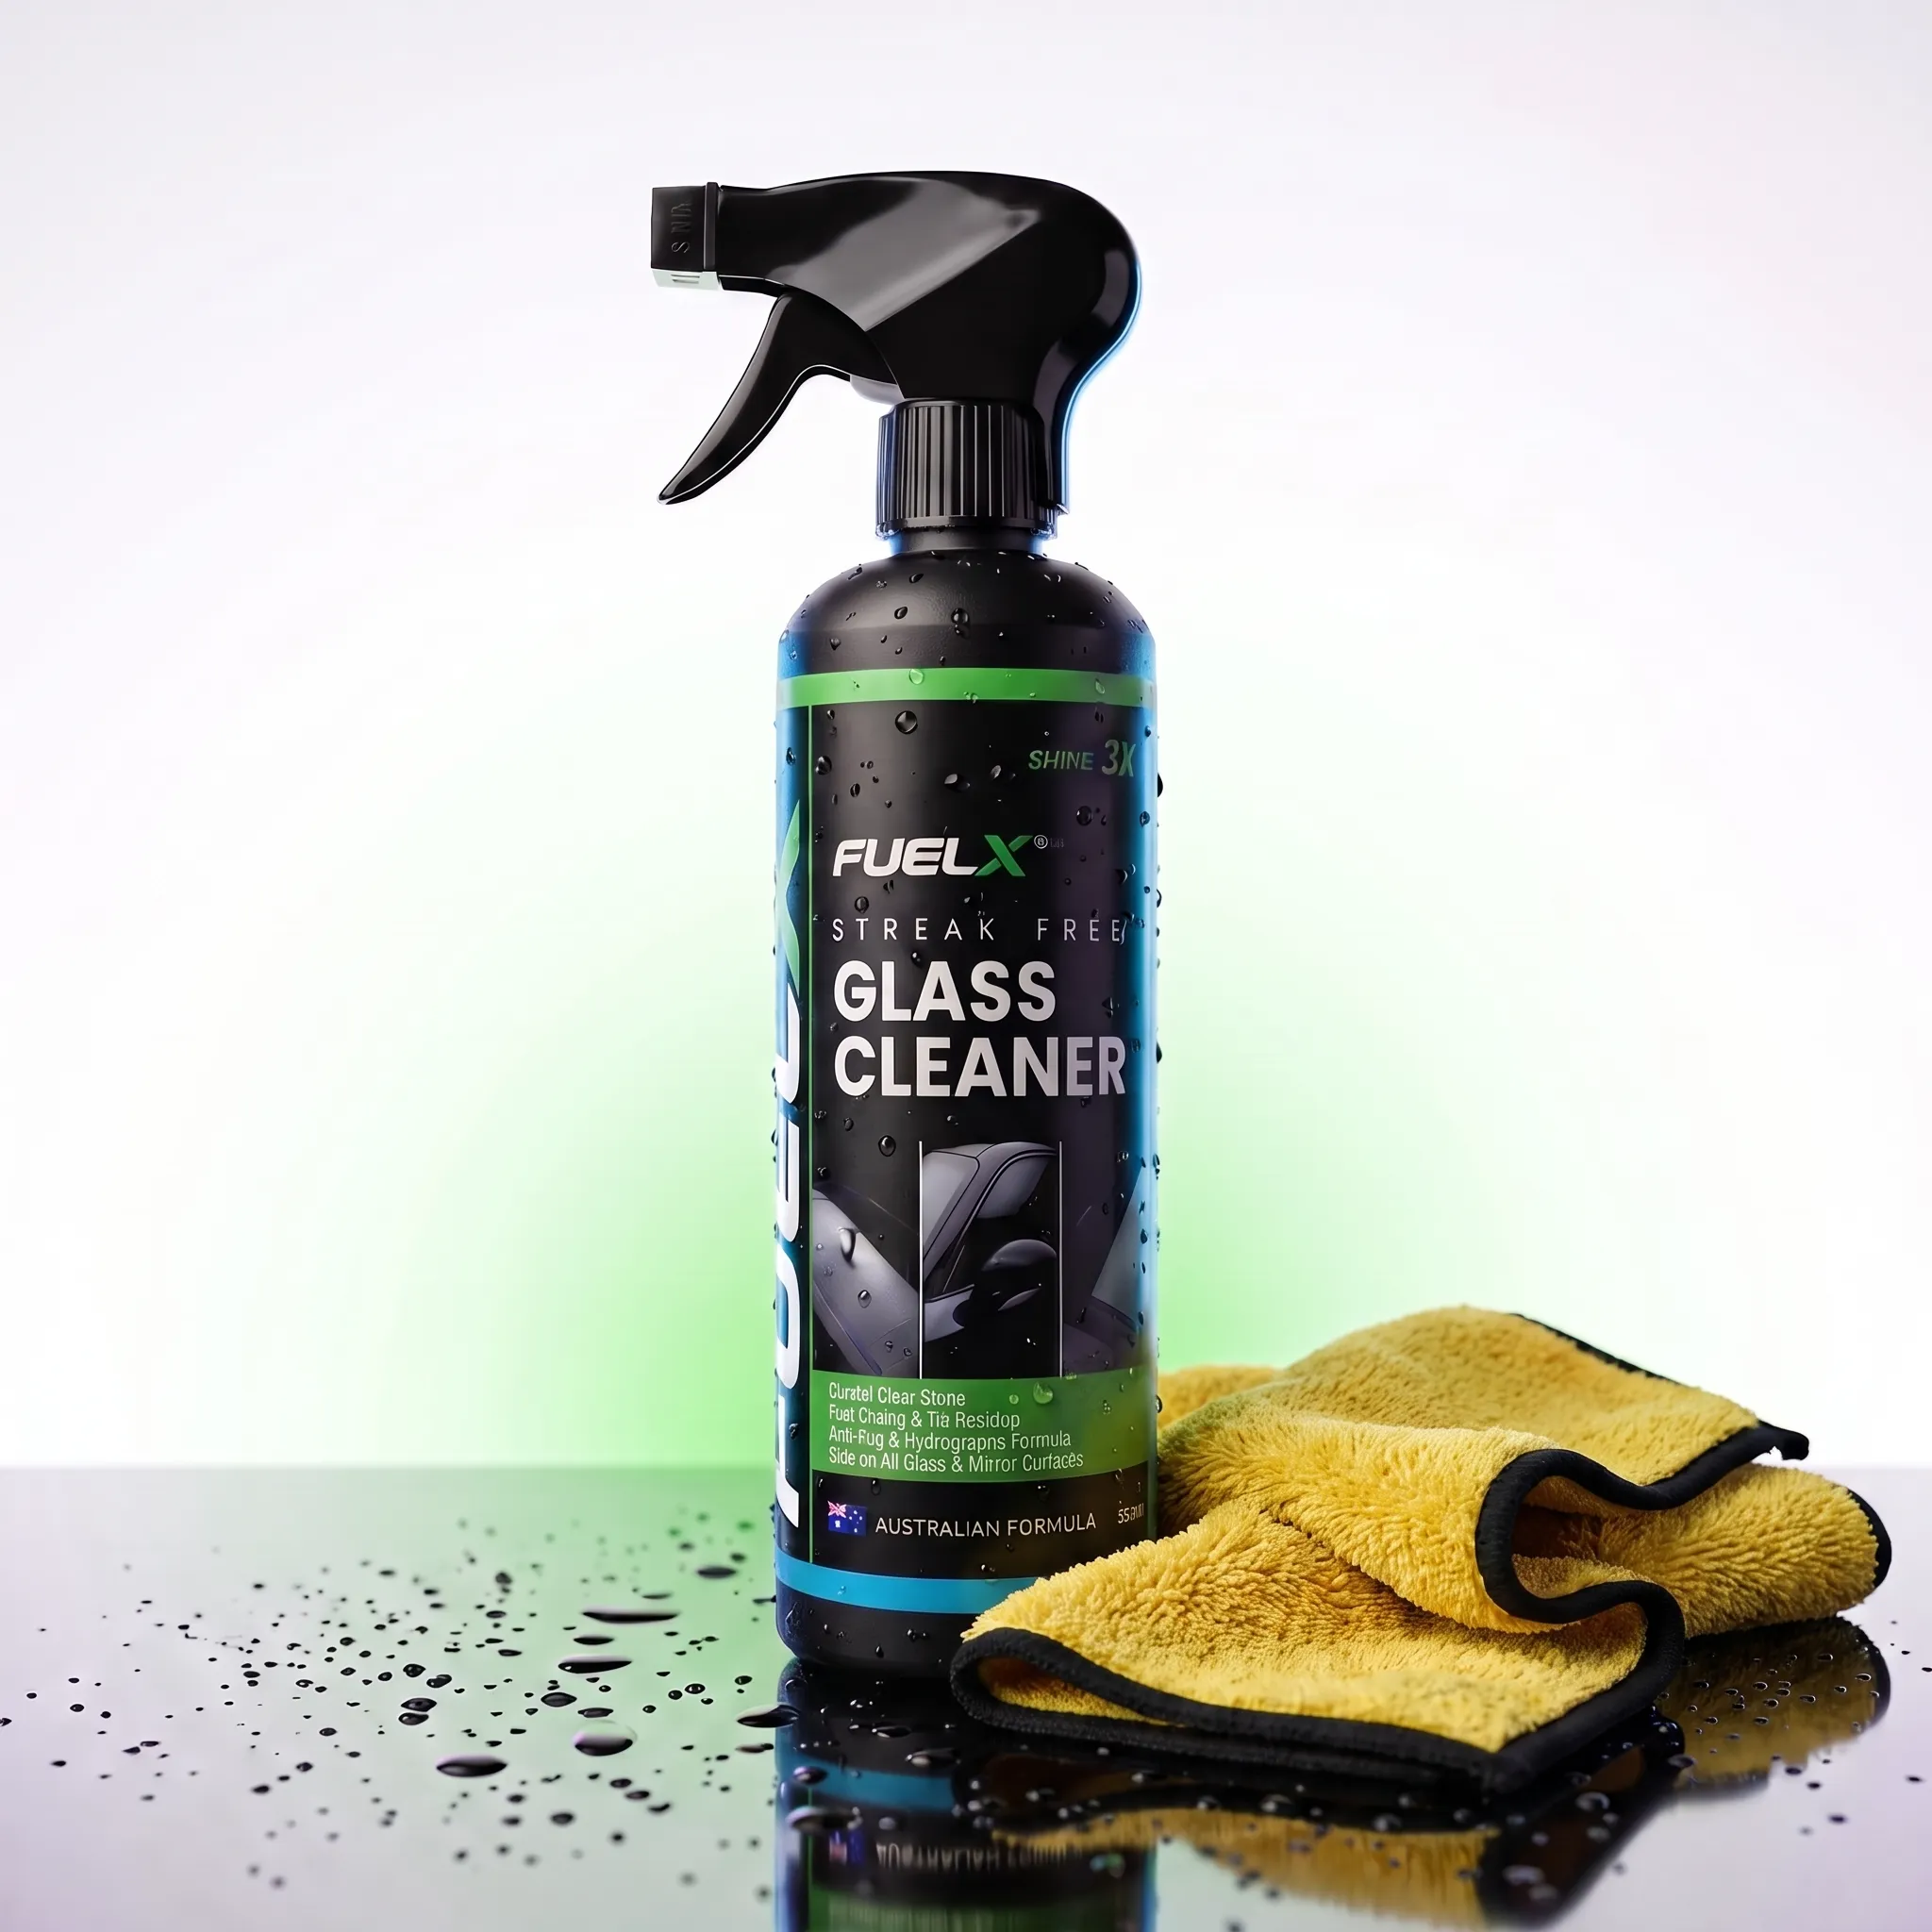
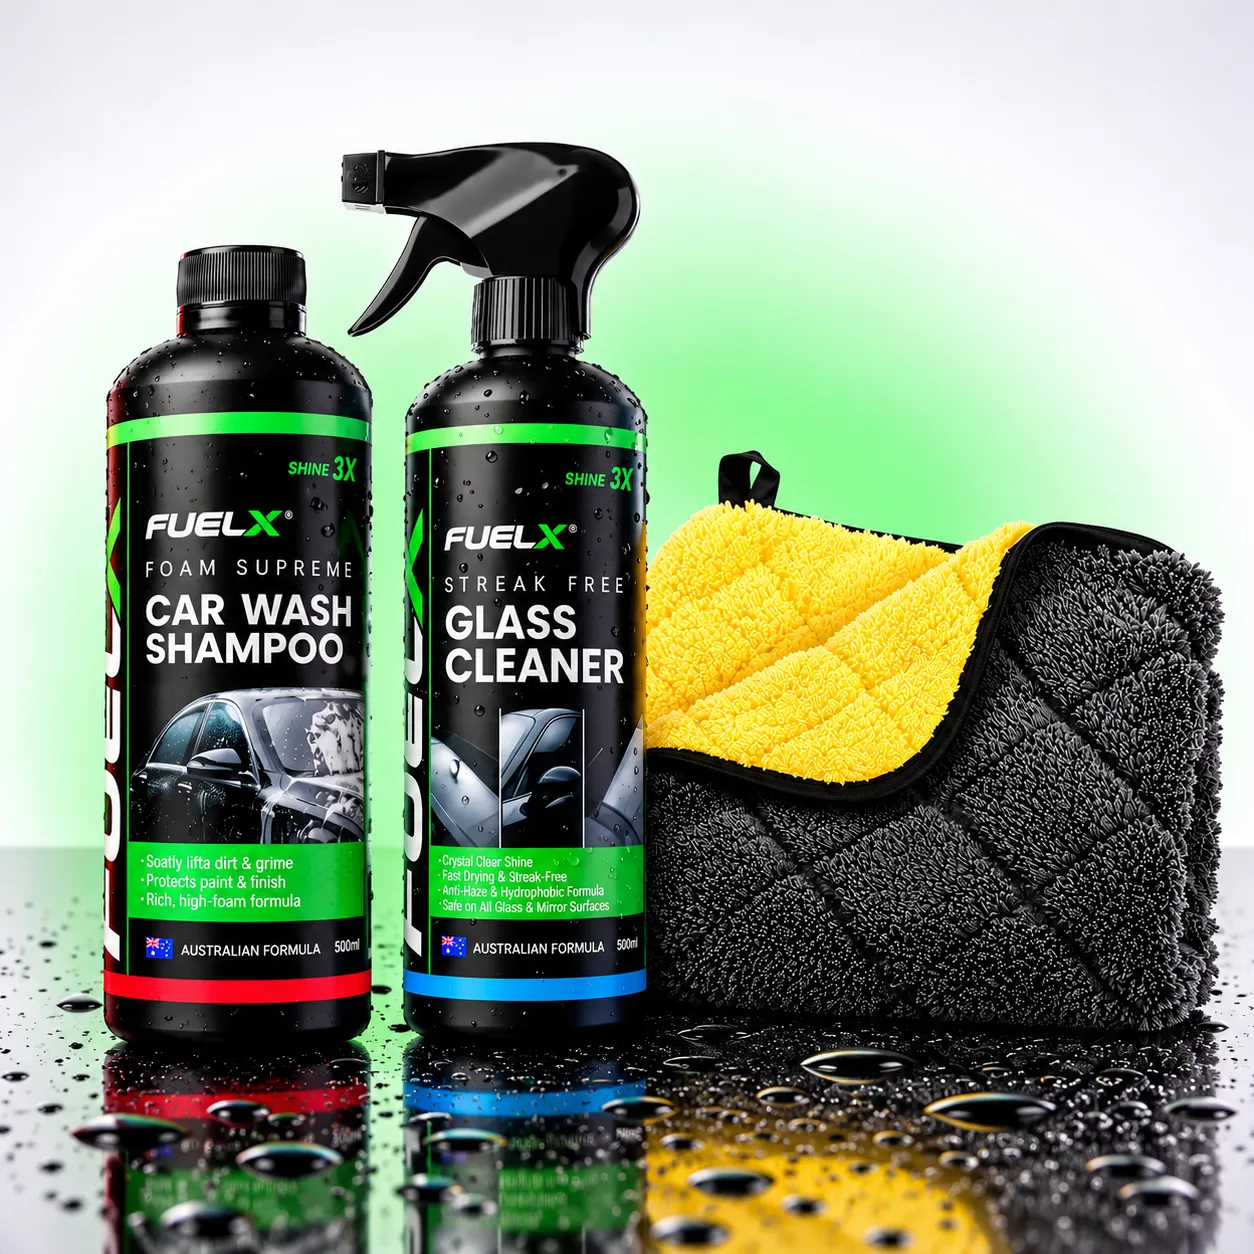
FuelX Glass Cleaner can be used as part of this stage according to its product instructions.
Step 10: Clean the Steering Wheel and High-Touch Areas
The steering wheel, gear lever, handbrake and door handles receive frequent contact throughout the day.
Other high-touch areas include:
Window switches
Start/stop button
Steering controls
Centre-console buttons
Armrests
These surfaces can accumulate skin oils, dust and grime faster than areas that passengers rarely touch.
Use a suitable cleaner and microfiber towel, paying attention to seams and buttons.
Don’t leave excessive product residue behind. A clean surface should not feel unnecessarily greasy or sticky.
Step 11: Perform a Final Vacuum and Wipe-Down
After cleaning the interior surfaces, perform a final inspection.
During detailing, dirt often falls from seats, dashboards and vents onto the floor. That’s why a second quick vacuum can make a noticeable difference.
Check:
Under seats
Seat rails
Door pockets
Floor corners
Cup holders
Centre console
Boot
Then perform a final wipe of the dashboard and other surfaces where necessary.
Use good lighting if possible. Natural daylight can help reveal dust, streaks and residue that aren’t obvious in a darker garage.
Step 12: Let the Interior Dry and Air Out
If you’ve used water or a wet cleaning method, allow the interior to dry properly.
Keep doors or windows open when practical and safe.
Don’t reinstall wet floor mats immediately, and don’t trap heavily damp upholstery inside a closed vehicle.
Once everything is dry:
Reinstall the floor mats.
Return necessary belongings.
Remove unnecessary clutter.
Check the glass again.
Do a final visual inspection.
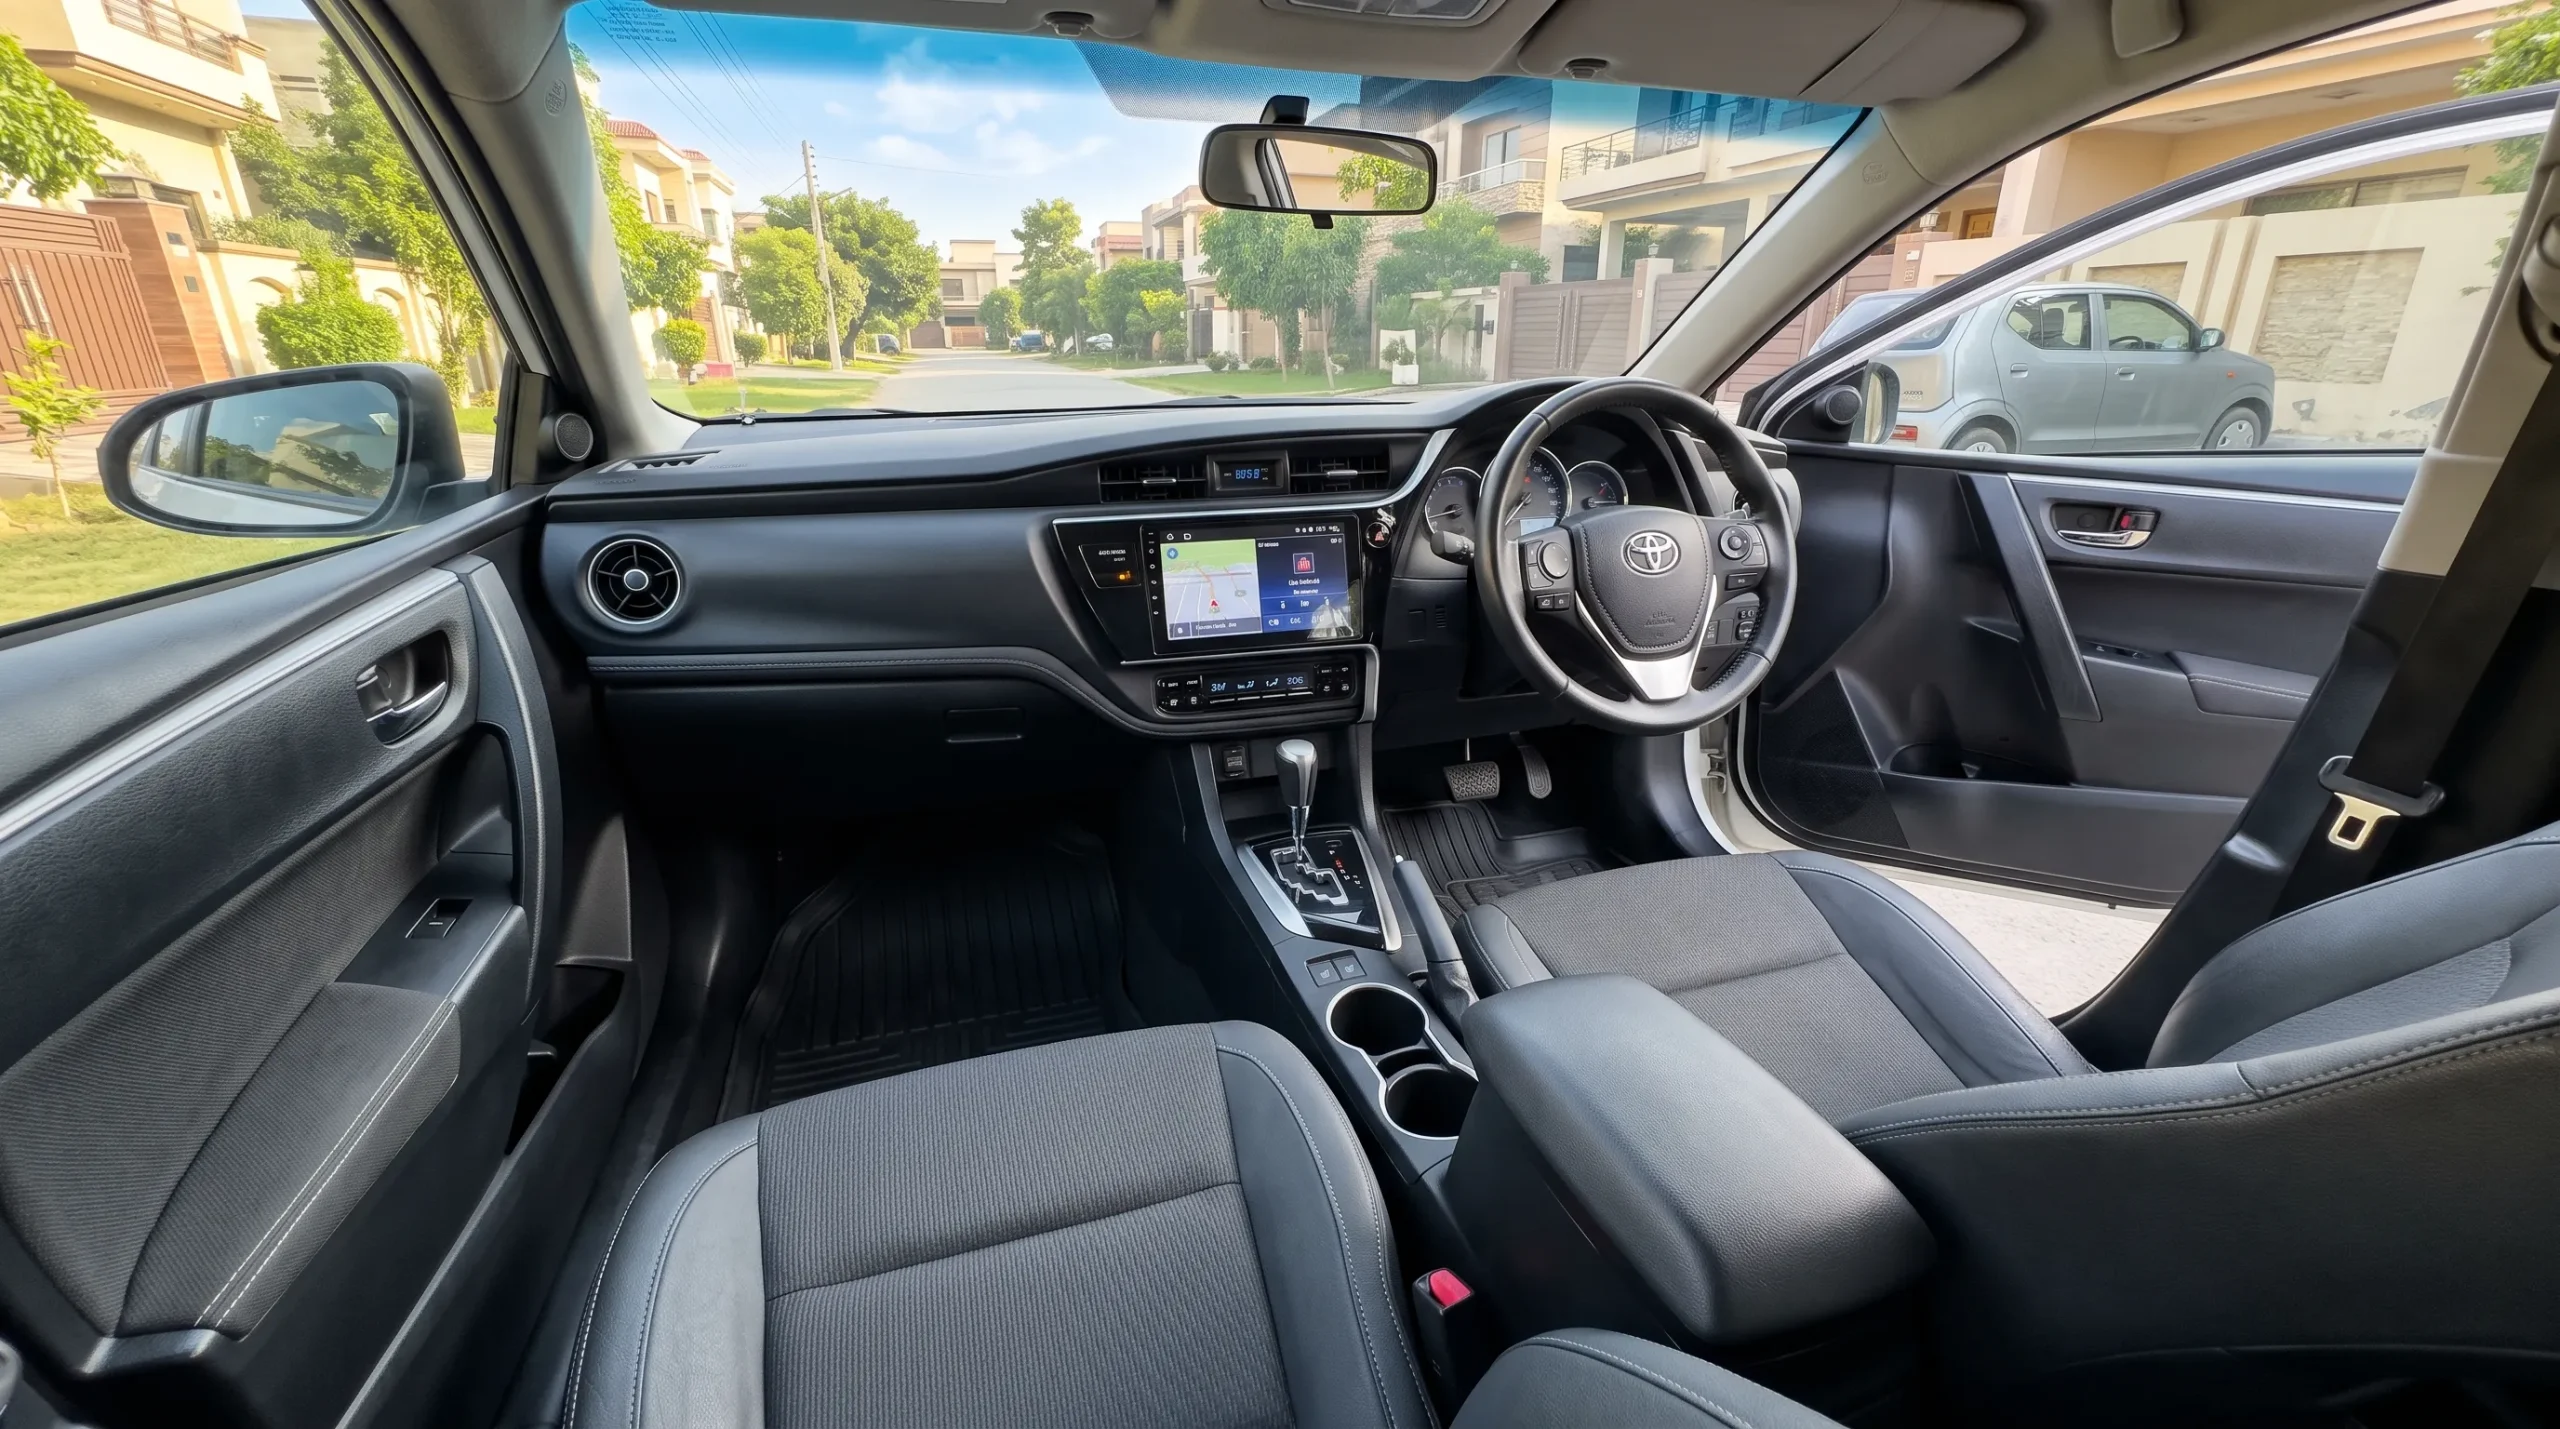
At this point, your interior should feel noticeably fresher and more organized.
Common Car Interior Detailing Mistakes to Avoid
Using Too Much Water
More water doesn’t automatically mean better cleaning.
Excess moisture can make carpets and upholstery difficult to dry and can leave unwanted dampness inside the vehicle.
Use controlled amounts and follow the instructions for the cleaning product you’re using.
Using Household Cleaners
A product designed for kitchen counters, bathroom tiles or household glass isn’t automatically appropriate for automotive materials.
Car interiors contain a mixture of plastics, coatings, fabrics, leather, synthetic materials and electronics. Always choose a product suitable for the surface.
Use a controlled application method recommended by the product manufacturer.
Using One Dirty Cloth for Everything
A towel used on the floor can carry abrasive dirt particles. Using that same towel on the dashboard or glass can spread contamination and potentially create fine marks.
Keep your cleaner towels separate from your finishing towels.
Cleaning Glass With a Dirty Microfiber
A dirty towel can leave streaks and redistribute residue.
For the best finish, use a clean microfiber specifically for glass.
Ignoring Hidden Areas
A dashboard can look spotless while there is still dust under the seats and inside door pockets.
Proper detailing means cleaning the areas that aren’t immediately visible.
Putting Wet Mats Back Inside
This is especially important during the rainy season.
Give washable mats sufficient time to dry before reinstalling them.
How Often Should You Detail Your Car Interior?
The ideal frequency depends on how often you drive and how dirty the vehicle becomes.
A practical maintenance schedule is:
Task
Suggested Frequency
Remove trash
Daily or as needed
Quick interior wipe
Weekly
Vacuum
Weekly or every 1–2 weeks
Glass cleaning
Every 1–2 weeks or as needed
Deeper interior cleaning
Every 1–3 months
Full interior detailing
Based on condition
For example, someone who drives 20–30 km every day through dusty urban roads may need more frequent vacuuming than someone who drives only a few times per week.
Similarly, monsoon weather can increase the need for cleaning because wet shoes and muddy roads introduce moisture and dirt into the cabin.
The important thing is not to wait until the interior becomes heavily soiled.
How to Keep Your Car Interior Clean for Longer
After spending one to three hours detailing your car, the last thing you want is for it to become dirty again within a few days.
A few simple habits can extend the results:
Remove rubbish regularly.
Use suitable floor mats.
Clean drink and food spills quickly.
Avoid eating messy foods inside the vehicle.
Vacuum regularly.
Keep a few clean microfiber towels available.
Remove wet or muddy items quickly.
Wipe high-touch areas regularly.
Don’t allow dust to build up around AC vents.
Keep unnecessary belongings out of the cabin.
Think of detailing as a reset and regular cleaning as maintenance. A five-minute cleanup every few days is much easier than trying to recover an interior that has been neglected for several months.
Can You Detail Your Car Interior Without Professional Equipment?
Yes.
For routine home detailing, you can achieve good results with:
Vacuum cleaner
Microfiber towels
Automotive-safe cleaner
Glass cleaner
Soft brushes
Clean water
Professional equipment becomes more useful for difficult jobs such as deep extraction, heavily stained upholstery, severe odor removal or neglected interiors.
For a normally maintained vehicle, however, technique is often more important than owning expensive equipment.
A person with basic tools and a systematic process can often achieve a better result than someone with expensive equipment who uses the wrong products or skips important areas.
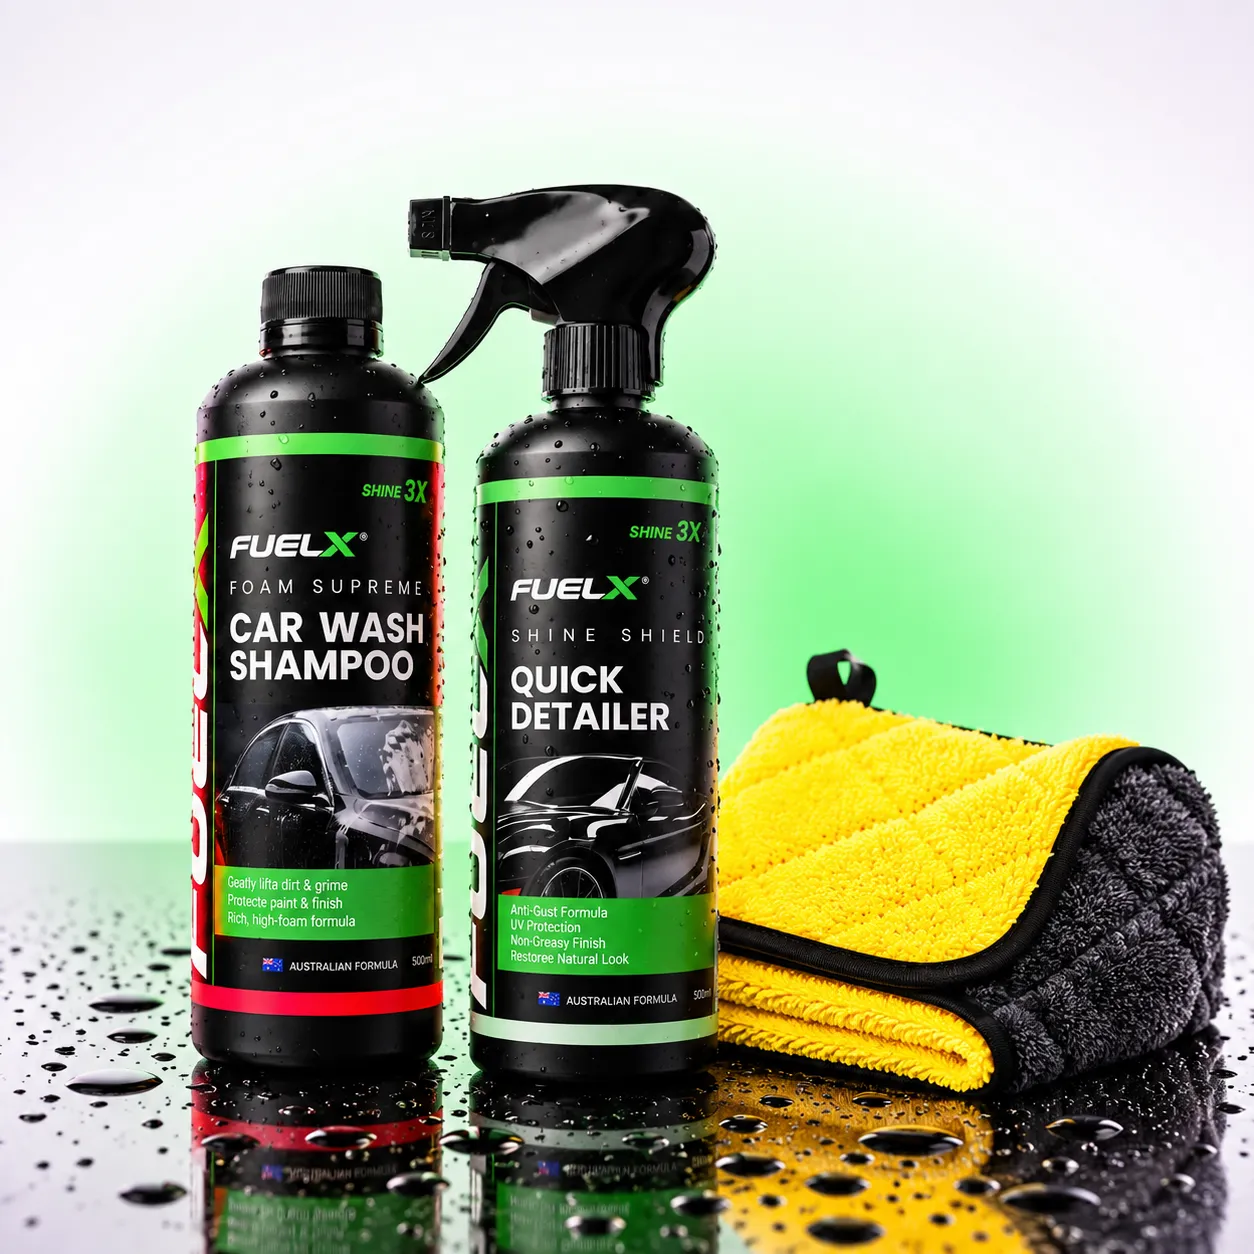
FuelX Products That Can Help With Interior Detailing
The right products can make a home detailing routine easier and more consistent.
FuelX Multi-Purpose Cleaner
A multi-purpose cleaner can be useful for cleaning compatible interior surfaces. Always check the product instructions and make sure the surface is suitable before application.
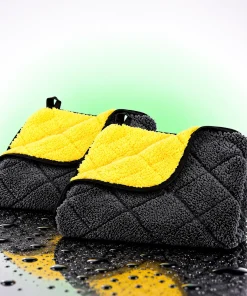
FuelX Premium Microfiber Detailing Towel
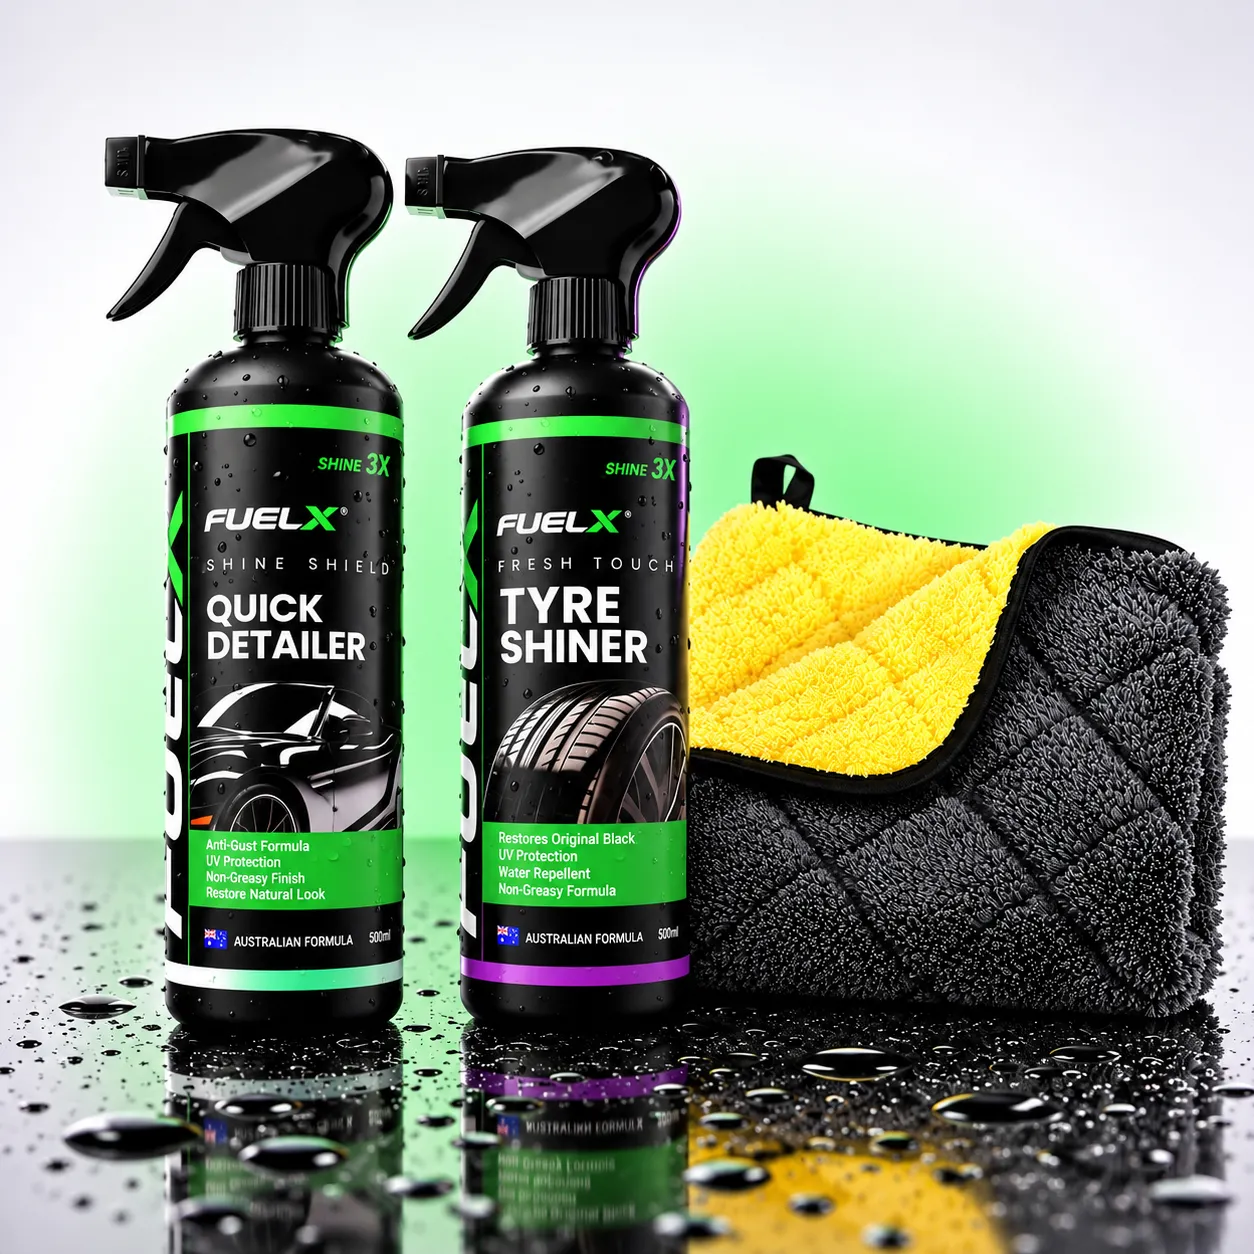
Microfiber towels are essential for interior detailing because different stages require controlled wiping. Keeping several towels available allows you to separate dirtier cleaning tasks from final finishing.
FuelX Applicator Pads
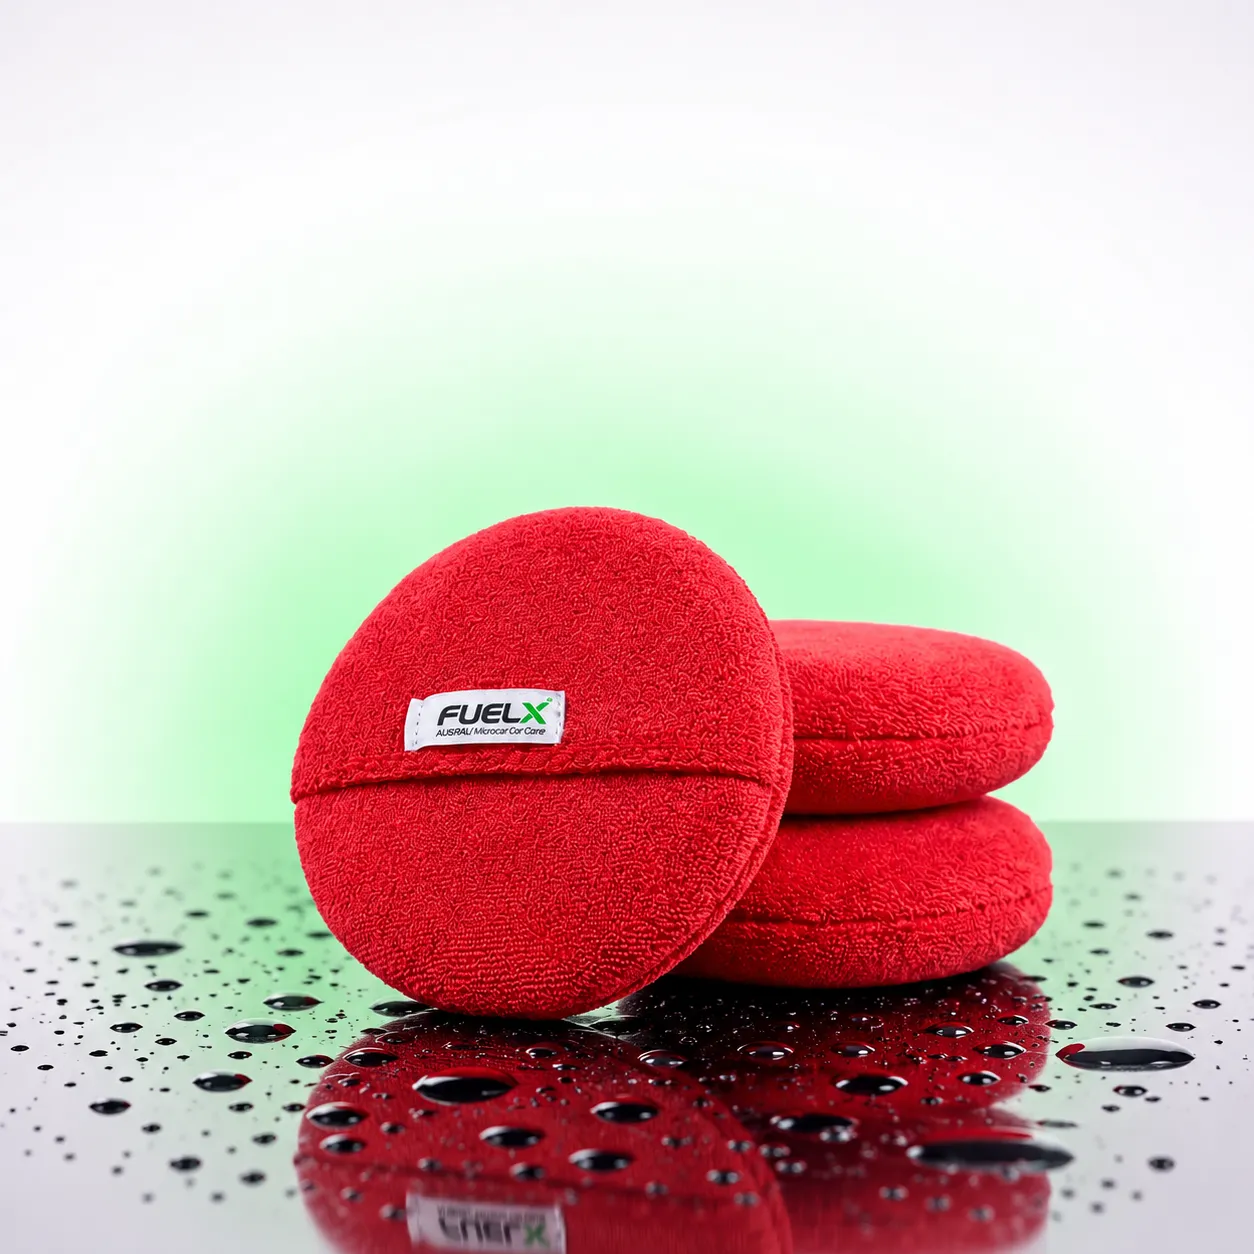
Applicator pads can help with controlled product application where appropriate. They are particularly useful when you want to apply a product to a specific area without unnecessarily covering surrounding surfaces.
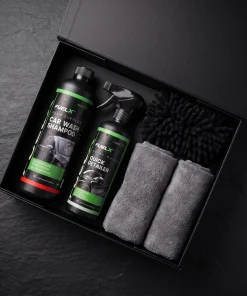
FuelX Interior Deep Clean Kit
For car owners who want a convenient collection of interior-care essentials, an interior-focused kit can simplify the process by keeping the necessary products together.
The important point is to use each product according to its intended purpose and instructions rather than assuming one cleaner is suitable for every surface inside your vehicle.
Final Thoughts
Car interior detailing at home doesn’t have to be complicated or expensive. The biggest difference comes from having a systematic process rather than randomly cleaning whatever looks dirty.
Start by removing clutter and floor mats, then vacuum thoroughly. Work from the dashboard and upper surfaces toward the lower areas, clean the seats according to their material, pay attention to vents and hidden spaces, finish the glass carefully, and give damp areas enough time to dry.
For Pakistani drivers, regular interior maintenance is particularly useful because dust, heat, traffic, muddy roads and monsoon moisture can quickly undo the results of a deep clean.
You don’t need professional equipment to maintain a clean cabin. What you need is the right products, clean microfiber towels, attention to detail and a consistent routine.
A thorough detail every few months, combined with quick weekly maintenance, can keep your car interior looking cleaner and feeling more comfortable throughout the year.
FAQ’s
Can I detail my car interior at home?
Yes. Most routine interior detailing can be completed at home using a vacuum, microfiber towels, suitable automotive cleaners and soft brushes. Professional equipment is mainly useful for more difficult cleaning jobs.
What products do I need for car interior detailing?
A basic setup includes a vacuum cleaner, microfiber towels, suitable interior cleaner, automotive glass cleaner and soft detailing brushes. Upholstery-specific products may be required depending on the material of your seats.
How often should I deep clean my car interior?
For many vehicles, a deeper clean every one to three months is a reasonable starting point. Vehicles exposed to heavy dust, frequent passengers, children, pets or monsoon conditions may require more frequent cleaning.
Can I use a multi-purpose cleaner on my car dashboard?
Only if the cleaner is suitable for that dashboard material. Always follow the product instructions and test an unfamiliar product on an inconspicuous area first.
How do I clean fabric car seats at home?
Vacuum the seats thoroughly first, treat stains with a suitable upholstery cleaner, avoid excessive moisture and allow the seats to dry completely before using the vehicle normally.
How do I clean car windows without streaks?
Use an automotive glass cleaner with a clean microfiber towel. Work in small sections and finish with a separate clean towel to remove remaining residue.
How do I clean dust from car AC vents?
Use a soft detailing brush to loosen accessible dust and a vacuum to collect it. Avoid forcing tools deep inside vents or applying excessive liquid around them.
How long does car interior detailing take at home?
A basic interior detail can take around 1–3 hours, depending on the vehicle’s size, number of passengers, amount of dirt and level of detailing required. A heavily neglected interior may take considerably longer.