Car seats are exposed to dirt, sweat, food crumbs, drink spills, dust, and everyday friction every time you drive. In Pakistan, hot weather, dusty roads, monsoon rain, and frequent use of air conditioning can make interior dirt especially noticeable. Even if you regularly wash the outside of your car, the seats can gradually develop stains, unpleasant smells, and a dull appearance.
The good news is that you do not need professional detailing equipment every time your seats need cleaning. For normal dirt and light-to-moderate stains, you can clean many car seats safely at home with a vacuum, microfiber towels, a soft brush, and a suitable automotive interior cleaner.
However, there is an important difference between cleaning a car seat and simply making it wet. Using excessive water, harsh chemicals, or aggressive scrubbing can damage upholstery or make the drying process much harder.
The safest approach is to identify the seat material first, remove dry dirt, use a controlled amount of cleaner, and allow the upholstery to dry completely.
First Identify What Type of Car Seats You Have
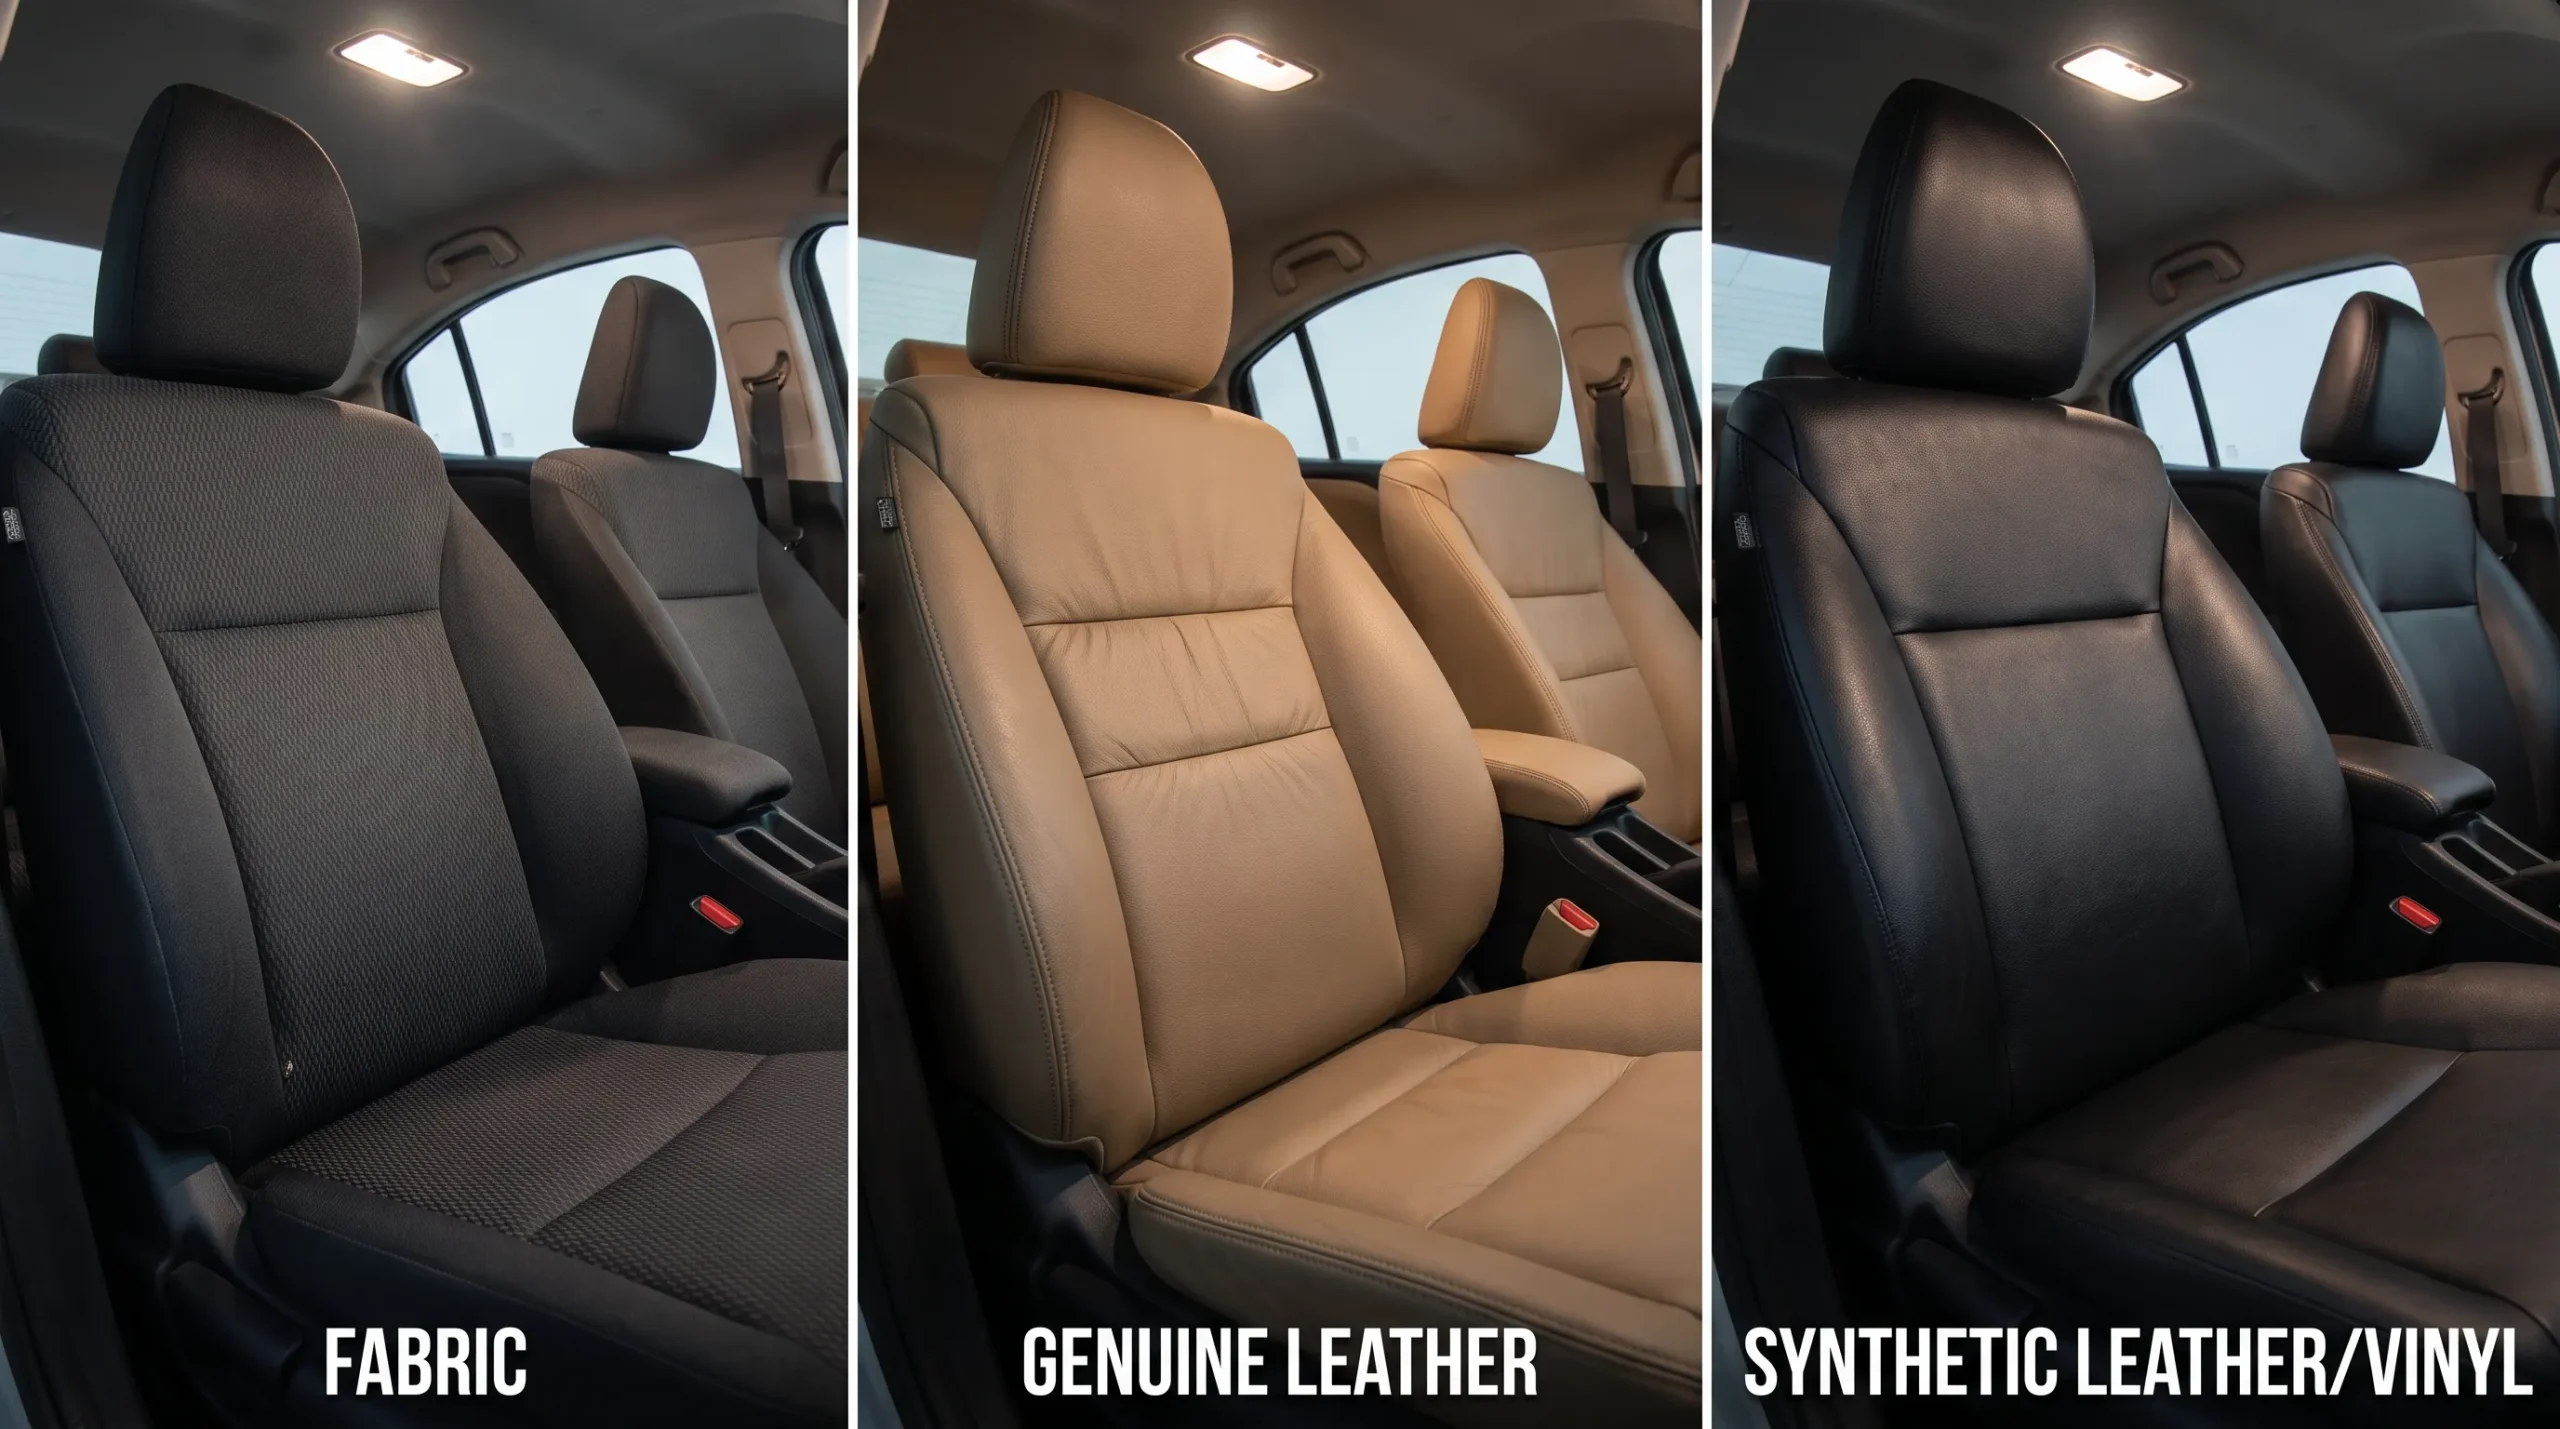
Before cleaning, determine whether your seats are fabric, leather, synthetic leather, or vinyl. The same cleaning method should not automatically be used on every material.
Fabric Car Seats
Fabric upholstery is common in many everyday cars. It can absorb liquids, sweat, food spills, and other contaminants.
The biggest risk is over-wetting. A fabric seat may look dry on the surface while moisture remains deeper inside the foam. If the interior is not properly ventilated, that moisture can contribute to unpleasant odors.
For routine cleaning, use controlled amounts of cleaner instead of saturating the seat.
Leather Car Seats
Leather is less absorbent than fabric but requires more careful treatment. Harsh detergents, excessive scrubbing, and unsuitable chemicals can affect the surface finish.
If your vehicle has genuine leather seats, use a cleaner specifically recommended for leather and follow the vehicle manufacturer’s care instructions. Leather should not be treated exactly like fabric upholstery.
Synthetic Leather and Vinyl Seats
Synthetic leather and vinyl are generally easier to wipe clean because dirt tends to remain closer to the surface. However, strong chemicals and abrasive brushes can still affect the finish.
A microfiber towel and compatible automotive interior cleaner are usually a better choice than aggressive household cleaning products.
Tip: If you are unsure about the material, check the owner’s manual or vehicle manufacturer’s recommendations before applying any cleaning product.
What You Need to Clean Car Seats at Home
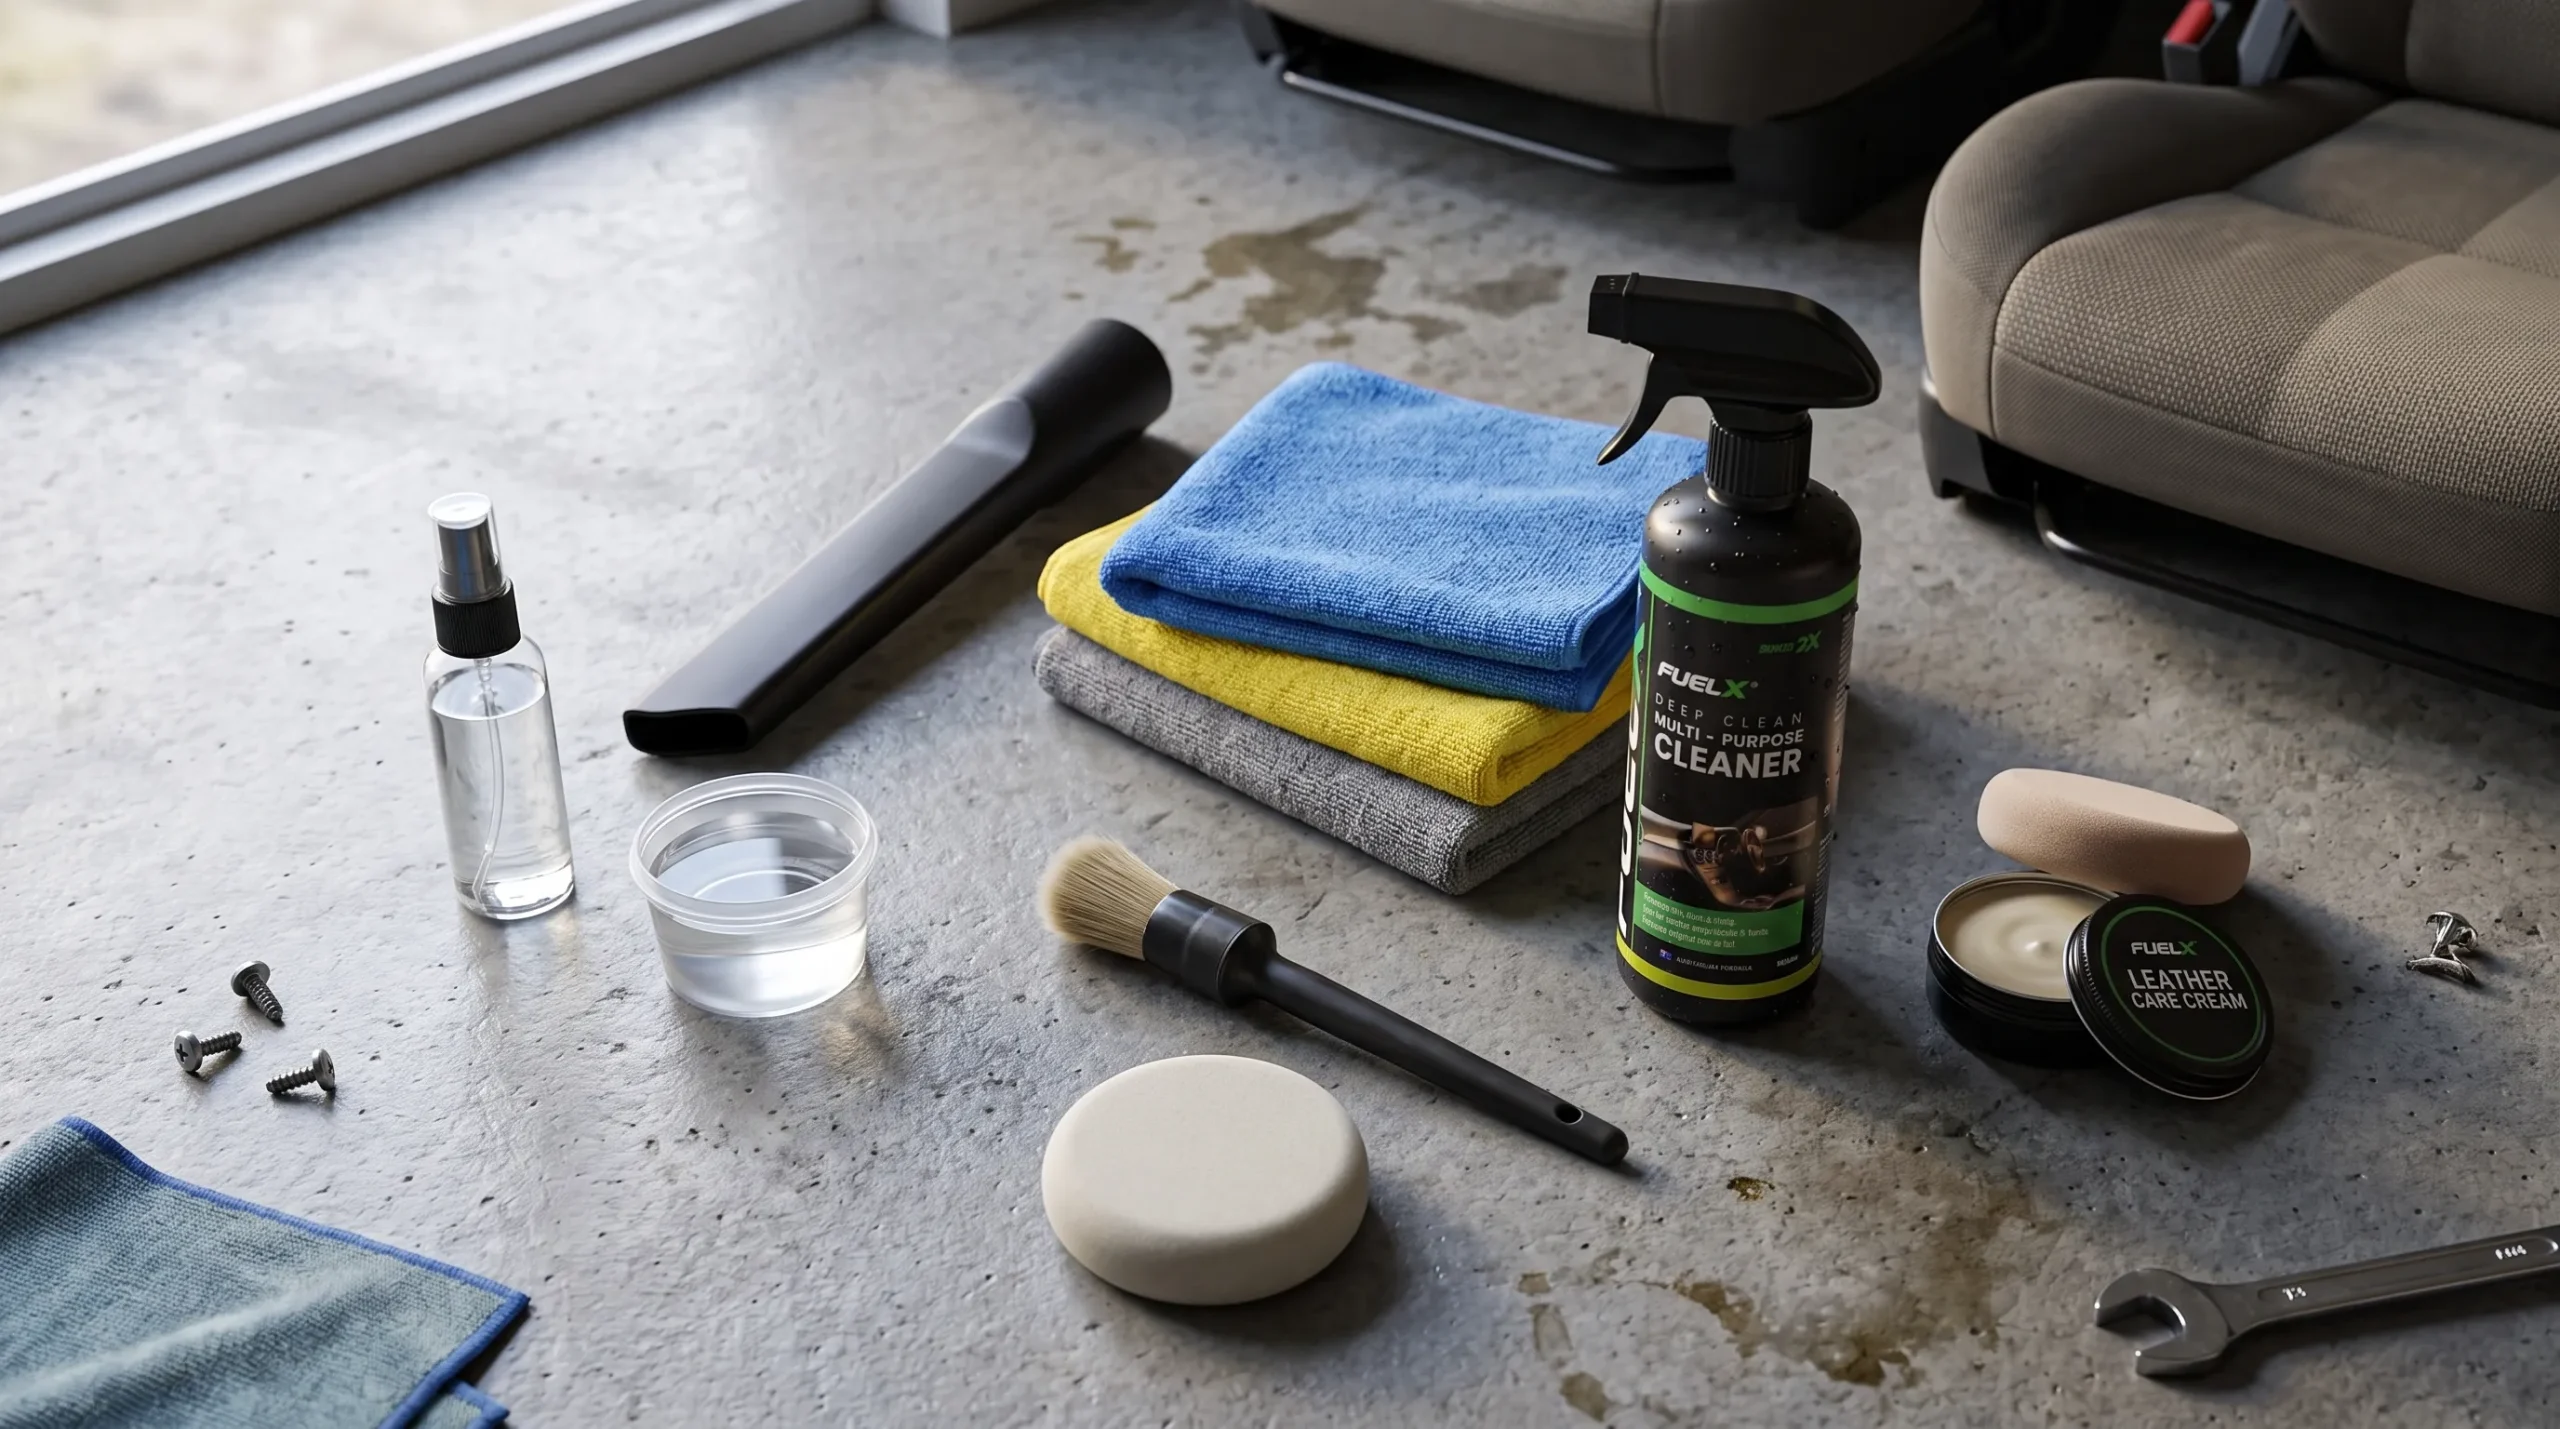
You can handle routine car-seat cleaning with a relatively simple collection of tools:
For leather seats, add a leather-specific cleaner and conditioner if recommended for your particular leather.
You do not need to use a large amount of product. In fact, using more cleaner than necessary can make the job harder because you have more residue and moisture to remove.
For example, if you are cleaning one front seat, work on an area of roughly 30–60 cm at a time rather than spraying the entire seat at once. This gives you much better control over the amount of moisture and lets you inspect your results as you go.
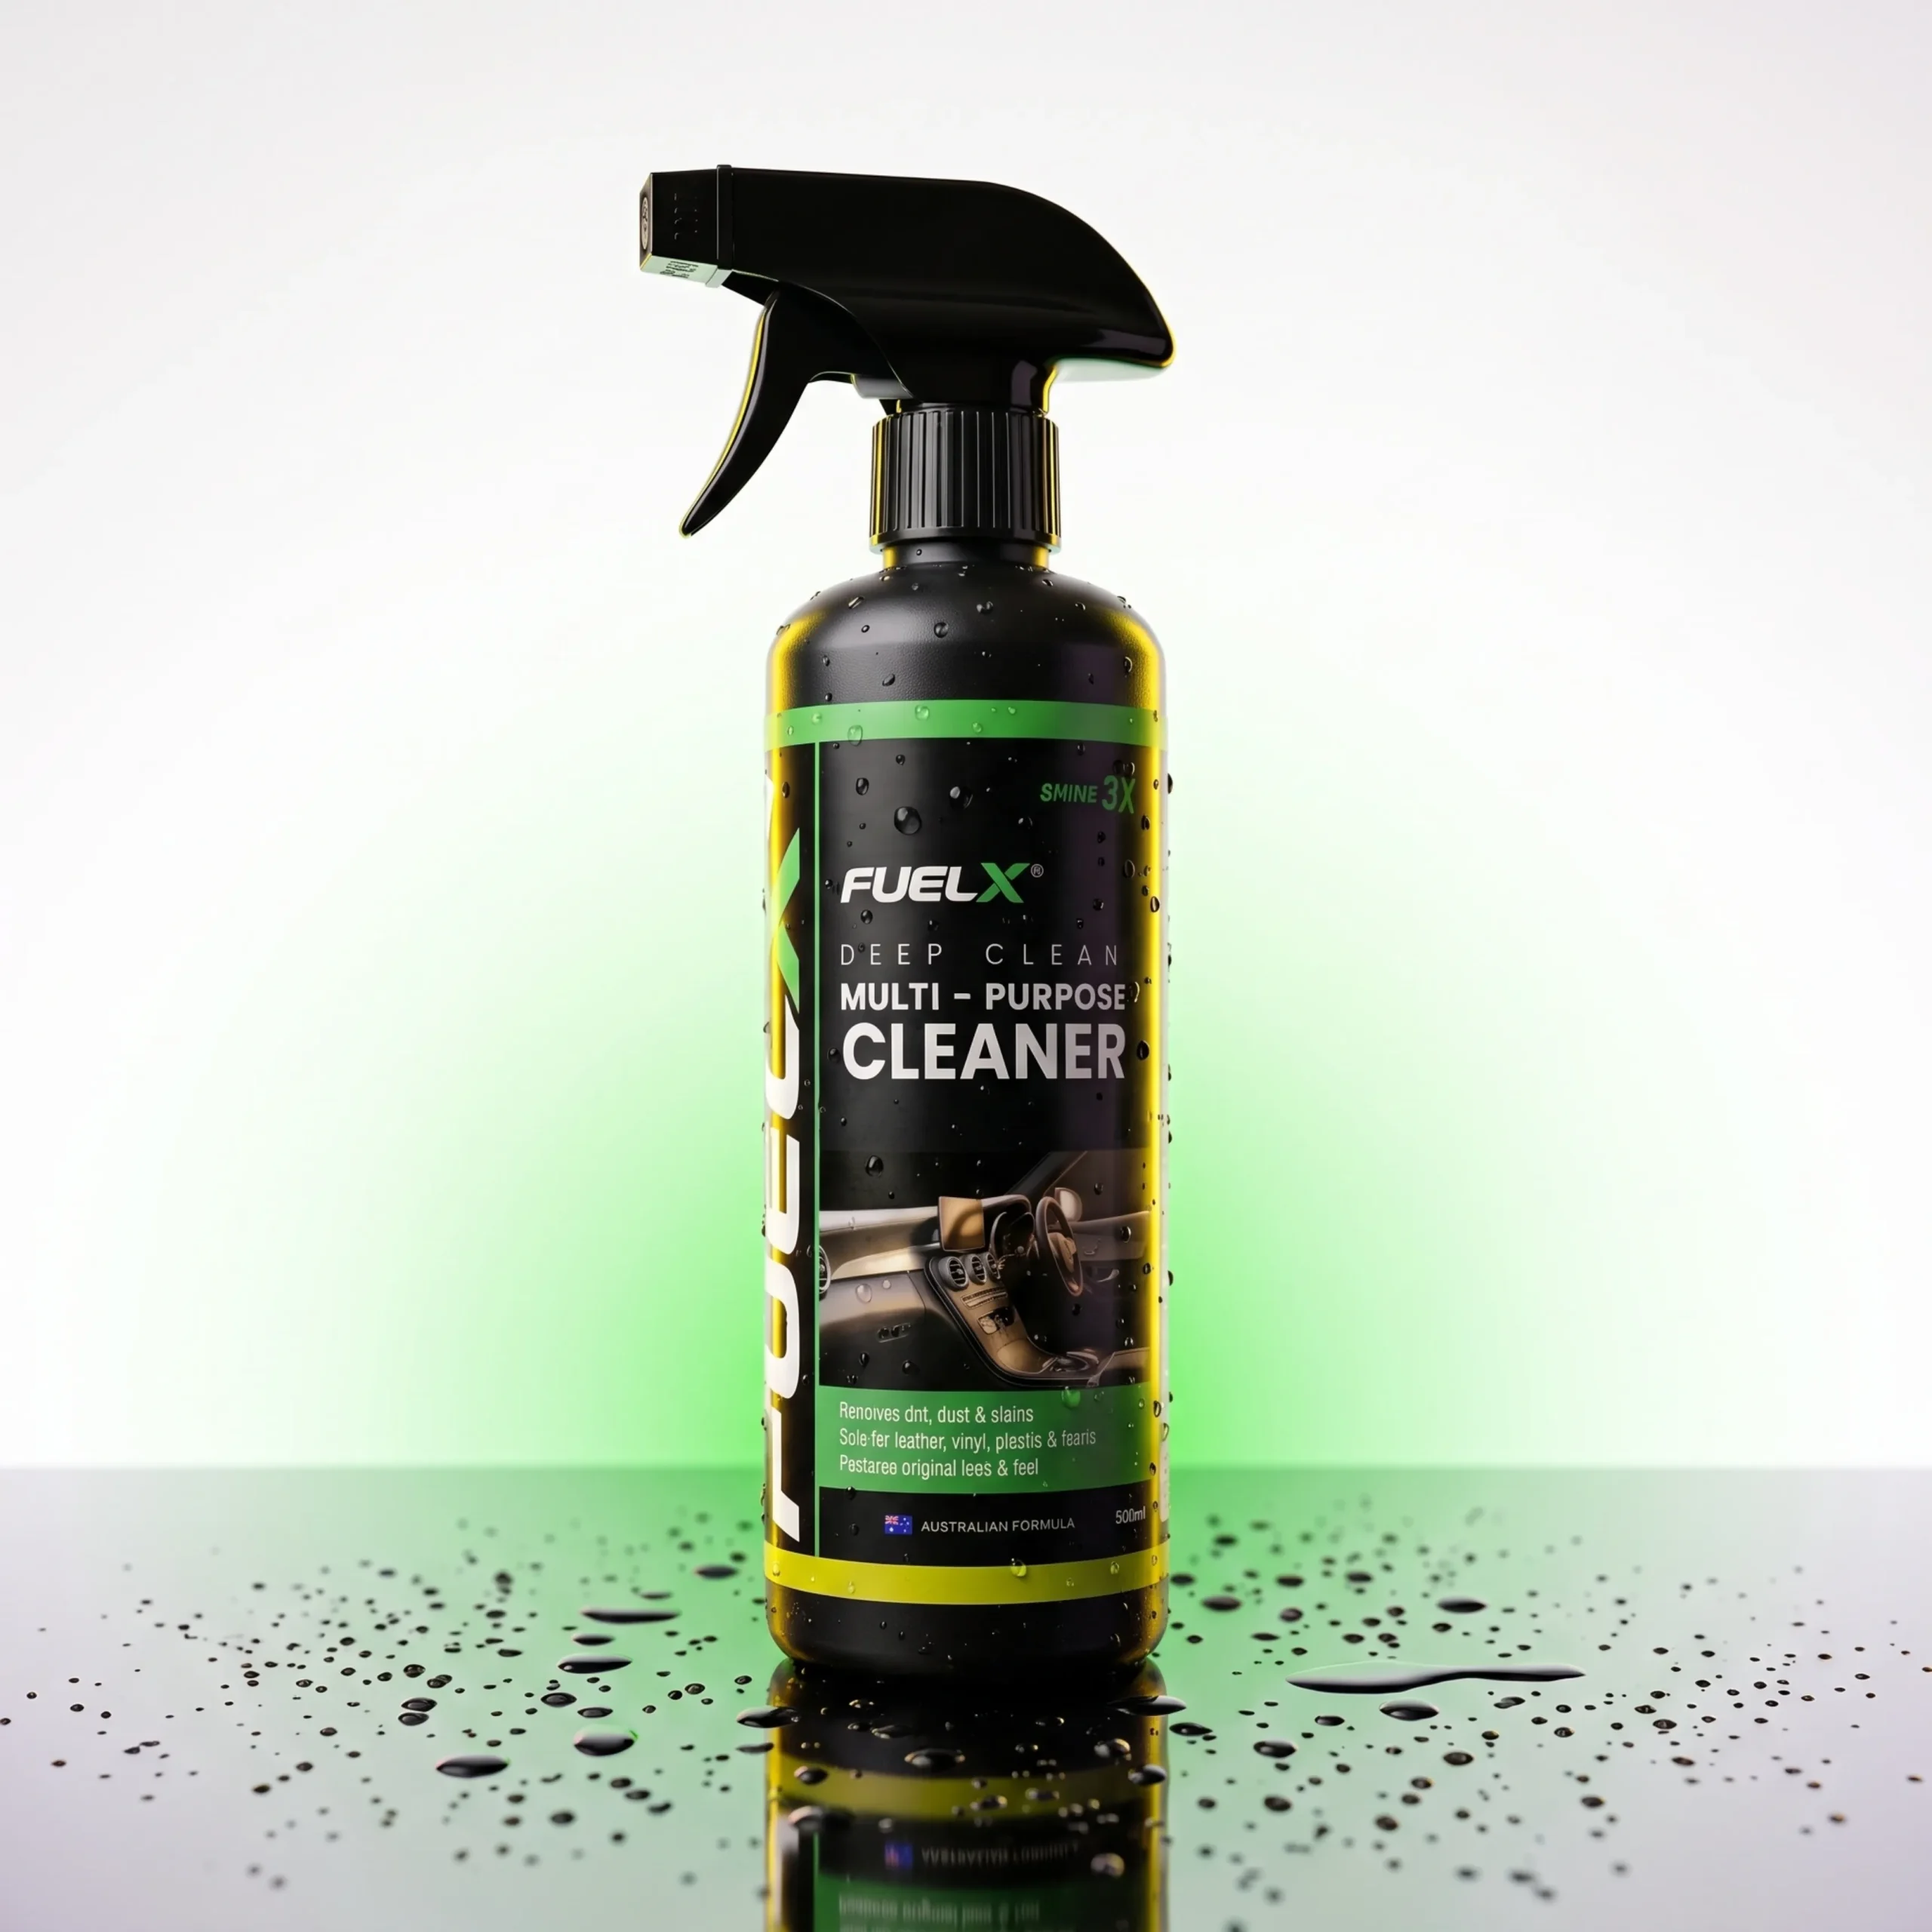
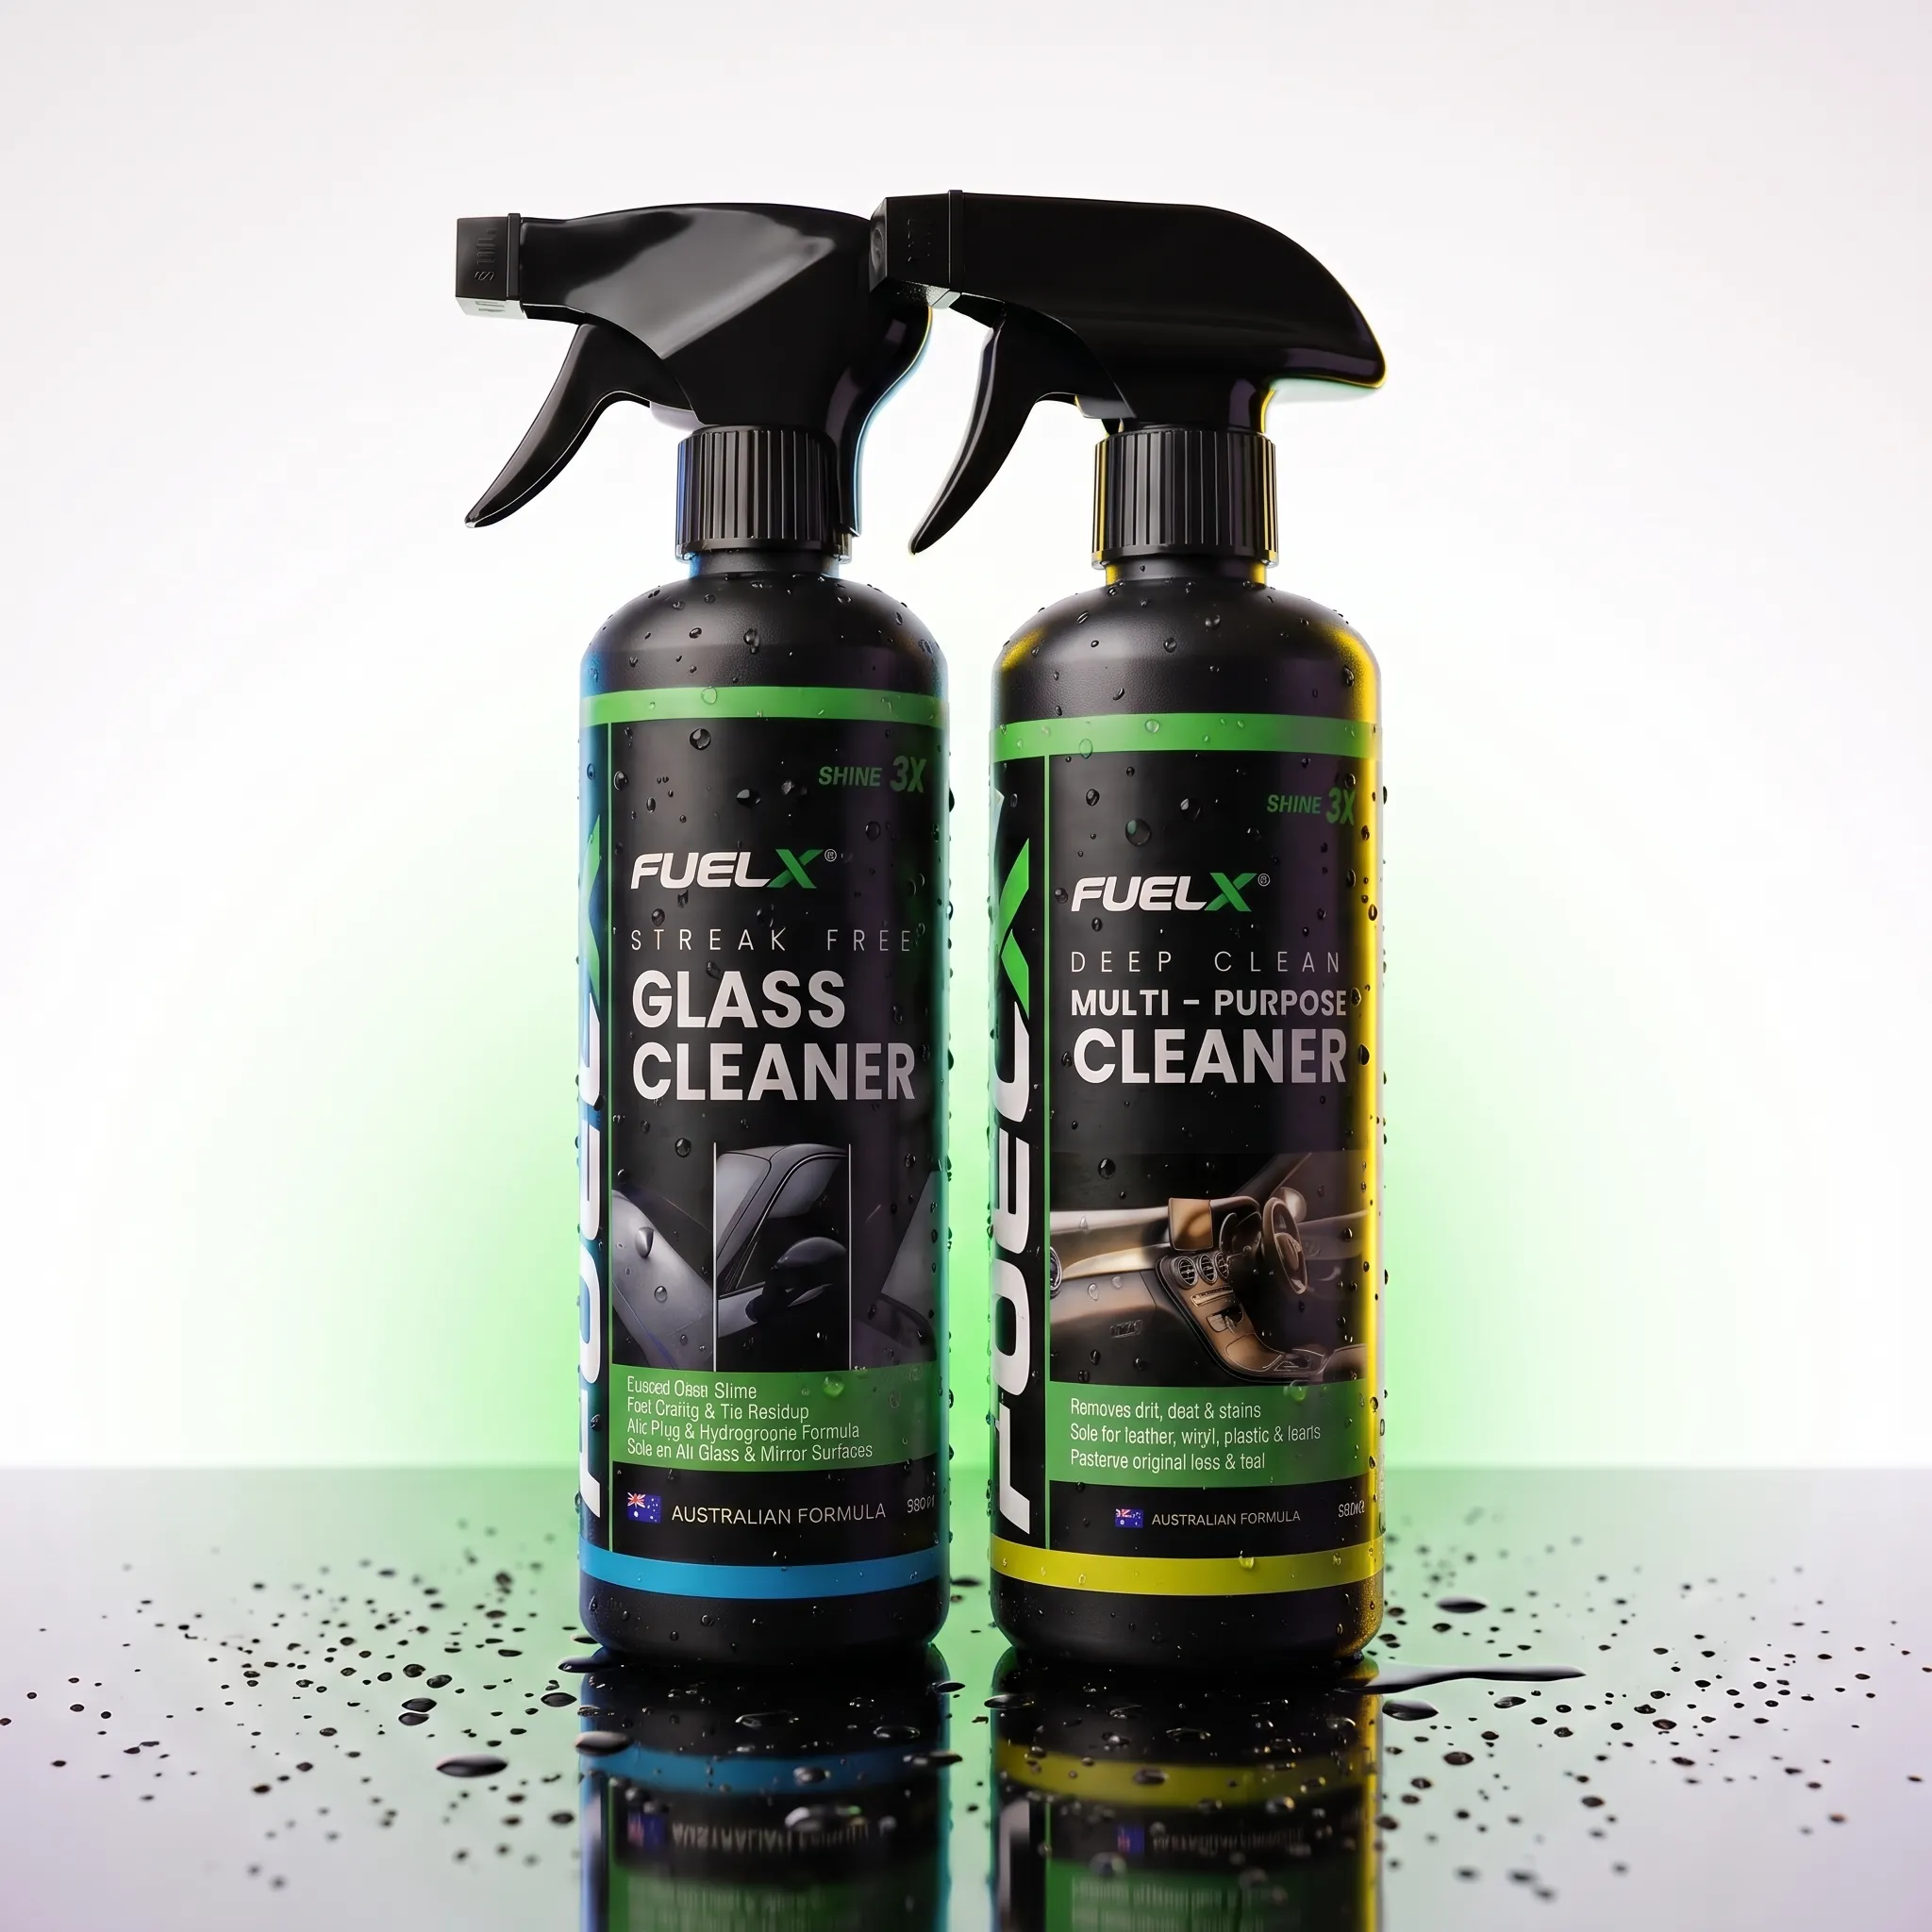
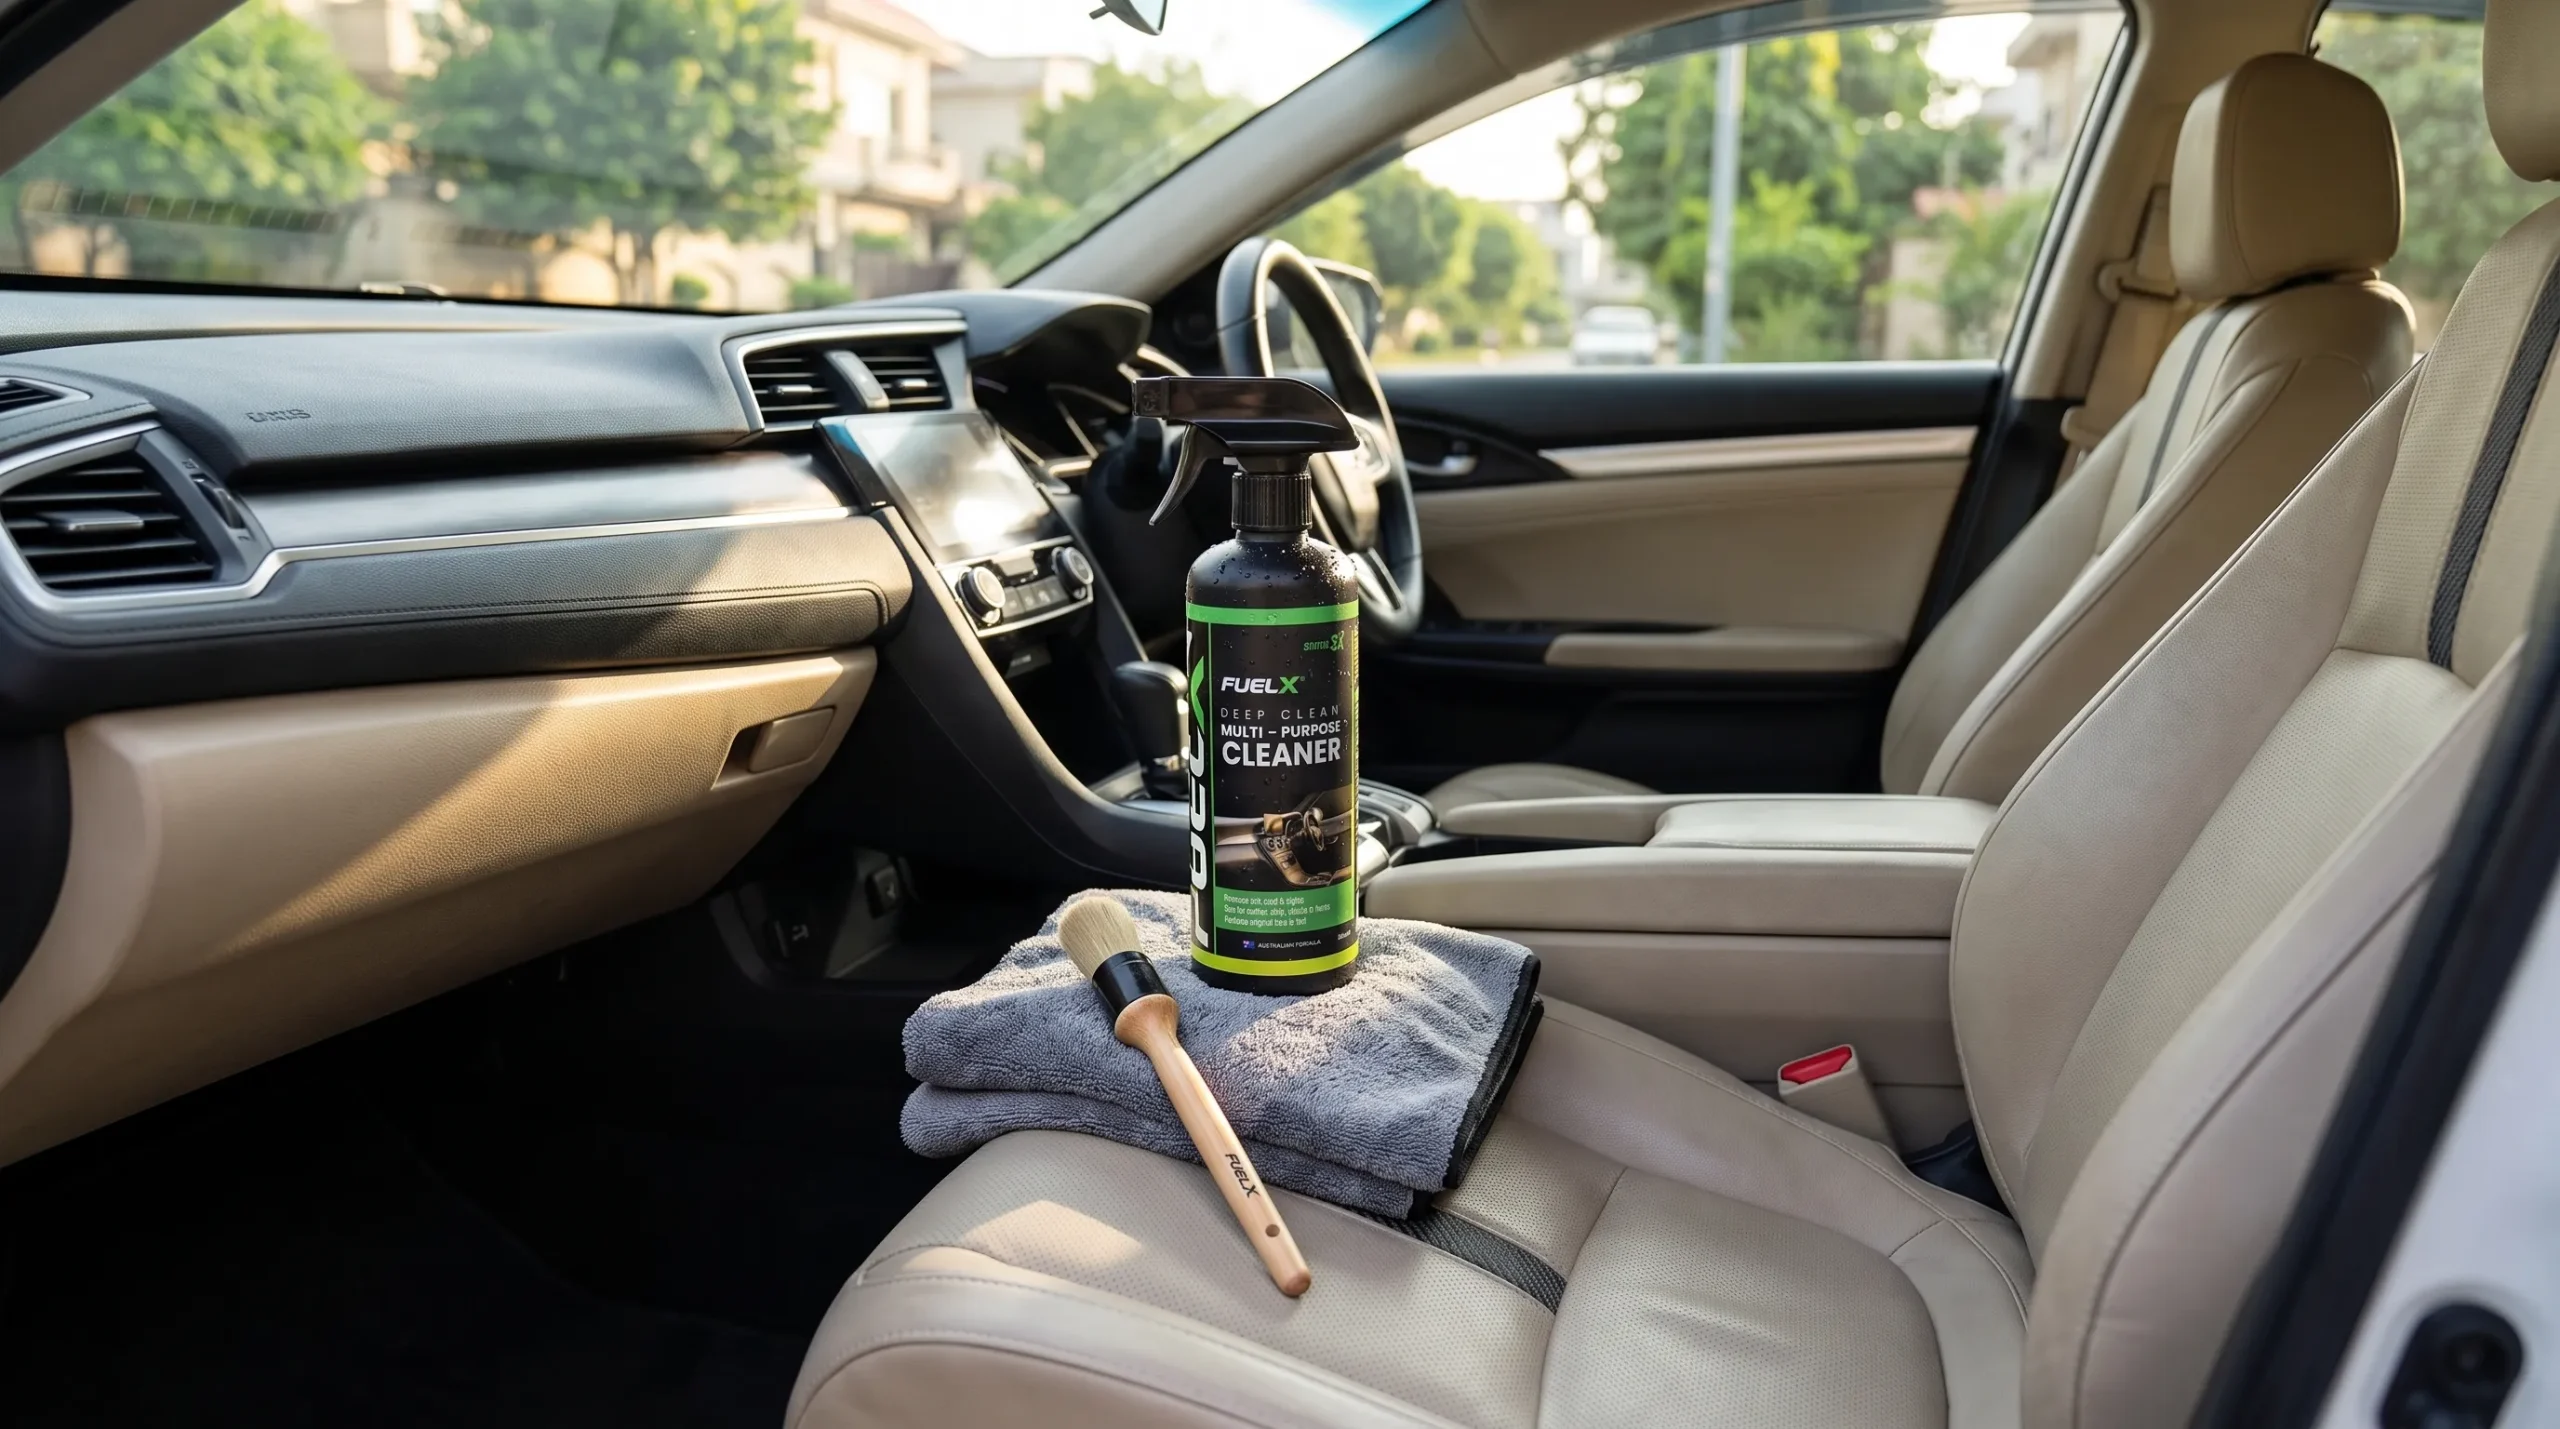
A suitable automotive interior cleaner, such as FuelX Multi-Purpose Cleaner, can be useful for appropriate interior surfaces. Always follow the product instructions and perform a small hidden-area test first, particularly when cleaning unfamiliar upholstery.
Step-by-Step: How to Clean Car Seats Safely
Step 1: Park the Car in a Suitable Place
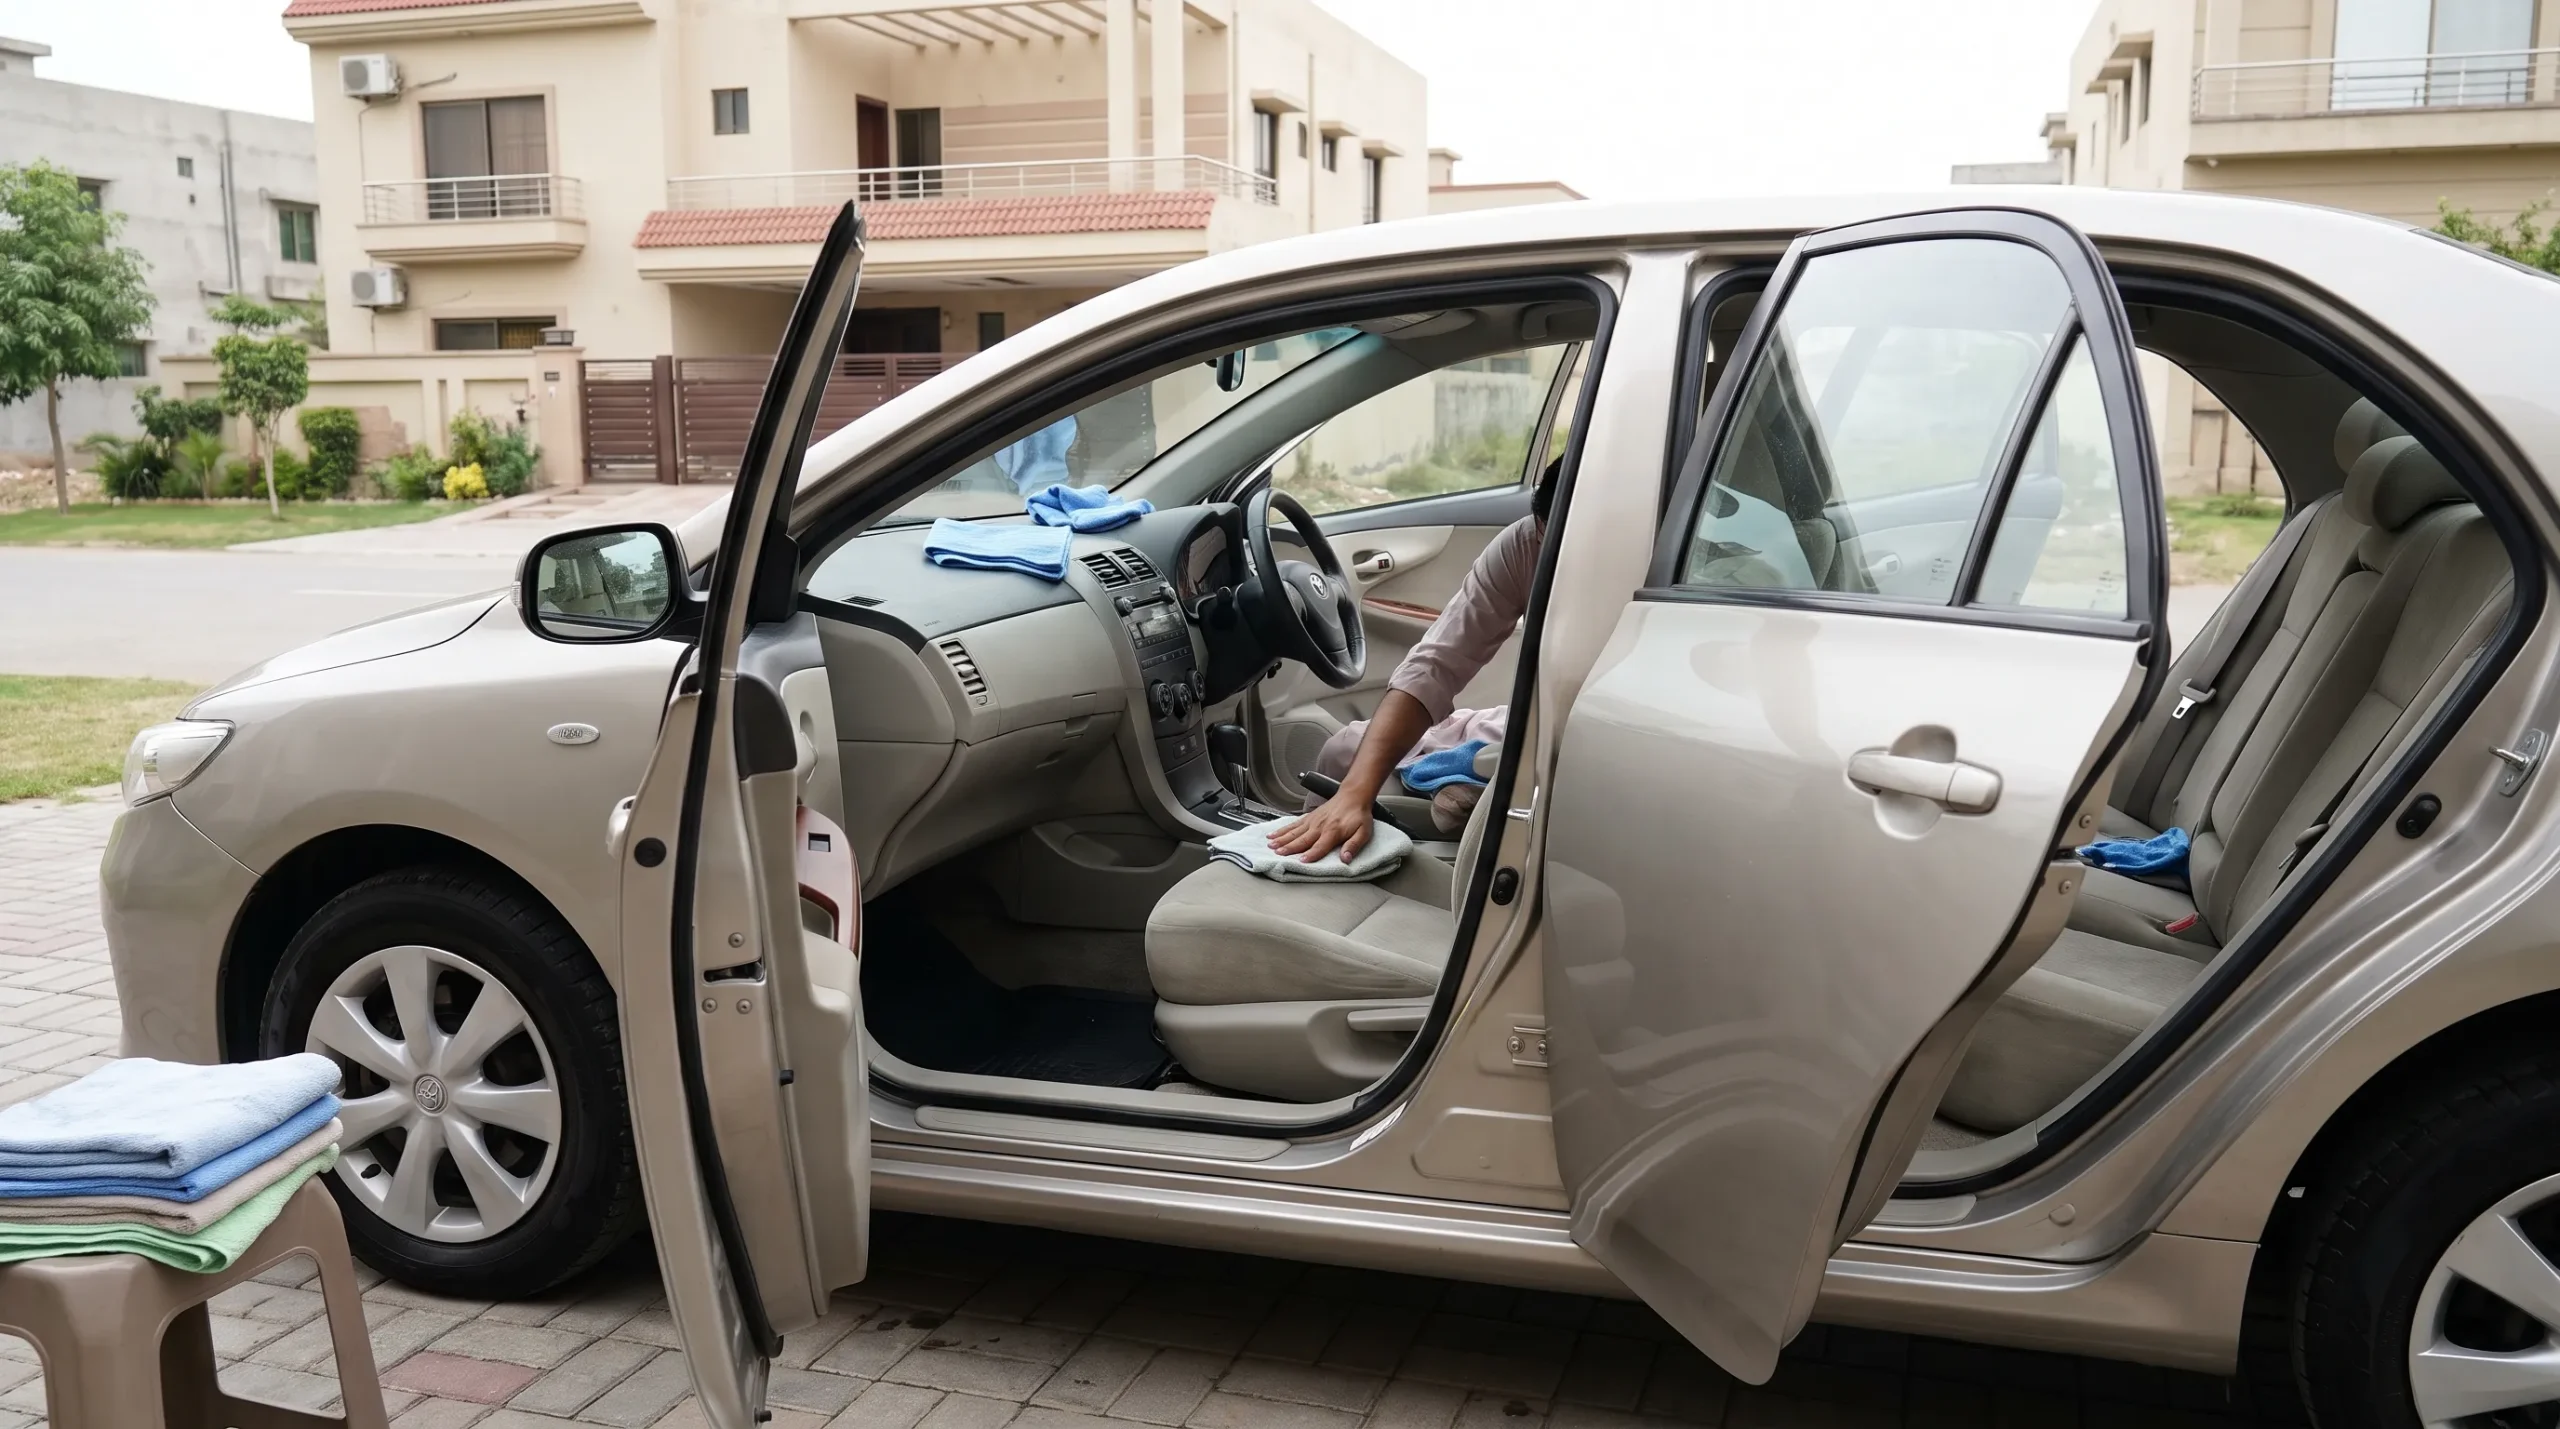
Park the vehicle in a shaded or well-ventilated location before starting.
Avoid cleaning seats in intense direct sunlight when possible. High temperatures can cause cleaning solutions to dry faster than you can properly wipe them away, which can increase the chance of uneven residue or marks.
Ventilation is also important after cleaning. If possible, keep the doors or windows open during the drying process.
In hot weather, you might be tempted to leave the car sitting in direct sunlight because you expect the heat to dry everything quickly. However, faster surface drying does not necessarily mean the moisture inside fabric upholstery has disappeared. Airflow is more useful than simply increasing surface temperature.
Step 2: Remove Everything From the Seats
Remove bottles, food wrappers, papers, toys, bags, and other objects.
Also check:
Between the seat and center console
Seat seams
Around the seat belt buckle
Under the front edge of the seat
Gaps between the seat cushion and backrest
These areas can hold surprisingly large amounts of loose debris.
If you have children who regularly eat snacks in the car, you may find crumbs concentrated around the rear seats. Removing this dry debris before using a cleaner prevents it from becoming a wet, sticky mess.
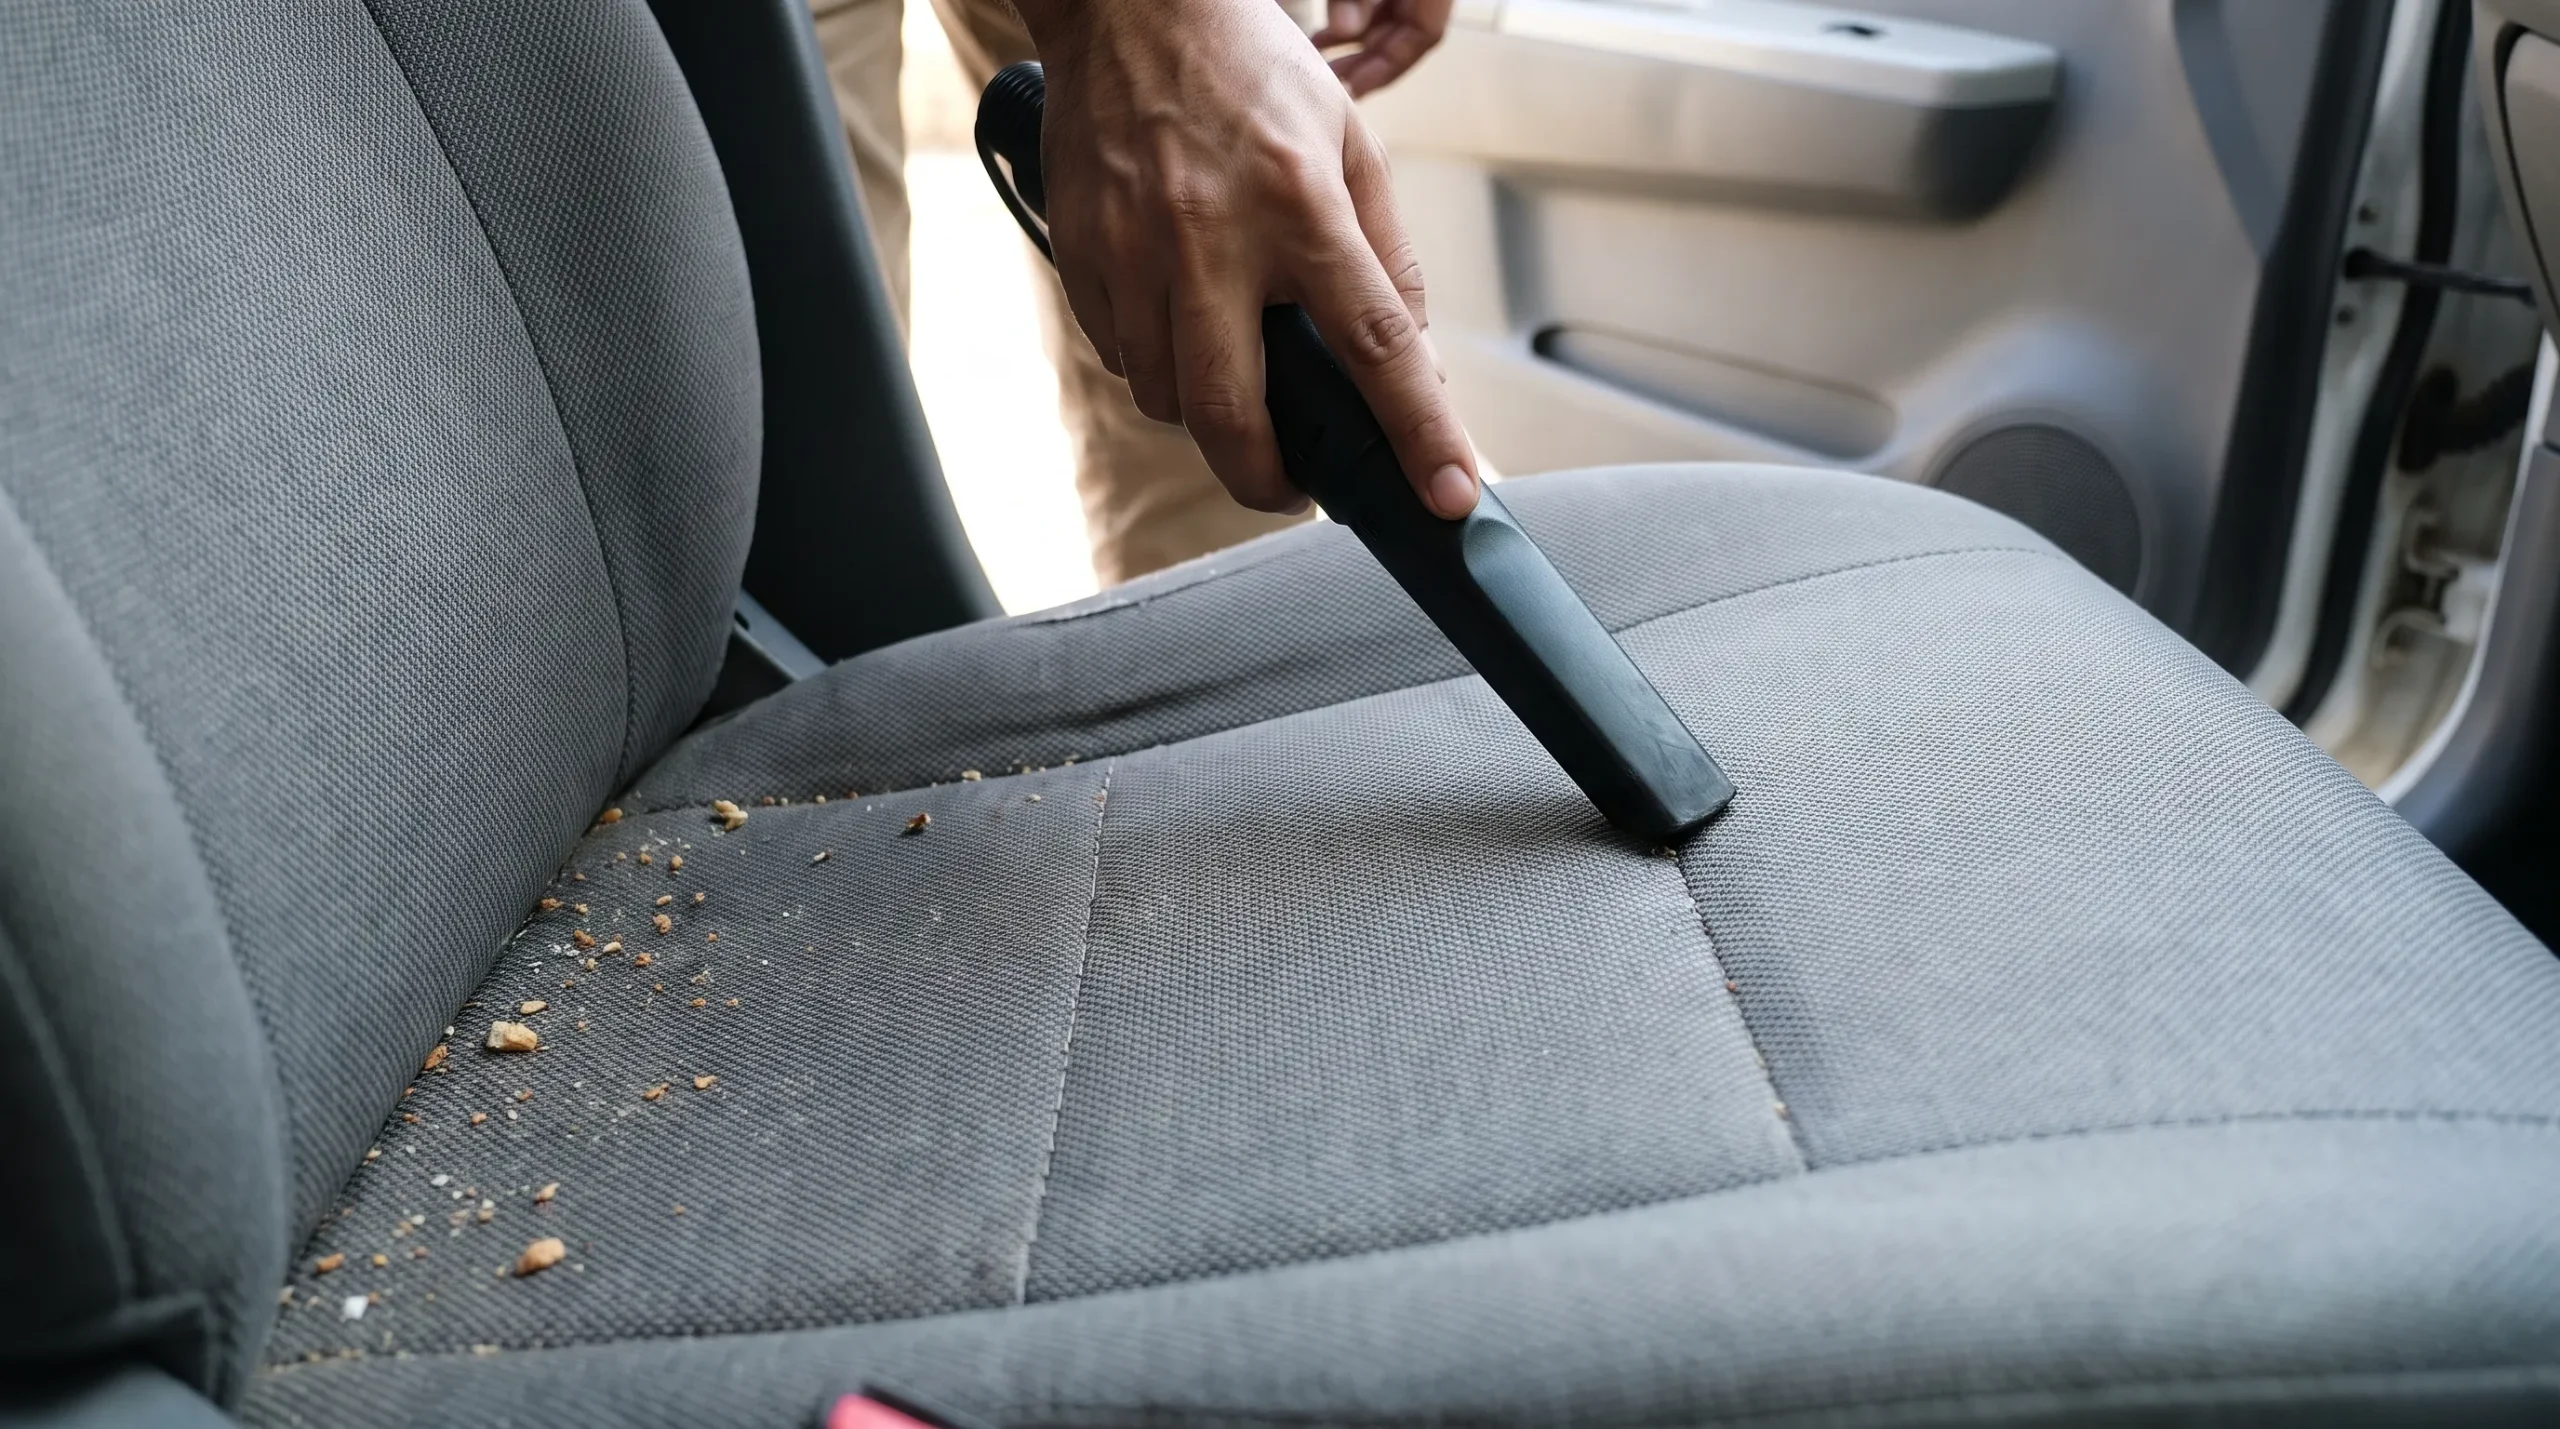
Step 3: Vacuum the Seats Thoroughly
Vacuuming should come before wet cleaning.
Use the vacuum over the entire seat surface, paying particular attention to seams and crevices. A soft brush attachment can help loosen dust and debris without aggressively rubbing the upholstery.
This step is important because dry dirt is much easier to remove before liquid is introduced.
Imagine wiping a dusty table with a wet cloth. Instead of collecting all the dust, the moisture can turn some of it into a dirty film that spreads across the surface. The same basic principle applies to car upholstery.
For a normally maintained vehicle, spending around 5–10 minutes vacuuming the seats and surrounding interior can make the subsequent cleaning considerably easier.
Step 4: Test the Cleaner on a Hidden Area
This is one of the most important safety steps.
Never assume that a product is suitable for every type or color of upholstery. Even products designed for automotive interiors should be used according to their instructions.
Choose an inconspicuous area, such as a lower section of the seat, and apply a small amount.
Look for:
Color change
Discoloration
Texture change
Excessive foaming
Sticky residue
Unexpected fading
Allow the test area to dry before proceeding.
A two-minute test can potentially save you from damaging an entire seat.
This is particularly important for older vehicles, previously treated upholstery, aftermarket seat covers, and seats that have already been exposed to unknown cleaning products.
Step 5: Clean Small Sections at a Time
Do not cover the entire seat with cleaning solution.
Instead, divide the seat into manageable areas. For example, clean the front edge first, then the middle section, then the backrest.
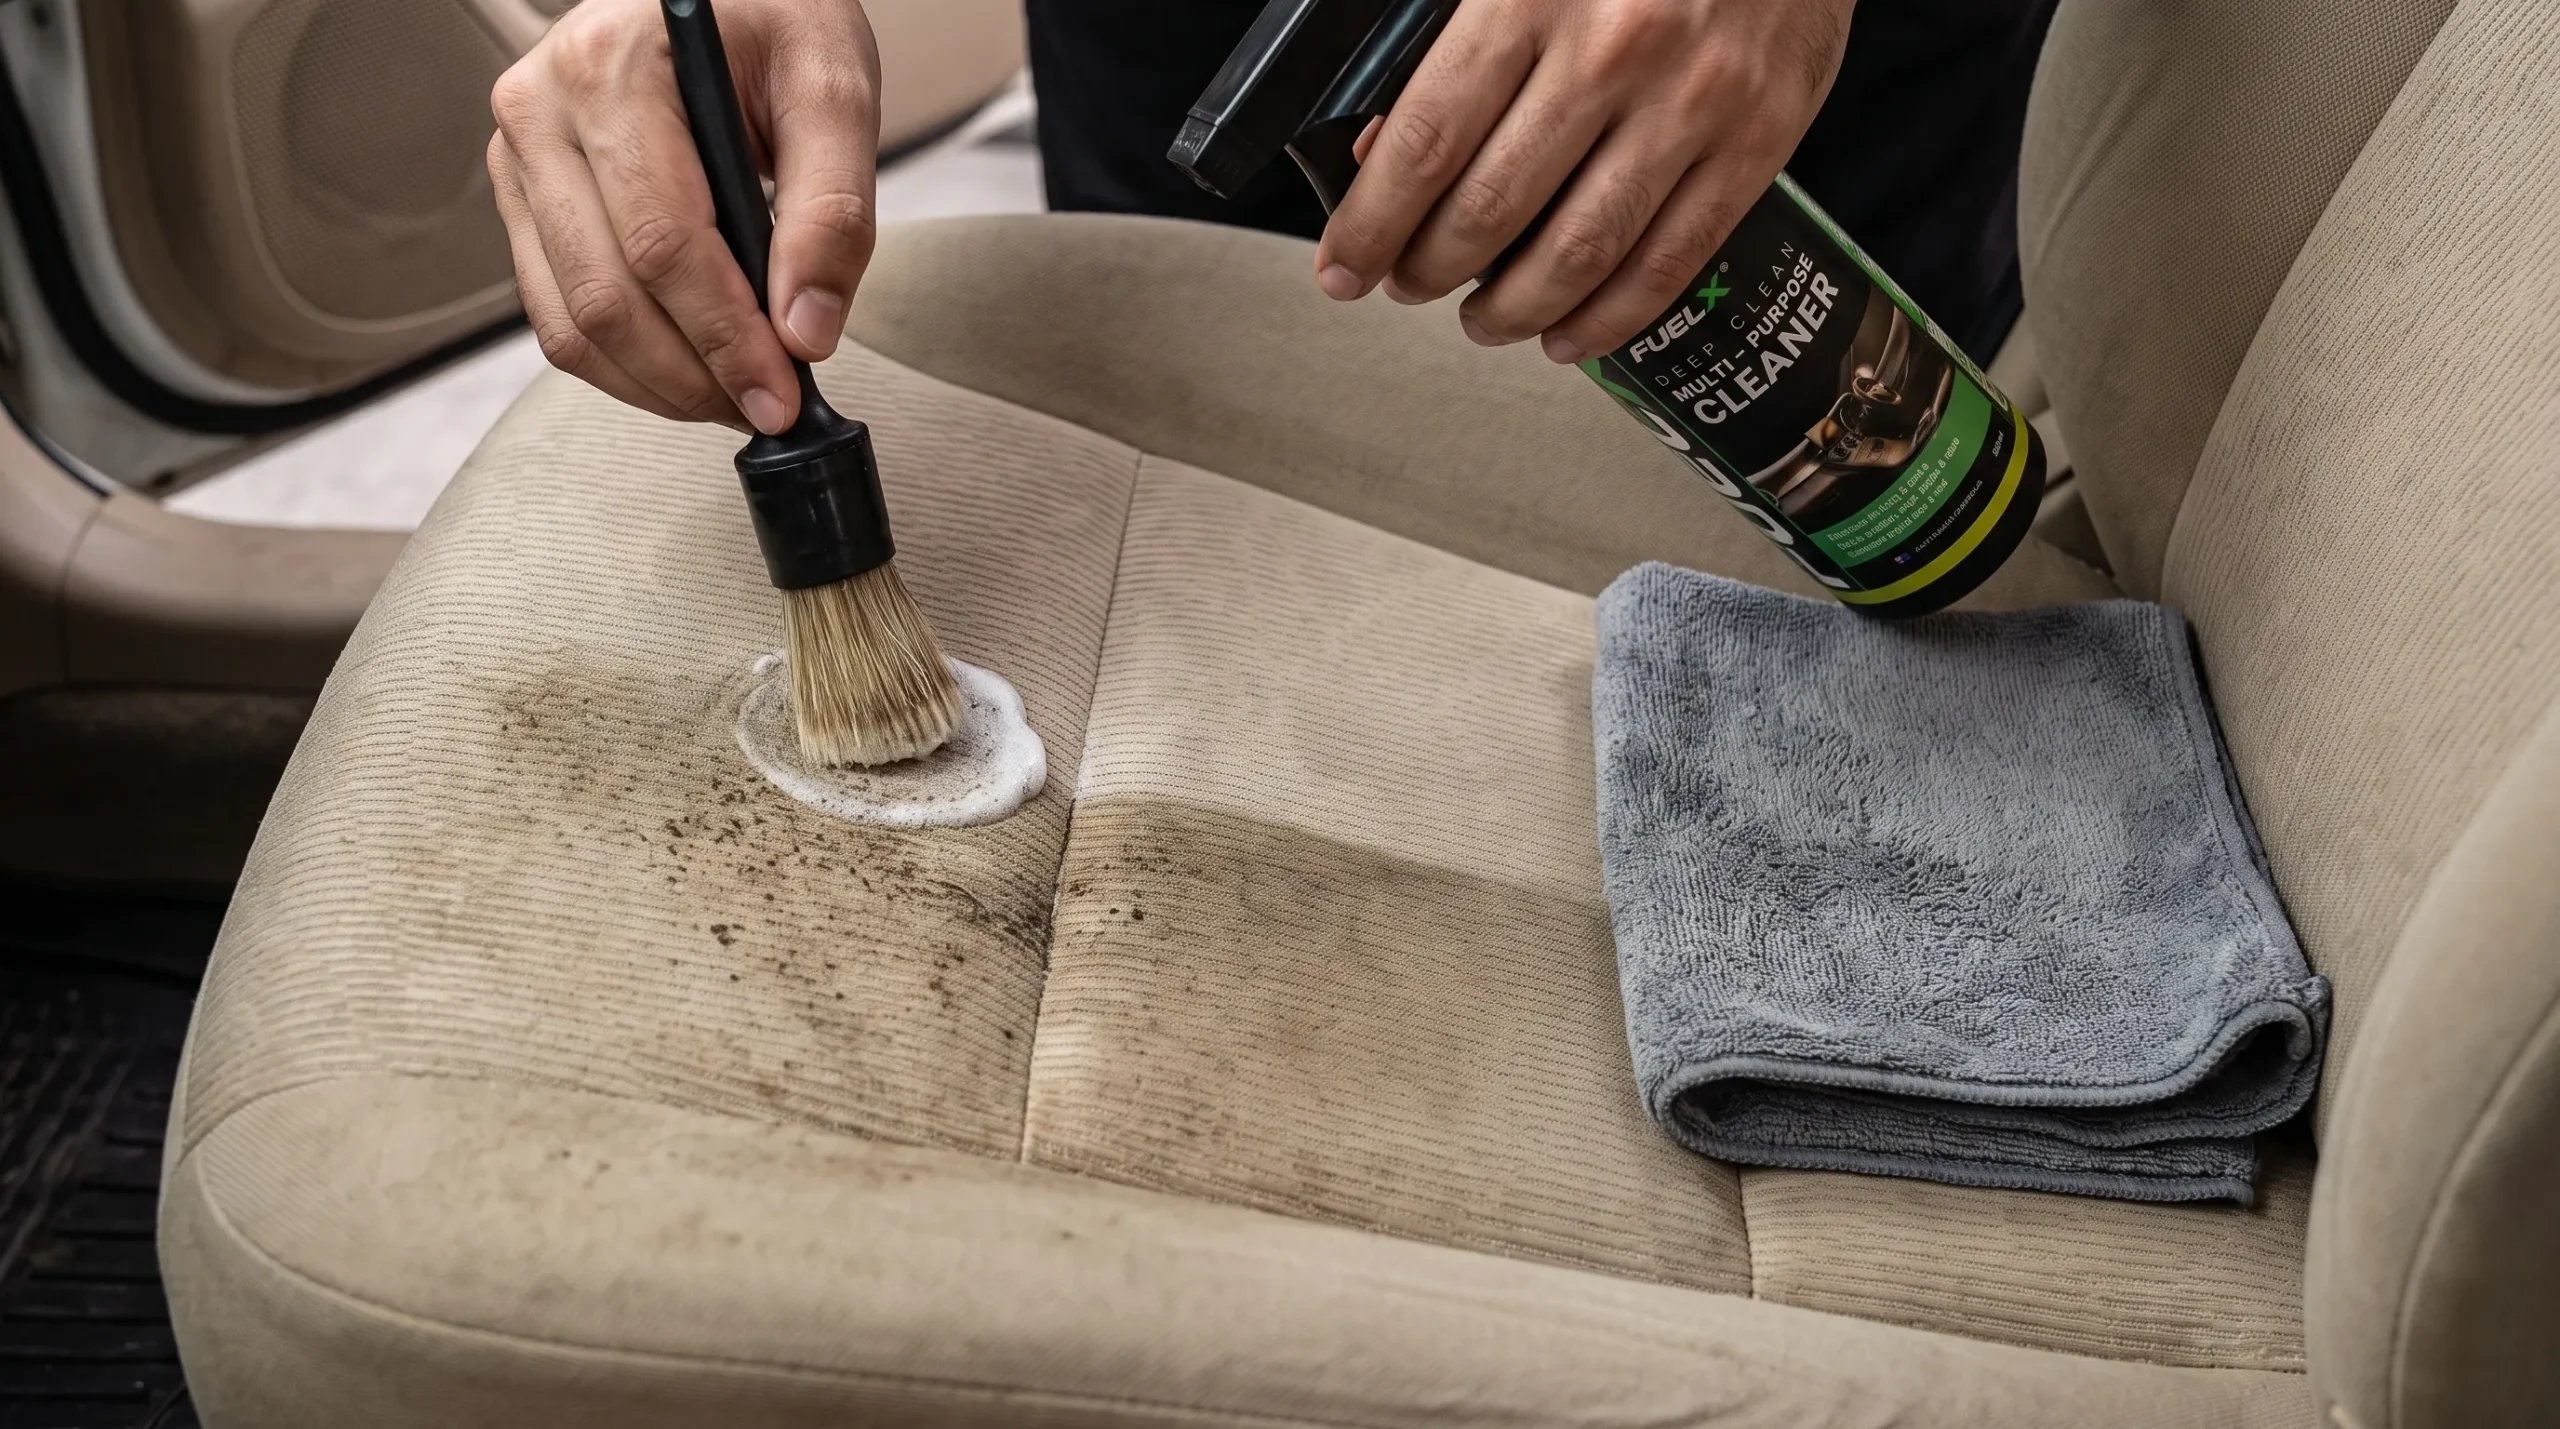
Apply a controlled amount of cleaner and gently agitate the surface using an appropriate microfiber towel or soft brush.
For fabric:
Apply the appropriate amount of cleaner.
Gently work the area with a soft brush.
Avoid aggressive scrubbing.
Wipe away loosened dirt.
Inspect the area before moving on.
For leather or synthetic leather, use a suitable microfiber towel or applicator rather than a stiff brush unless the product specifically recommends otherwise.
A useful rule is:
Apply → gently agitate → wipe → inspect → repeat only if necessary.
This is safer than repeatedly soaking and scrubbing the same area.
Step 6: Wipe Away Residue
After cleaning a section, use a clean microfiber towel to remove loosened dirt and product residue.
If the product instructions recommend a damp wipe, use only a lightly damp microfiber towel rather than soaking the upholstery.
You may need several towels during a complete interior cleaning. For example, using 2–4 microfiber towels for the seats alone is a practical starting point, depending on how dirty the interior is.
Once a towel becomes heavily soiled, fold it to expose a clean side or replace it.
There is little benefit in wiping a dirty seat repeatedly with a towel that is already saturated with the dirt you just removed.
Step 7: Dry the Seats Completely
Drying is not an optional finishing step. It is part of the cleaning process.
After wiping the seats, use dry microfiber towels to remove excess moisture. Then provide plenty of ventilation.
For lightly cleaned fabric seats in a warm, well-ventilated environment, the surface may feel dry within 30–60 minutes, but deeper moisture can take considerably longer. After heavier cleaning, it is sensible to allow several hours of ventilation before considering the job complete.
Actual drying time depends on:
Seat material
Amount of cleaner used
Temperature
Humidity
Air movement
Whether the seat foam became wet
Do not close the car immediately after heavily wetting fabric upholstery.
A simple test is to press a clean, dry microfiber towel firmly against the cleaned area. If the towel picks up noticeable moisture, continue drying.
How to Clean Fabric Car Seats
Fabric seats require particular attention because liquid can penetrate below the surface.
For dust and light dirt, vacuuming followed by controlled surface cleaning may be sufficient.
For food and drink spills, act quickly. Blot the affected area instead of aggressively rubbing it. Rubbing can spread the stain or push the contamination deeper into the fabric.
For example, if a drink spills on a seat, using a clean towel to absorb as much liquid as possible immediately is generally preferable to allowing the liquid to sit for several hours.
For stubborn stains, use several controlled cleaning passes instead of continuously adding more product. If the stain has penetrated deeply into the foam, professional extraction may be more effective than repeatedly soaking the area at home.
How to Clean Leather Car Seats
Leather needs a gentler approach.
Start by removing loose dust and debris using a vacuum or soft microfiber towel. Carefully clean around seams where dirt can accumulate.
Apply a leather-safe cleaner according to its instructions. Working in small areas helps you control the amount of product and prevents unnecessary moisture.
Avoid:
Bleach
Strong household detergents
Abrasive brushes
Excessive water
Aggressive scrubbing
Unverified cleaning chemicals
After cleaning, remove residue with a clean microfiber towel.
Depending on the type of leather and manufacturer’s recommendations, a suitable leather conditioner can also be used to maintain the surface. However, conditioning should not be treated as a universal requirement for every type of synthetic or coated seat material.
If leather is already cracked, peeling, or badly damaged, cleaning cannot reverse the underlying damage. Professional repair or assessment may be necessary.
How to Clean Synthetic Leather and Vinyl Seats
Synthetic leather and vinyl can usually be cleaned with a straightforward wipe-down process.
Start by removing dust and loose dirt. Apply a suitable automotive interior cleaner to the recommended surface or cleaning cloth, then gently wipe the seat.
Pay attention to areas that receive frequent contact, such as:
Driver seat side bolsters
Front seat edges
Door-side sections
Armrests
Rear seating areas
These areas often accumulate more body oils and dirt because they are touched or rubbed more frequently.
Avoid abrasive materials and excessive water, especially around stitching and seams.
Common Mistakes That Can Damage Car Seats
Soaking the Seats With Water
More water does not equal better cleaning.
A fabric seat can absorb moisture into its foam, making drying significantly more difficult. Use controlled moisture and remove excess liquid as you work.
Using Laundry Detergent or Dishwashing Liquid
Household detergents may contain ingredients that are not intended for automotive upholstery. They may leave residue or affect the appearance and feel of certain materials.
Use a product that is appropriate for the specific automotive surface whenever possible.
Using Bleach or Strong Chemicals
Bleach and aggressive chemicals can cause discoloration and surface damage.
There is rarely a good reason to experiment with powerful household chemicals on expensive vehicle upholstery.
Scrubbing Too Hard
A stubborn stain can tempt you to apply more pressure, but aggressive scrubbing can damage fabric fibers or affect leather surfaces.
Start gently and increase cleaning effort only when the material and product instructions allow it.
Ignoring the Drying Process
A seat is not completely clean just because visible dirt has disappeared.
If significant moisture remains trapped inside the upholstery, the interior can develop unpleasant odors. Allow sufficient ventilation before closing the vehicle.
Cleaning Without Testing First
Always test unfamiliar products.
This is particularly important when dealing with dark or brightly colored upholstery, older seats, aftermarket materials, or previously treated surfaces.
How Often Should You Clean Car Seats?
There is no universal schedule because vehicle use varies considerably.
A practical maintenance routine for an average daily-use vehicle can look like this:
Cleaning task
Practical frequency
Vacuuming
Weekly or every 1–2 weeks
Light surface cleaning
Every 2–4 weeks
Deeper interior cleaning
Every 2–3 months
Food/drink spill treatment
Immediately
A car used by one person for occasional commuting may need less frequent deep cleaning than a family vehicle used every day.
If you drive regularly on dusty roads, have children or pets, frequently eat inside the car, or use the vehicle heavily during monsoon season, you may need to clean the seats more often.
The important point is consistency. Five to ten minutes of routine maintenance is usually easier than dealing with months of accumulated dirt.
How to Keep Car Seats Cleaner for Longer
Cleaning becomes much easier when you prevent dirt from accumulating.
Try these simple habits:
Clean spills immediately.
Vacuum the seats regularly.
Avoid eating messy foods inside the car.
Keep a clean microfiber towel in the vehicle.
Remove muddy footwear or wet items where practical.
Do not leave damp clothing or towels on fabric seats.
Ventilate the vehicle after wet-weather use.
Use appropriate seat covers if suitable for your vehicle.
Clean small stains before they become deeply embedded.
During Pakistan’s monsoon season, pay particular attention to wet clothing, muddy shoes, and moisture brought into the cabin. A small amount of prevention can reduce the need for repeated deep cleaning.
When Should You Get Professional Car Seat Cleaning?
Home cleaning is ideal for routine maintenance, but some situations require more specialized equipment.
Professional detailing may be worthwhile when:
A stain has penetrated deeply into the upholstery.
The seats have severe or persistent odors.
A large quantity of liquid has been spilled.
There are signs of mold or mildew.
Fabric seats have been heavily neglected.
Leather is cracked, peeling, or severely damaged.
Several reasonable cleaning attempts have failed.
Professional detailers may use extraction equipment capable of removing moisture and contamination from deeper within fabric upholstery.
If you suspect mold or extensive moisture damage, avoid repeatedly soaking the seats yourself. The problem may be deeper than surface cleaning can address.
Final Thoughts
Learning how to clean car seats at home is mostly about control. You need to control the amount of cleaner, moisture, pressure, and drying time.
Start by identifying the seat material. Vacuum before wet cleaning, test your cleaner on a hidden area, work in small sections, and use gentle agitation instead of aggressive scrubbing. Most importantly, do not leave fabric upholstery unnecessarily wet.
For everyday car owners, a regular maintenance routine can make a major difference. Vacuuming every week or two and treating spills promptly can prevent dirt from becoming deeply embedded. A deeper clean every couple of months can then handle the buildup that routine vacuuming cannot remove.
With a few microfiber towels, a soft brush, a vacuum, and a suitable automotive interior cleaner, you can keep your car seats cleaner at home while reducing the risk of unnecessary damage. The goal is not to make the seats soaking wet or scrub them until they look new—it is to remove contamination safely while preserving the material underneath.
FAQ’s
Can I clean car seats with water?
Small amounts of water may be appropriate for some surfaces, but avoid soaking upholstery. Fabric seats can absorb moisture, so controlled cleaning and thorough drying are important.
What is the best way to clean fabric car seats?
Start with thorough vacuuming, test a suitable automotive upholstery cleaner, work in small sections, gently agitate where appropriate, wipe away residue, and allow the seats to dry completely.
Can I use a multipurpose cleaner on car seats?
It depends on the product and the seat material. Check the product instructions and perform a hidden-area test first. A product intended for automotive interiors, such as FuelX Multi-Purpose Cleaner, can be considered for compatible surfaces when used according to its directions.
How do I remove stains from car seats?
Treat spills as soon as possible. Blot liquid rather than aggressively rubbing it, then use a suitable cleaner in controlled amounts. Deep or old stains may require professional extraction.
How long do car seats take to dry?
There is no fixed drying time. Light surface cleaning may dry within around 30–60 minutes in warm, well-ventilated conditions, while heavily cleaned fabric seats can require several hours. Always check that the upholstery is genuinely dry before closing the vehicle for a long period.
Can I use household detergent on car seats?
It is better to use a cleaner specifically designed or confirmed to be suitable for automotive upholstery. Household detergents may leave residue or affect certain materials.
How often should I clean my car seats?
For many daily-use vehicles, vacuuming every 1–2 weeks, light cleaning every 2–4 weeks, and deeper cleaning every 2–3 months is a reasonable maintenance routine. Adjust this based on passengers, driving conditions, children, pets, and spills.
How can I remove bad smells from car seats?
Start by identifying the source rather than simply covering the smell with a fragrance. Vacuum thoroughly, clean the contaminated area appropriately, and allow the upholstery to dry completely. If the smell continues, moisture or contamination may be deeper inside the seat and professional cleaning may be necessary.